Double Attack
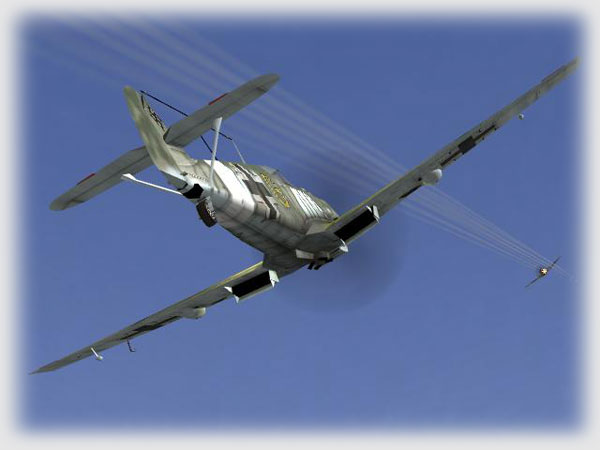
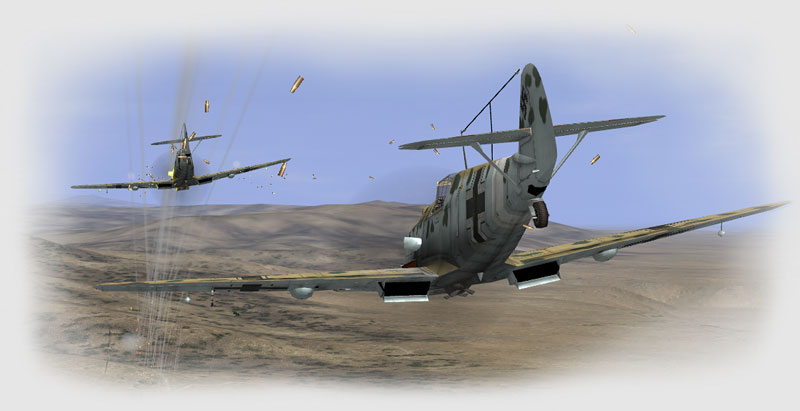
When combat speed is high, the Double Attack is one of the best ways to maintain the high energy levels of the aircraft while engaging a sole enemy. The idea is that each of the pair takes turns in actively striking the target in what essentially becomes one long single attack.
Each pilot is either engaging the enemy with the intent to make a quick strike and then extending away from the target to set up for another attack, each in turn. The target is never attacked at the same time by both fighters.
What makes it different from a Thatch Weave is the distance of separation between the members of the pair; while the Thatch Weave has the fighters in fairly tight horizontal scissors and never apart more than a couple hundred meters, in the Double Attack technique has them as much as 800 meters from each other working in the vertical.
2nd Guards pilot Mohawk and I “discovered” this technique one night against a poor P-38; it is unfortunate that I wasn’t recording TeamSpeak at the time. In the instructional movie I made about the event, I refer to it as a “High Low Pair” technique, where one pilot is either “in” and attacking or “out” and setting up for another attack. Download the 31MB zipped .wmv on using teamwork as a high low pairhere.
The technical terms are “Double Attack” rather than “The High Low Pair,” and “Engaged Fighter” and “Free Fighter” rather than “In” and “Out” aircraft. The neat thing about re-inventing the wheel is one can refer to it as “A Round” until otherwise informed as to the real name.
Advantages: Retains high energy levels for both aircraft, allowing them to dictate the combat and remain prepared to engage other aircraft or egress away from combat. Since the enemy is forced to defend and maneuver against two aircraft his energy level is decreased more than the attackers, reducing his chances for escape or attack the longer he is engaged.
Disadvantages: Requires a large amount of communication and coordination. Mohawk and I executed this technique on the fly because we have flown together so often as to instinctively know what the other would do in any given situation.
Drag and Bag
The Wing Walker, II/JG1, and RAF74 squadrons (as well as some others) are absolute masters of this technique. Simply put, the Wingman climbs above and to the side of the Leader about six hundred to a thousand meters away. When the enemy attacks, the Leader evades in a broad turn or by jinking in a straight line to disrupt the aim of the enemy. The Wingman then dives down to bounce the enemy which has become fixated with his “easy” kill, and cuts him in half.
Advantages: Works 98.7% of the time against me, and 70% of the time against everyone else. It’s easy to execute and has a high chance of success.
Disadvantages: Requires communication, as the Wingman directs the Leader on which way to go to set up his shot. It also exposes the Leader to fire from the enemy. If the Wingman doesn’t attack decisively with accurate fire, the Leader can be shot down.
Getting Separated
It’s going to happen. If the pair is separated, the first priority is to resolve immediate combat by either shooting down a current target or maneuvering towards the location of one’s partner. It can be very difficult to identify one’s teammate without icons, so maneuver cues such as a barrel roll, landmark use (“I’m almost to the fork in the river!”), or even tracers (In my case, I usually mark my position with whatever color the enemy is using).
If in combat, the pilot with the best tactical position is the Leader and gives instructions to the Wingman, hoping to set up a Drag and Bag or a Thatch Weave.
If out of combat, the first to the location of rendezvous is the Leader, unless otherwise agreed to be done differently.
Summary
This small article is hardly inclusive of all Leader-Wingman techniques. It is an introduction to techniques that are easy-to-learn and use with teammates that are part of a scratch team.
The fundamental rules are simple:
- Fight to live.
- Don’t be a jerk or a maniac.
- Work as part of a team.
We want your Feedback. Please let us know what you thought of this article here.
Other articles in “Dart’s” IL-2 Training Series:
More great prop-sim training, homespun wisdom and “sick” humor can be found here on “Dart’s” page.
Check out our Air Combat Zone Library!
SimHQ is an Amazon Associates member and earns referral fees.


