Sorry about the delay... work commitments got in the way....
So here's the next part of the AAR, launch and RV with all the aircraft in my flight.
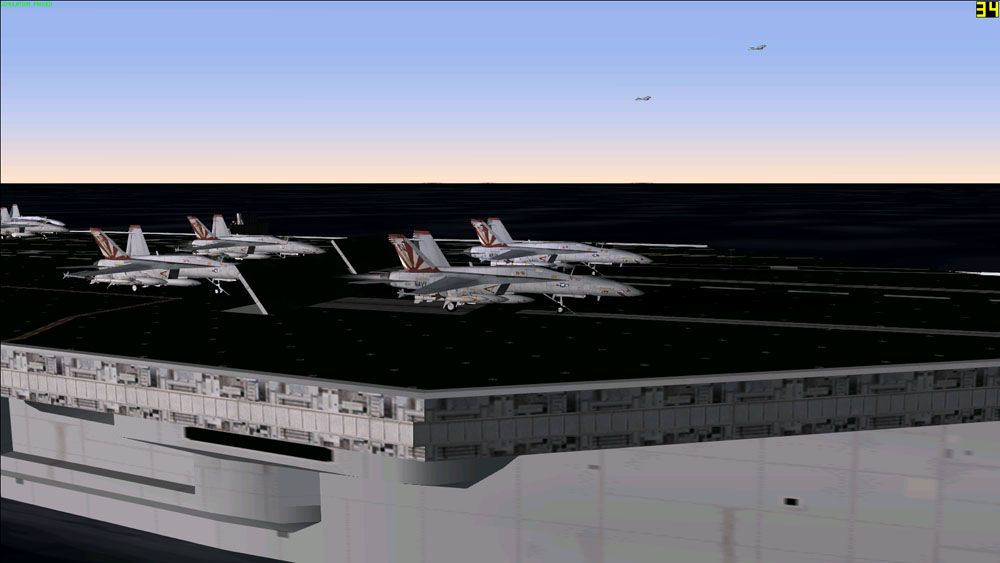
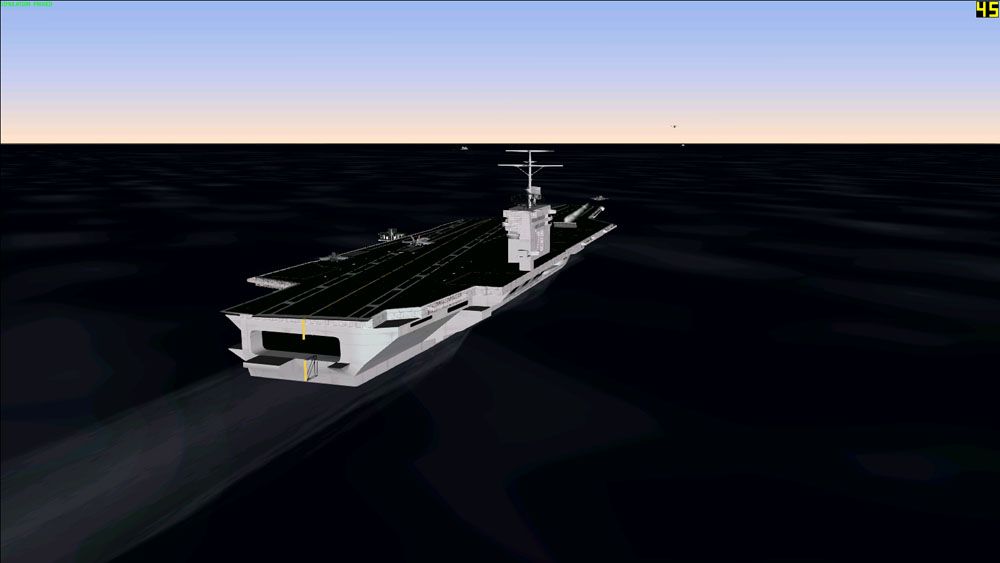
All 8 aircraft ready on deck - going through final checks:
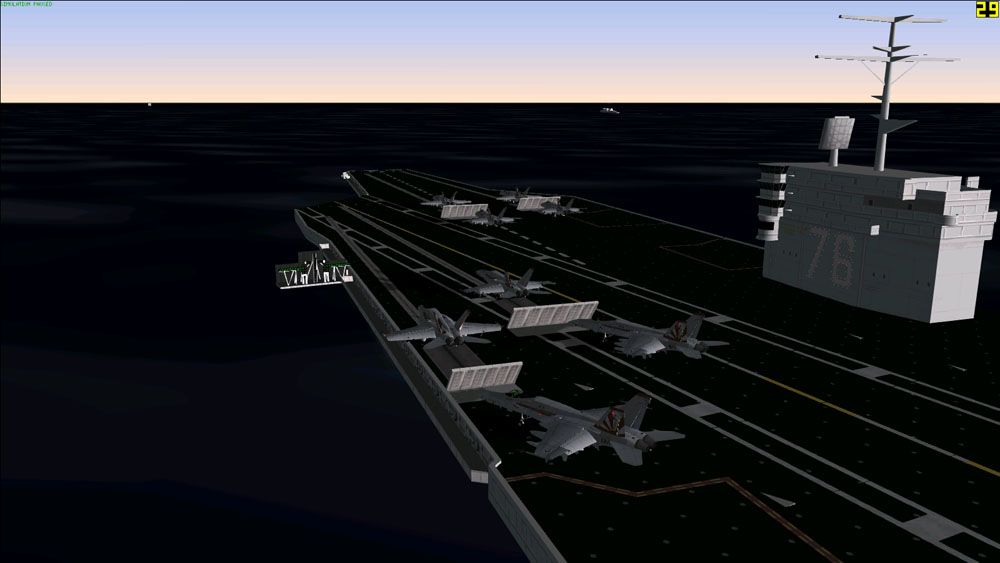
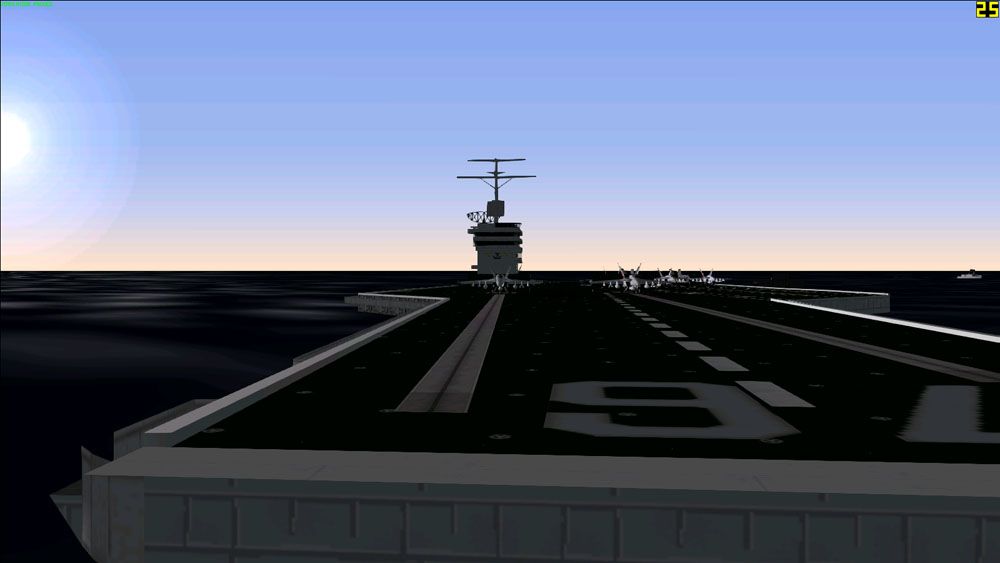
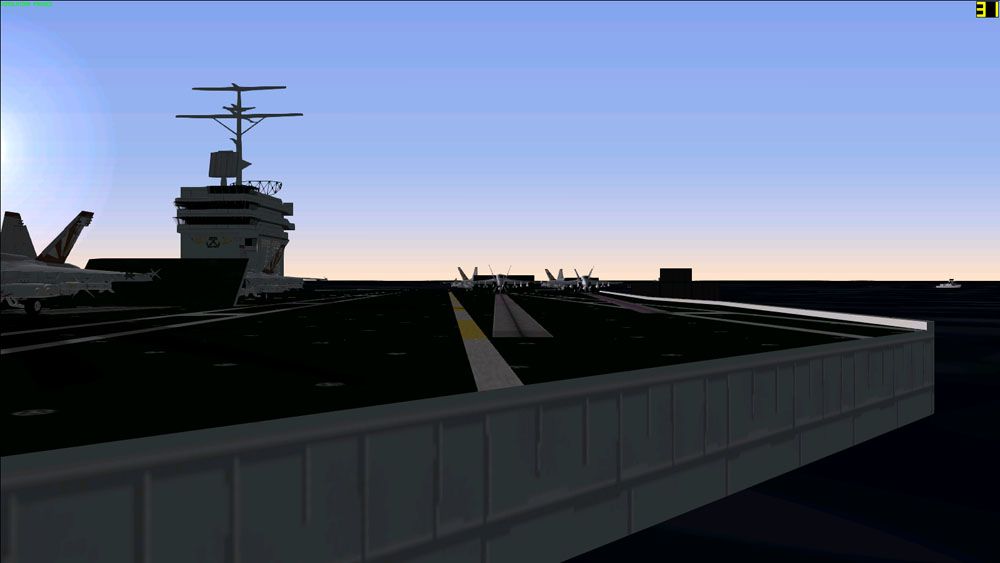
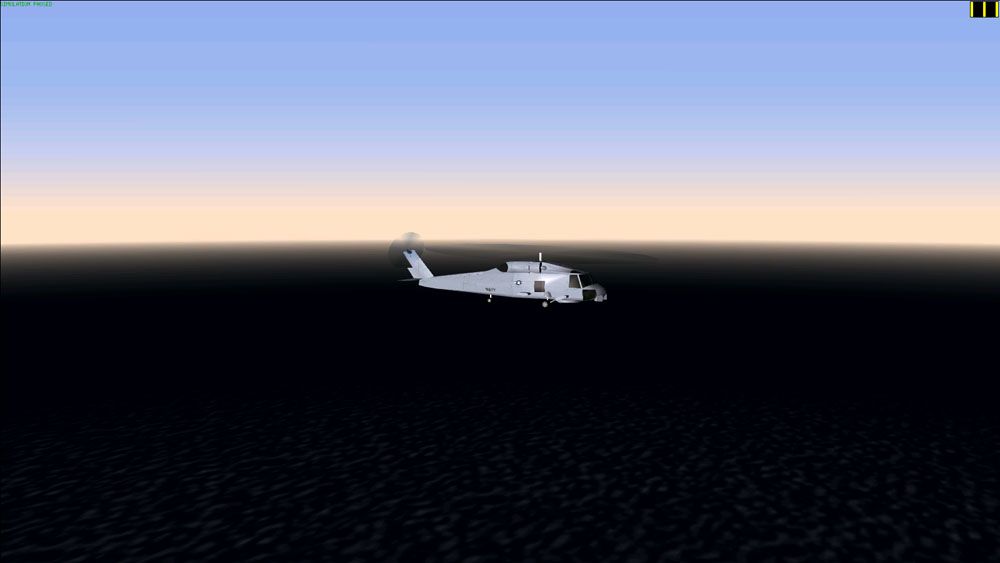
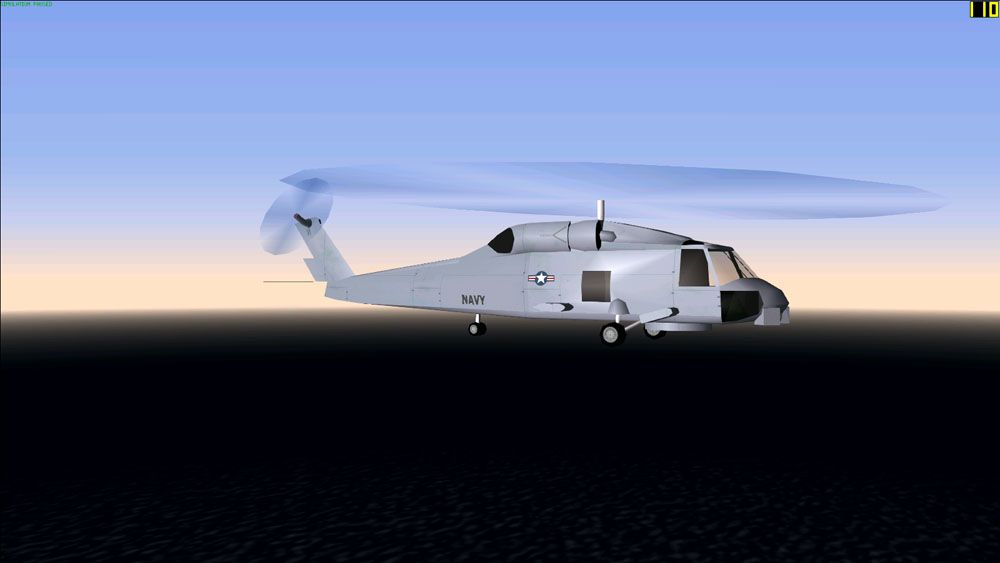
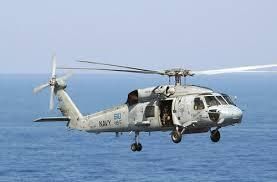
Sandy 1,
SH-60 Seahawk is already airborne and positioned off to the left flank, just in case there is an emergency on launch:
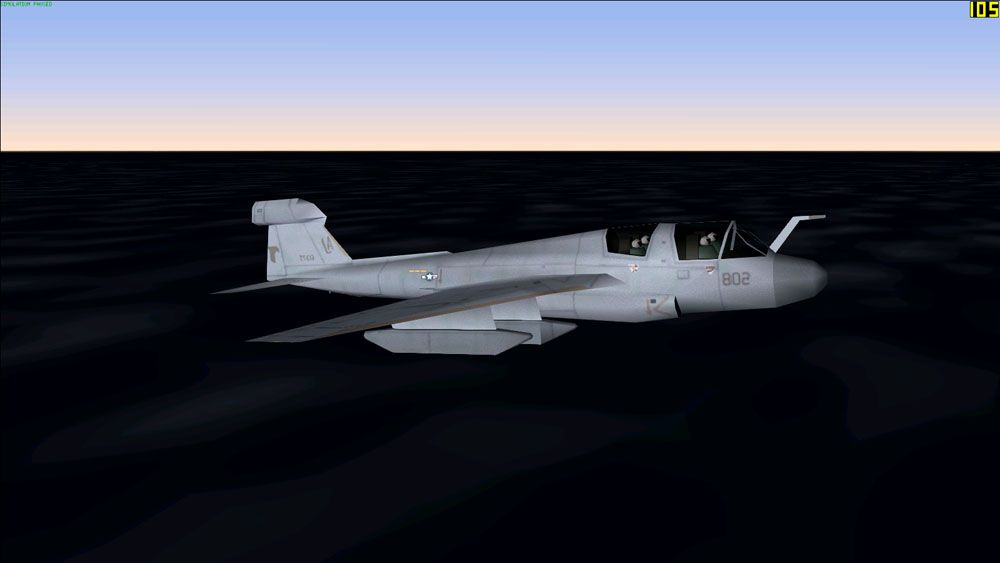
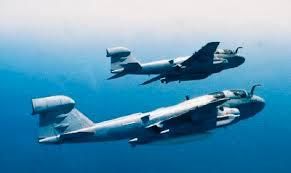
Charlie 1, the two
EA-6B Prowlers are already airborne and in a circling pattern ready to RV with our SEAD Strike Package. The Prowlers will provide direct support to us as standoff jammers - using their
AN/ALQ-99 Tactical Jamming System (TJS) pods to jam the enemy Early Warning, Target Aquisition and Tracking radars trying to lock onto us:


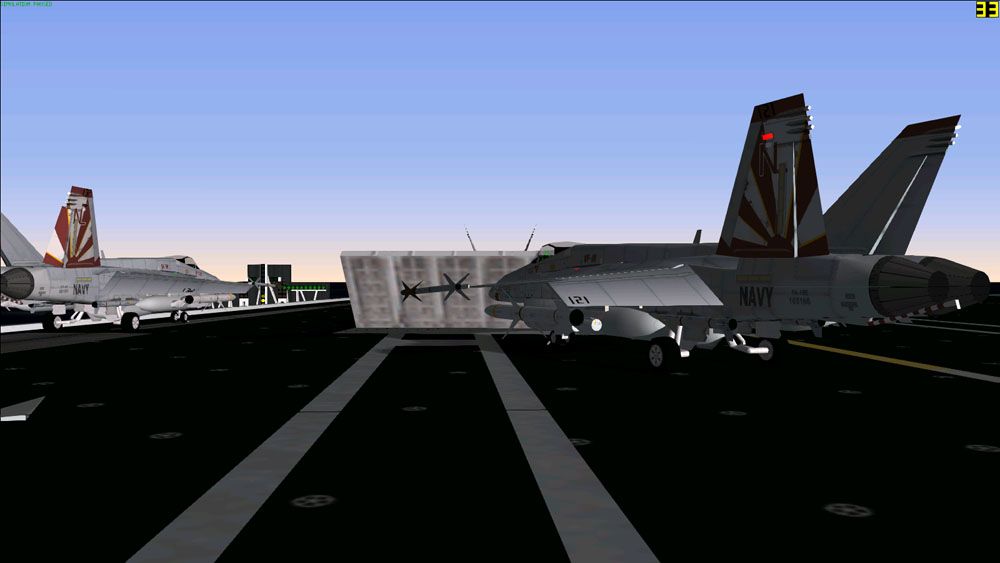
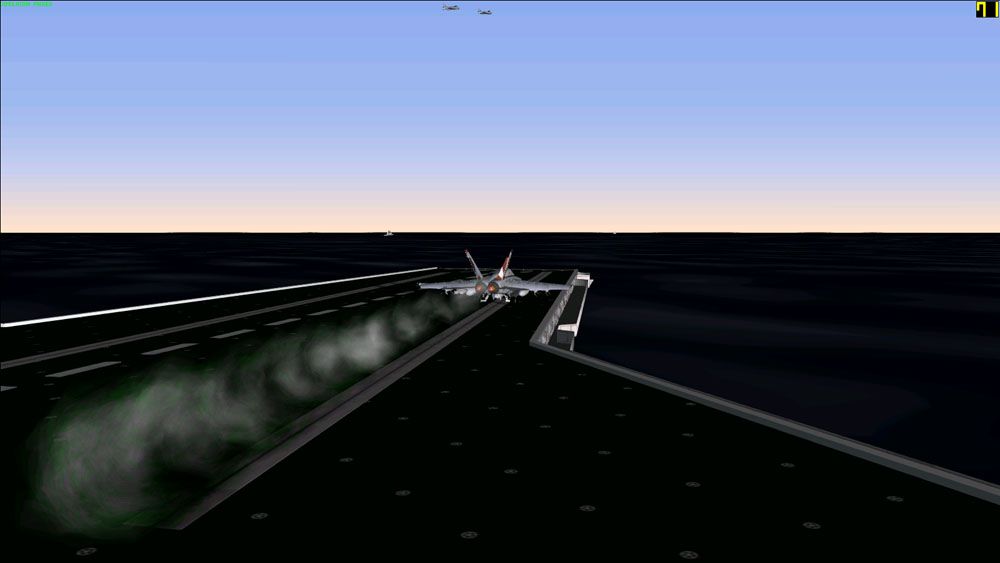
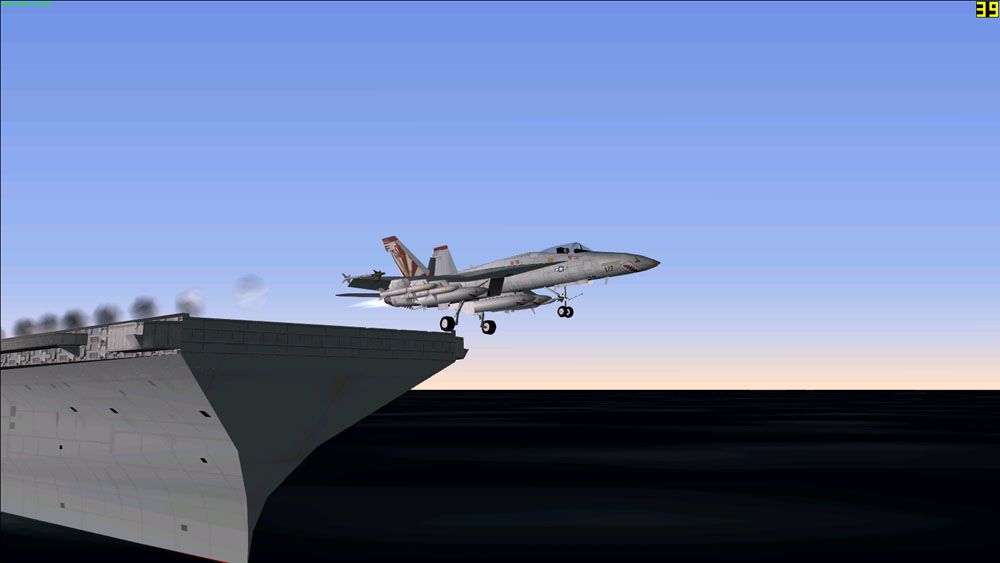
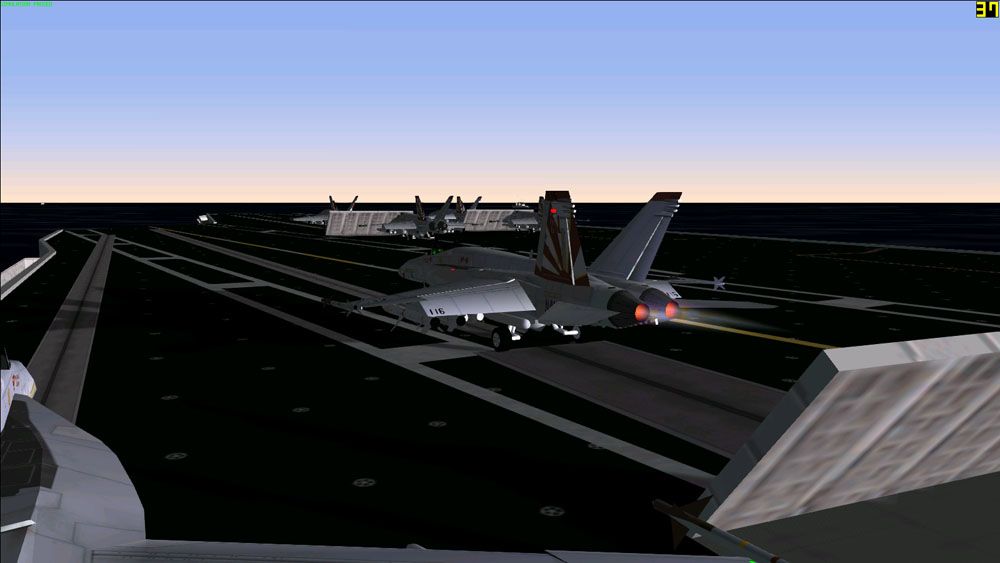
Alpha 3 and 4 (my Section) are ready for launch from the bow catapults. Alpha 3 (my Section Leader) is shot from Cat 1, he dips below the bow deck from all the weight, but then rises, and is safely airborne:
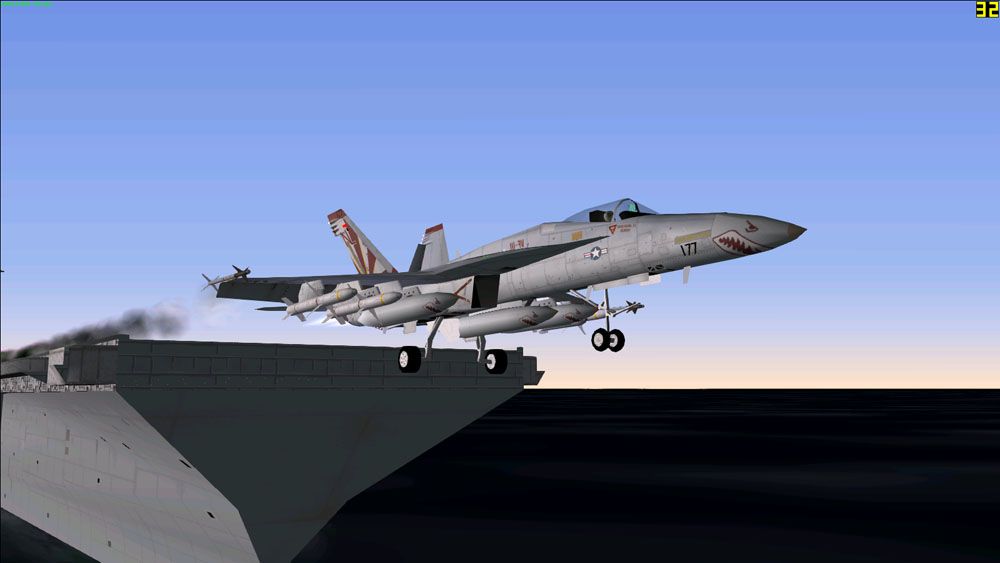
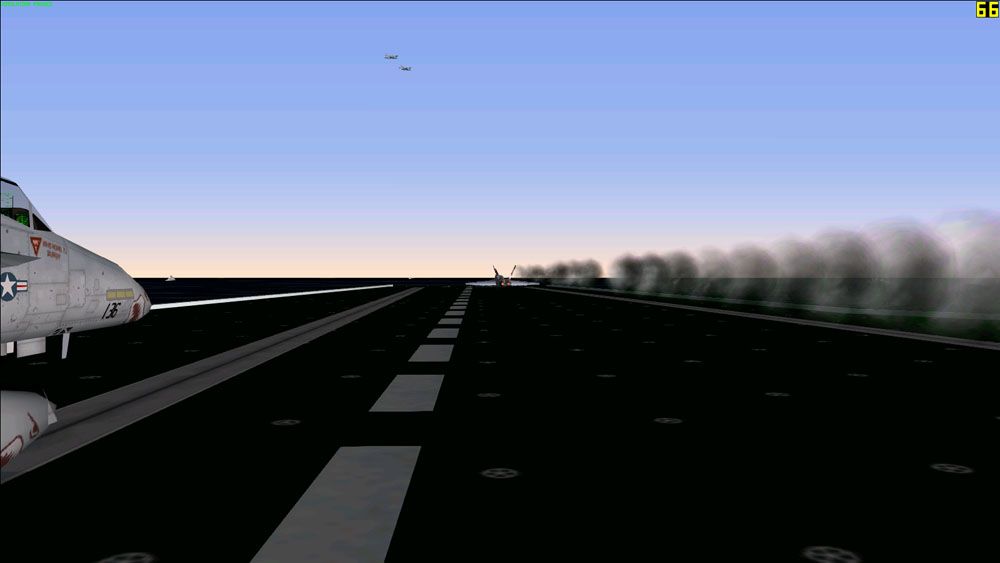
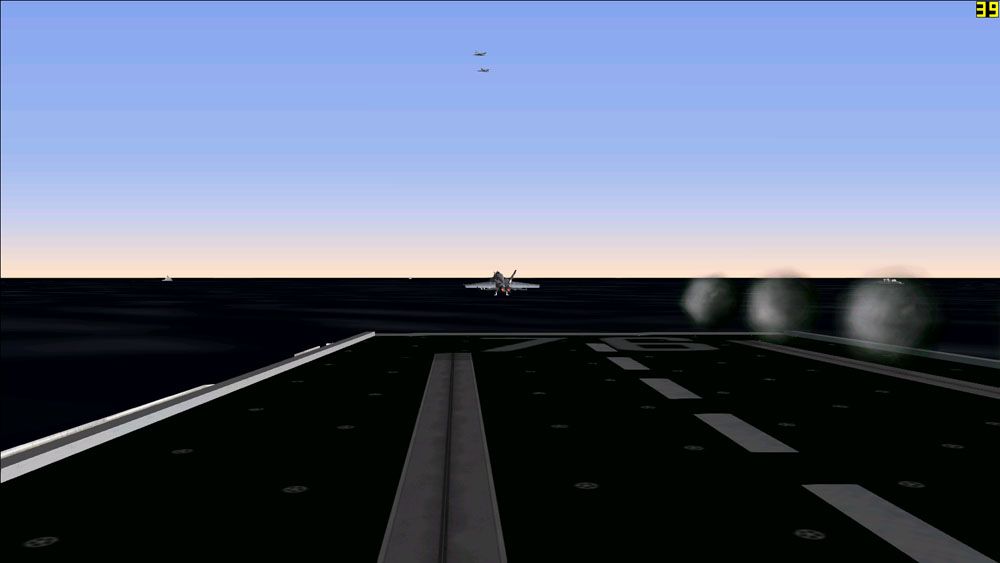
Alpha 4 is shot from Cat 2 and is also airborne. The jet blast deflector shields are lowered so the next aircraft can be positioned for launch:
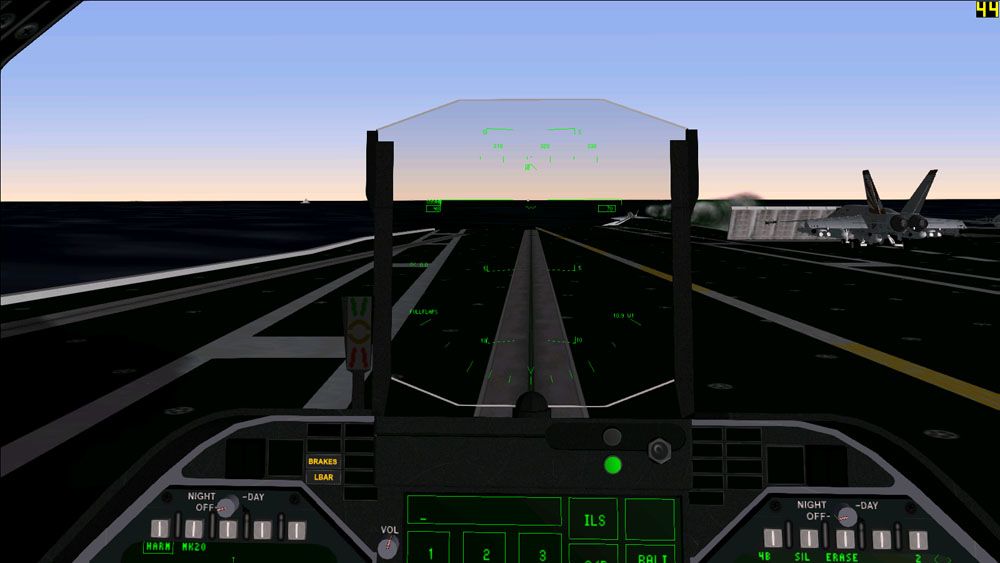
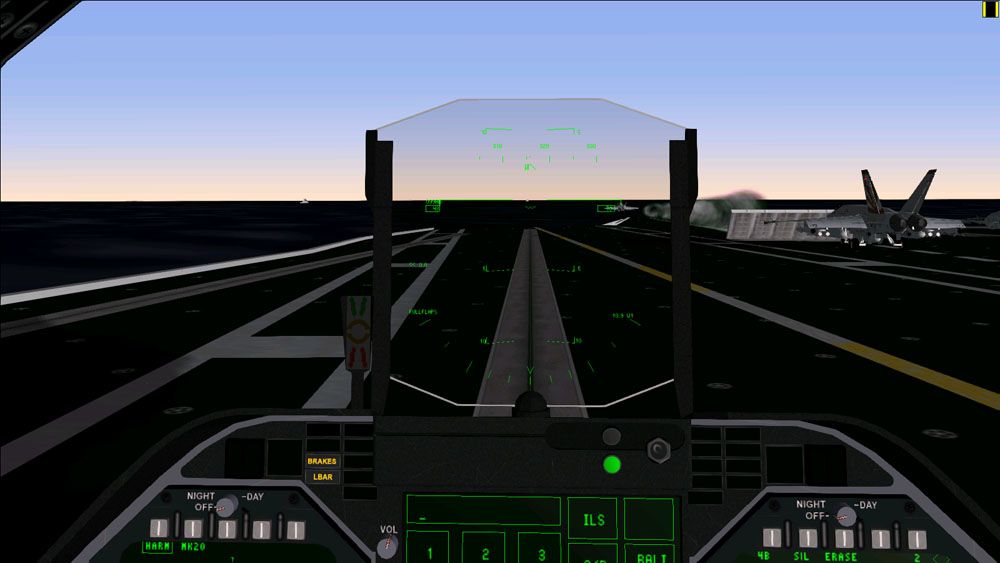
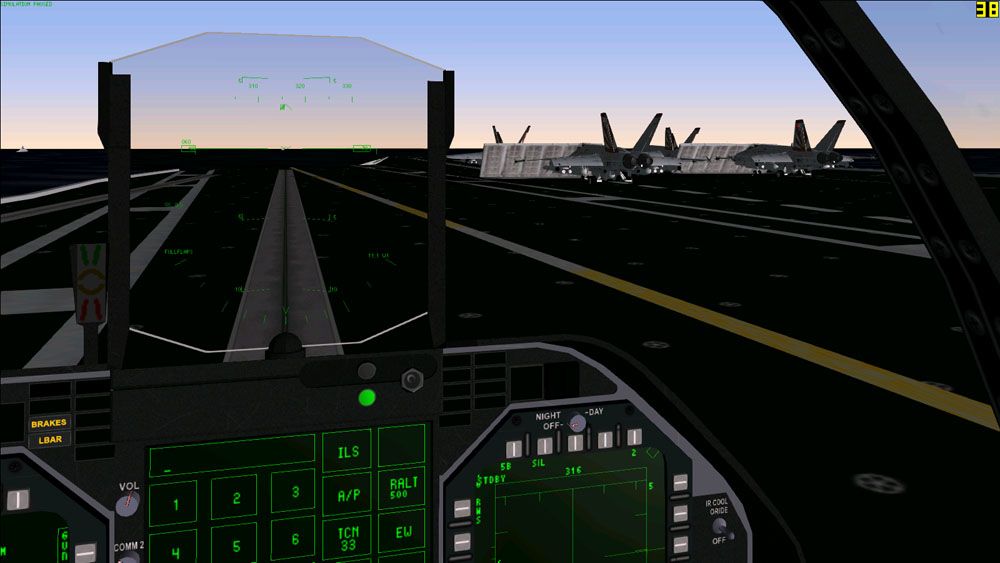
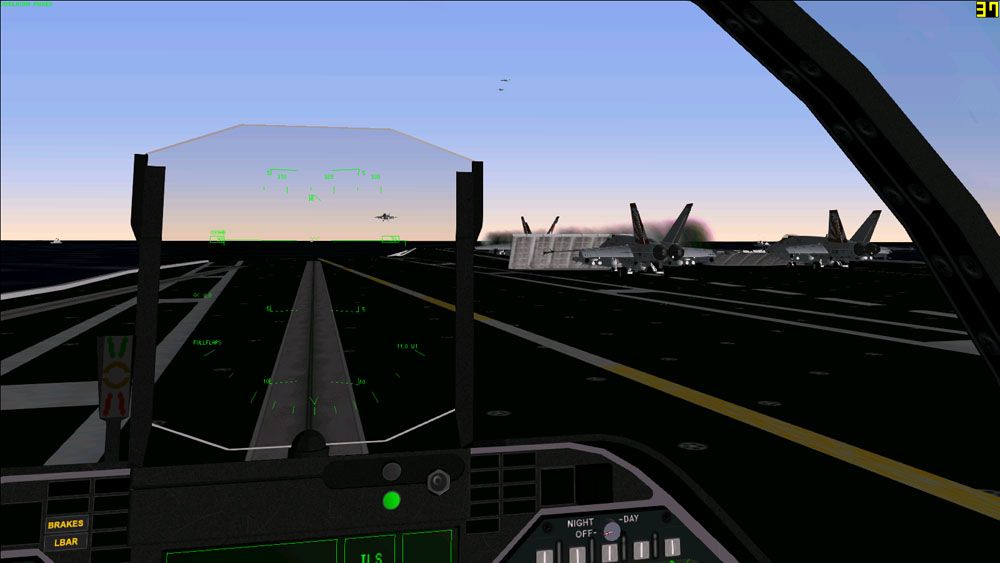
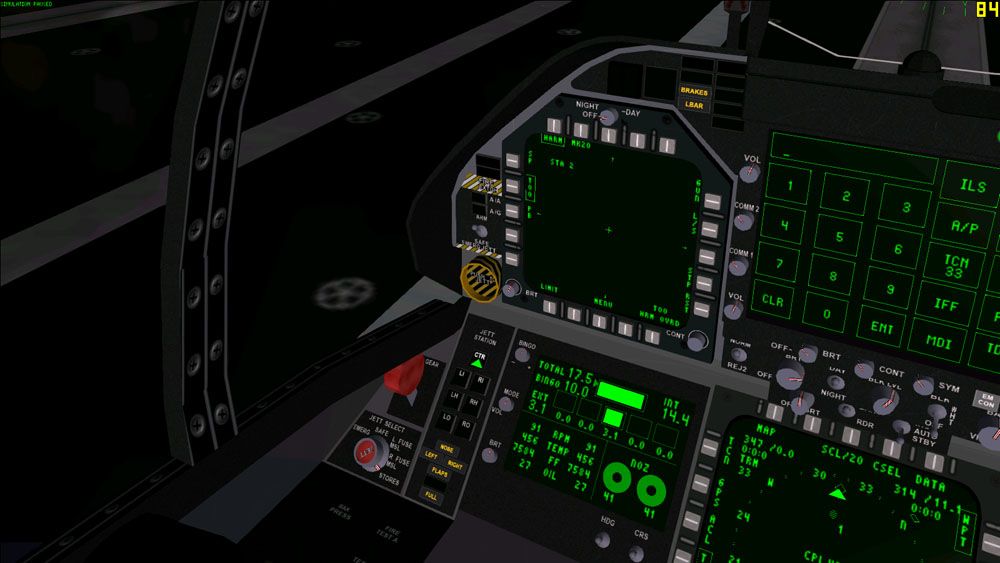
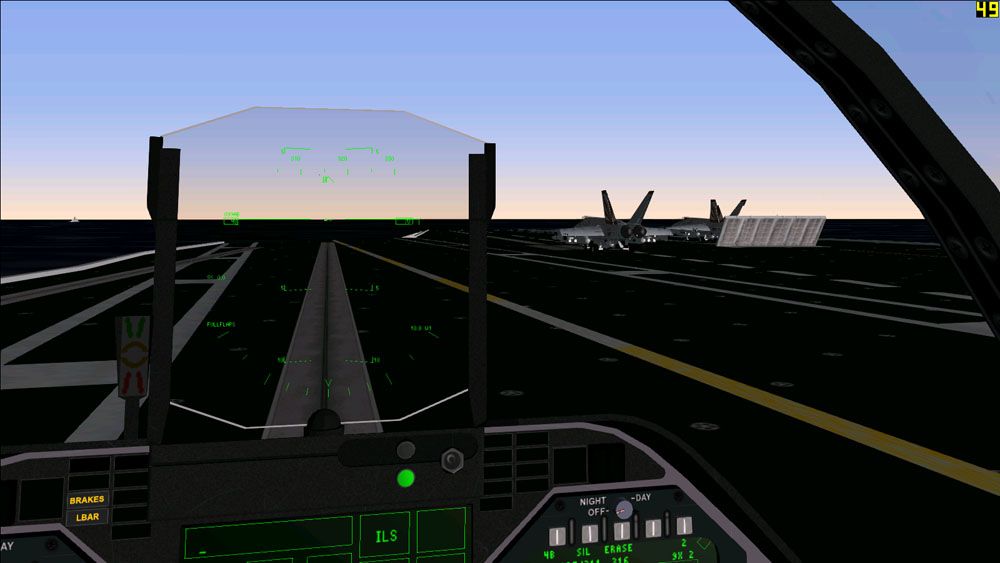
My wingman and myself are positioned on the waist cats. I do a final check of my instruments, on the EFD (Electronic Fuel Display - lower left panel) I check my fuel, engines RPM, exhaust gas temp, fuel flow and oil pressure - all are normal and I have 17.5 thousand pounds of fuel with the extra bag. The LBAR light indicates that my launch bar is extended and connected to the carrier's catapult system - I'm on Cat 3:
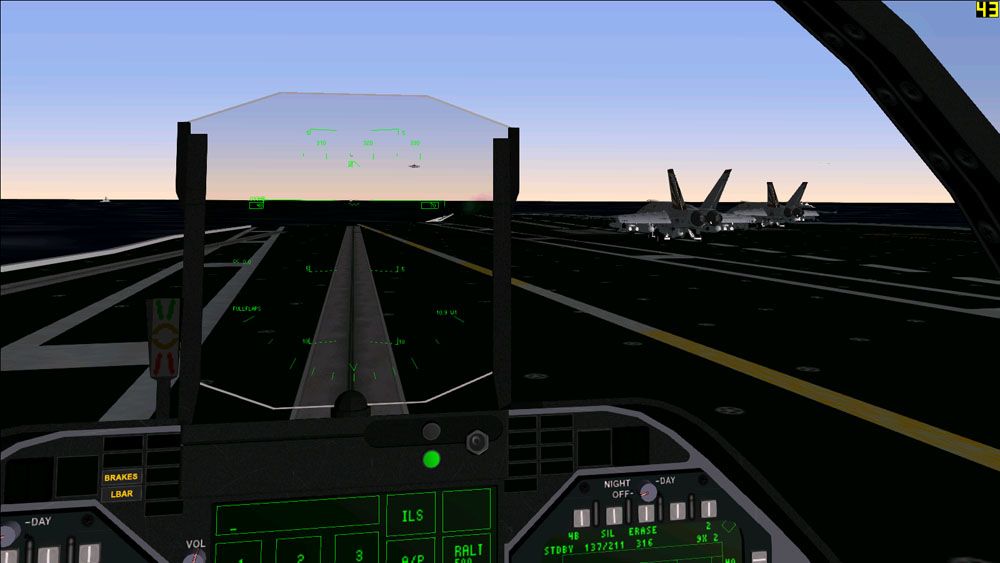
I give the thumbs up to my wingman (Alpha 2) on Cat 4:

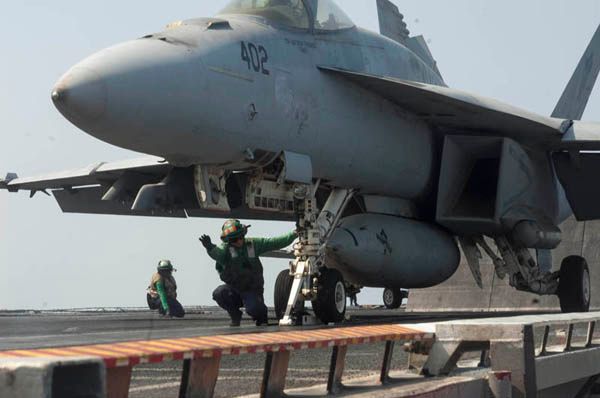
I hit the burners, release the wheelbrakes, salute to the deck crew, and brace:
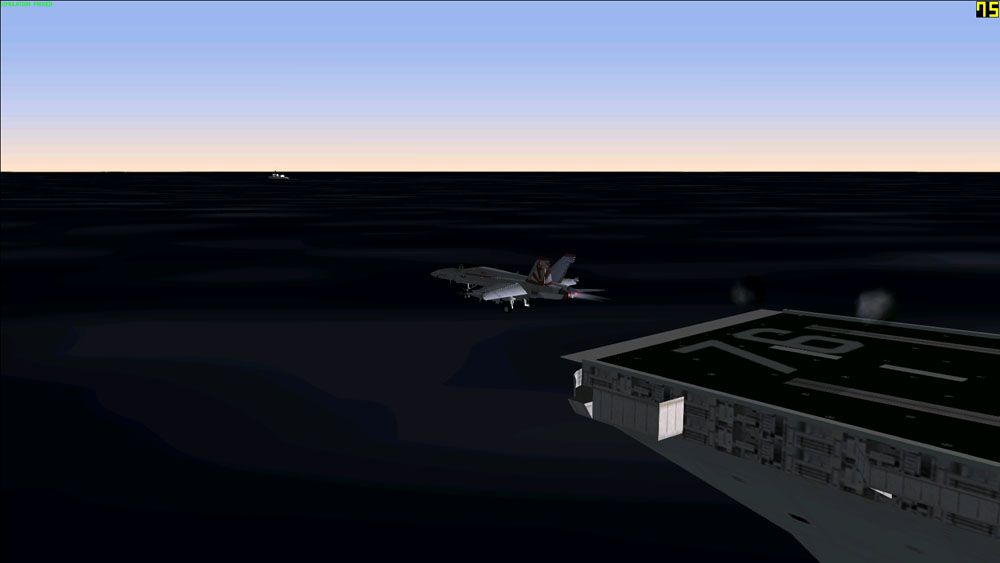
And I'm shot off Cat 3:

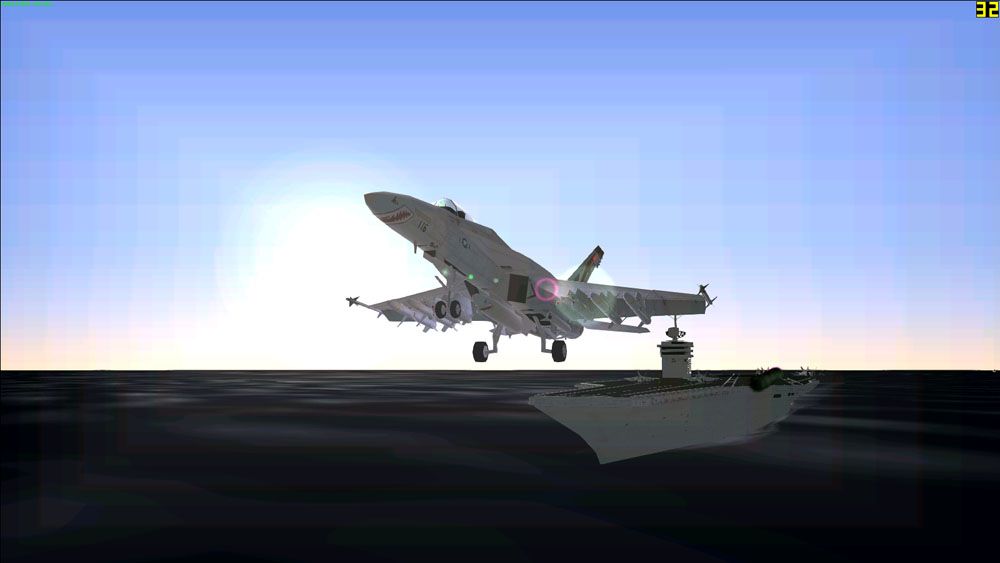
I perform a clearing turn:
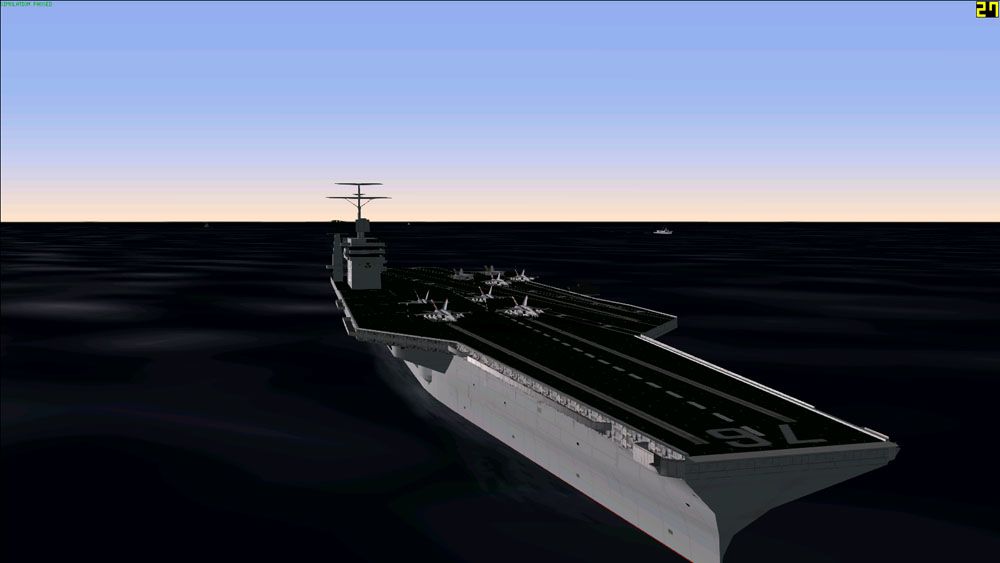
And raise the gear and flaps. Following Case I launch procedures, I climb to 500ft maintaining 300 kts and follow the BRC (Base Recovery Course - direction of the carrier) to 7 nm, continuing to climb. At 7 nm I will begin to turn to the 10 nm arc until I intercept our departure radial:
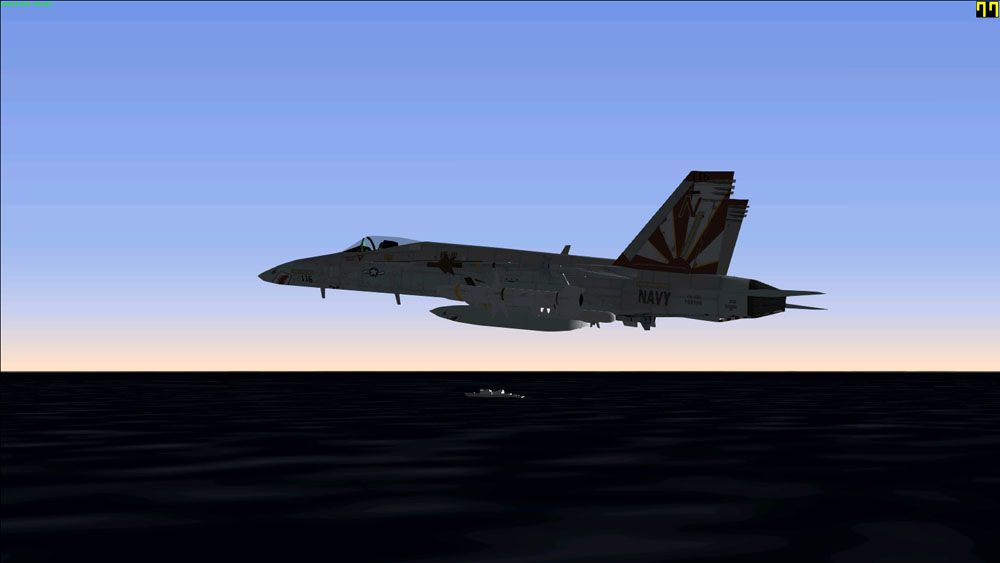
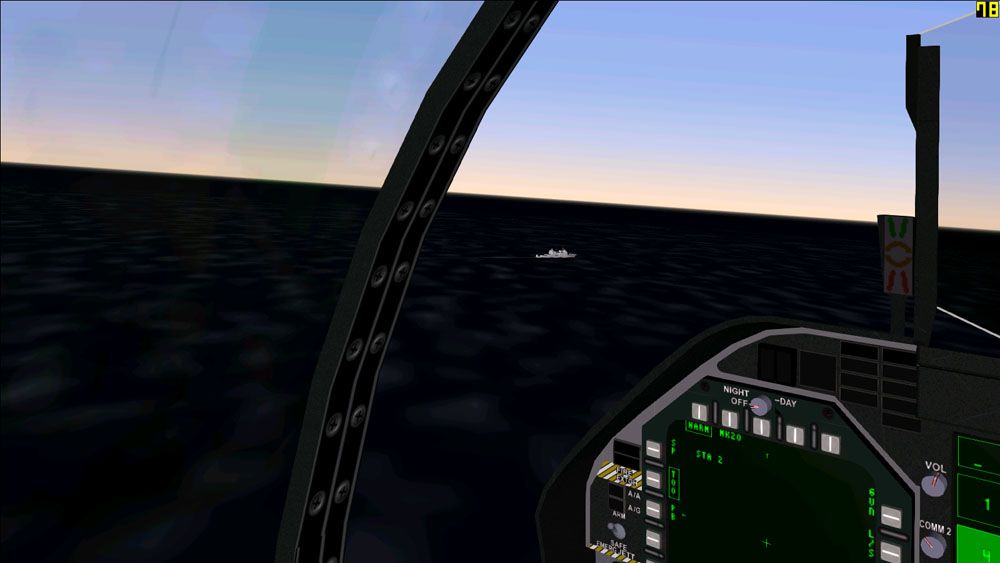
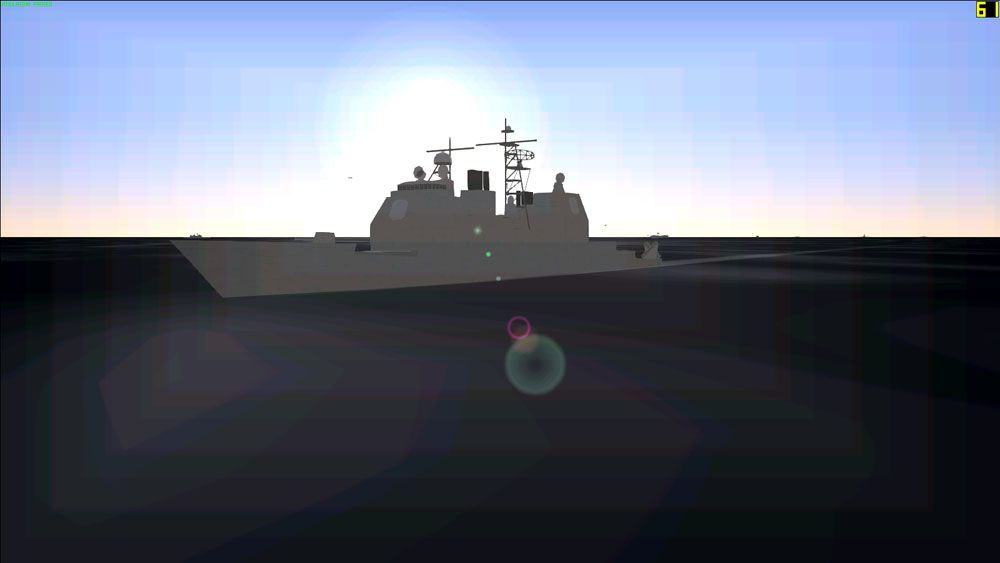
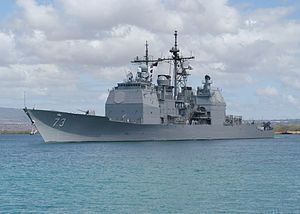
I pass the ships of the
Carrier Strike Group (CSG), the
Ticonderoga-class guided missile cruiser USS Port Royal (CG-73) on my port side:
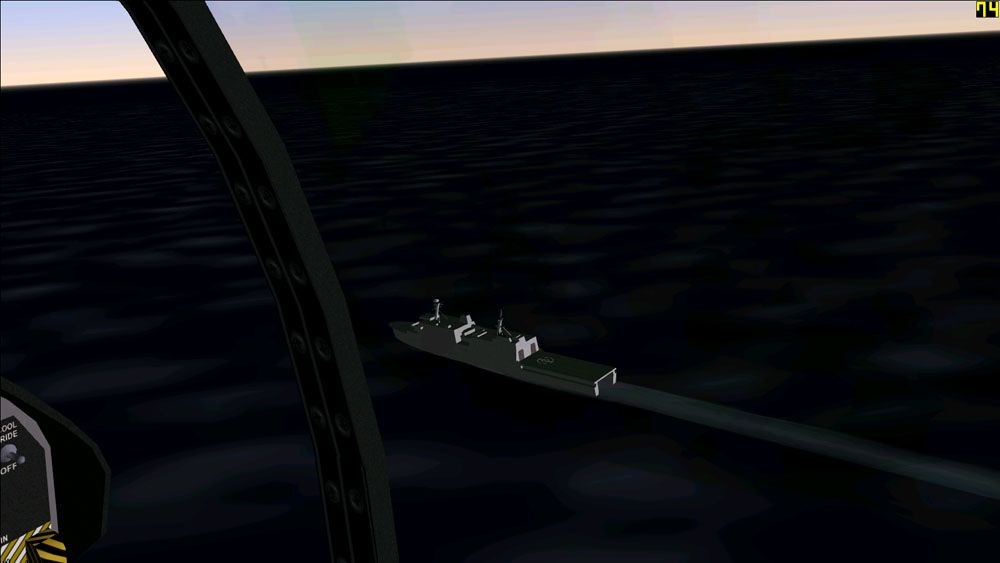
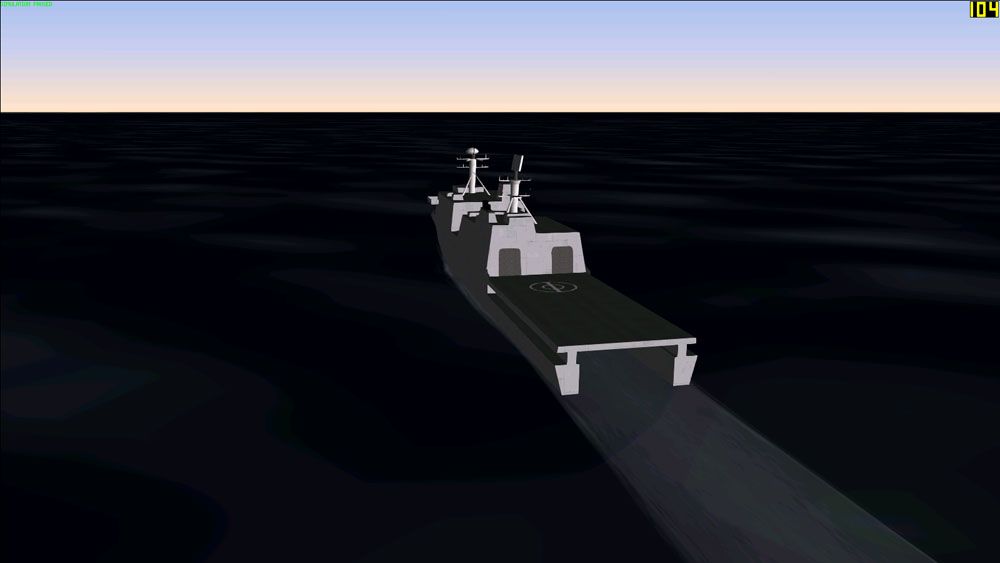
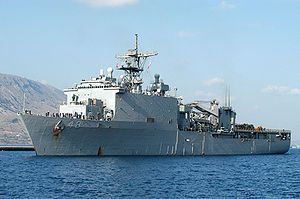
And the
Whidbey Island-class dock landing ship USS Ashland (LSD-48) on my starboard side:
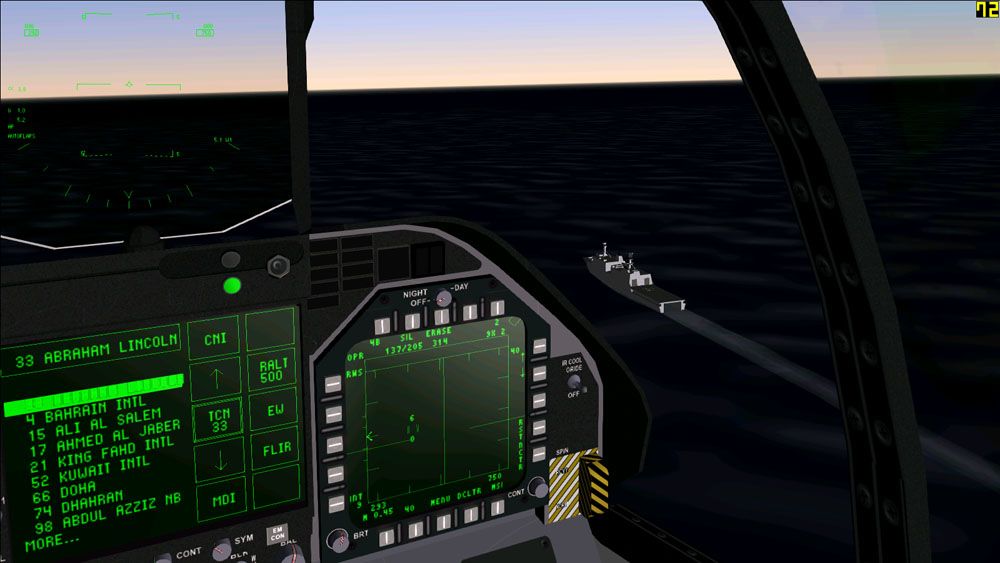
(I have my UFC (Up Front Controller - big center panel touch screen) on the
TACAN (Tactical Air Navigation system) list page, and my right MDI (Multipurpose Display Indicator - right screen) set on the Air to Air radar)
The rest of my flight are shot from the cats:
As I turn onto our departure radial from the 10 nm arc, I check my HSI (Horizontal Situation Indicator - set on my MPCD - Multipurpose Colour Display - the lower screen below the UFC) and ease off the throttle so the rest of my flight can catch up at the Flight RV (Waypoint 1 - Arcing). You can see waypoint 1 on the HSI. I've set the navigation system to Waypoint so the autopilot is coupled to selected waypoints (I can also couple it to a TACAN station, designated target or GPS location). I have the waypoints sequence (SEQ) selected so you can see the lines adjoining waypoints and have the cycle set to AUTO - so as I hit each waypoint the nav system automatically cycles to the next waypoint. The EFD (to the left) shows I've burned through 1500 pounds of fuel. I give the Arcing radio call, and the controller releases me from the carrier controlled airspace and tells me to switch control and contact Shovelhead (
AWACS - Airborne Early Warning and Control).
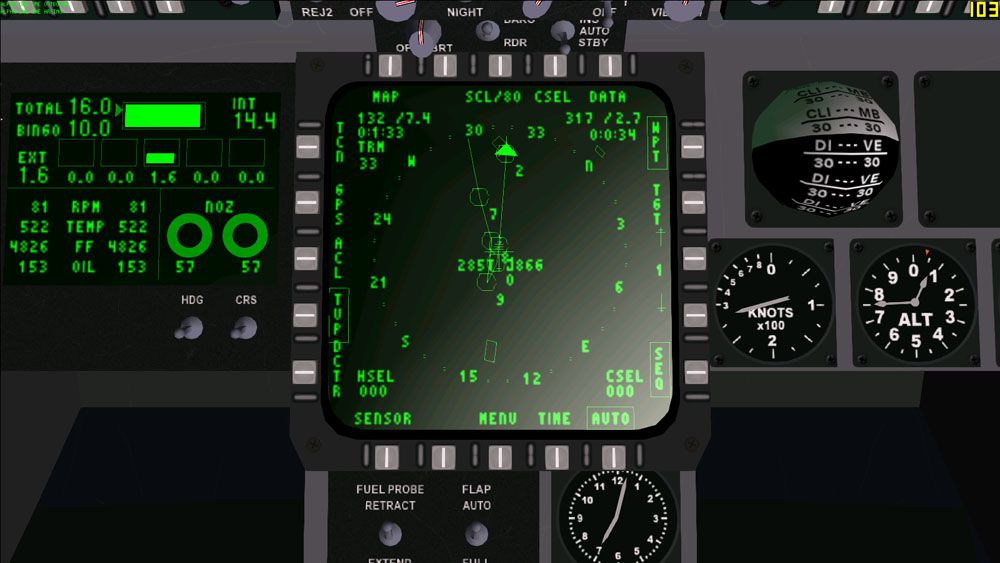
At the top right you can see Waypoint 1 is 2.7 nm away at 317 degrees and I will get there in 34 seconds at current speed.
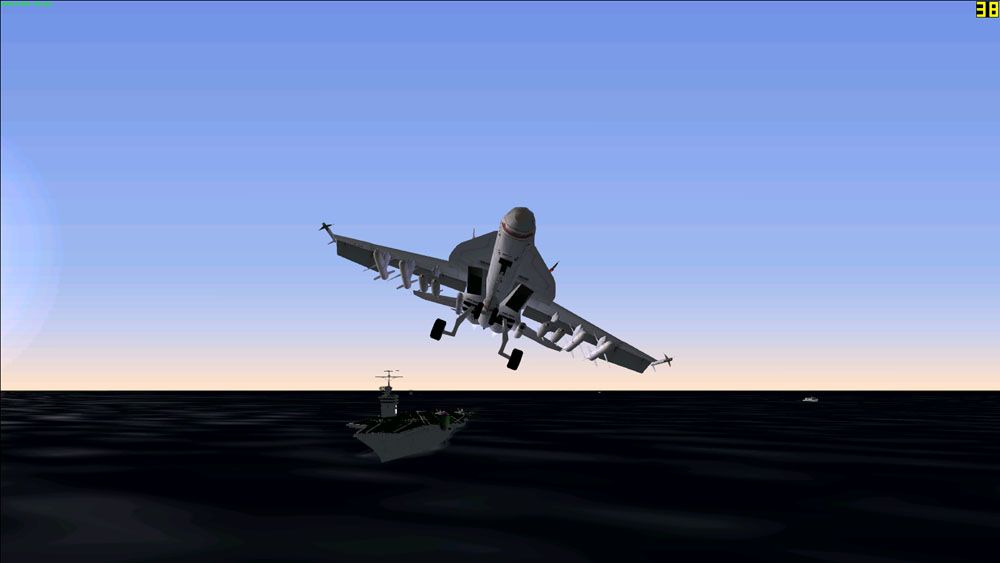
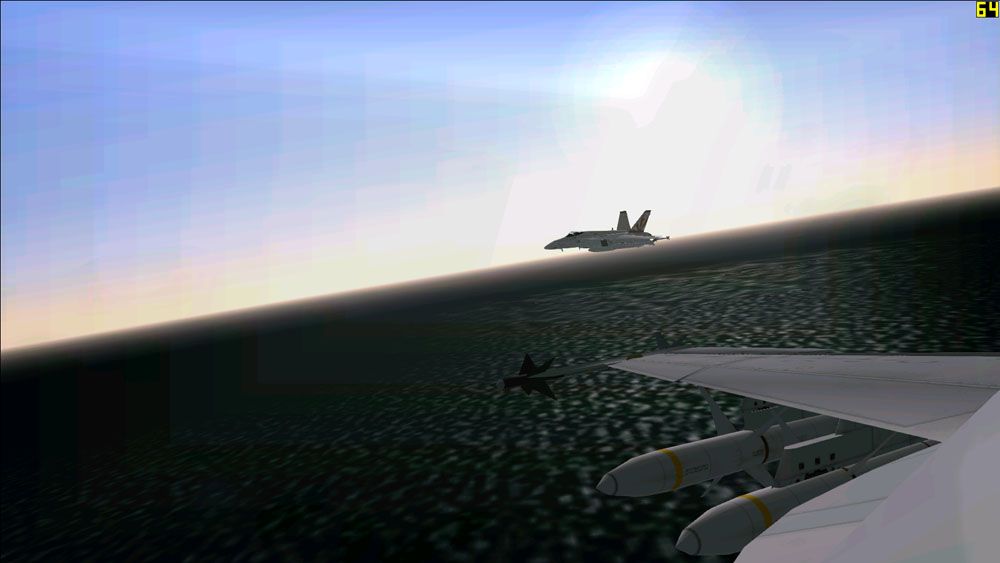
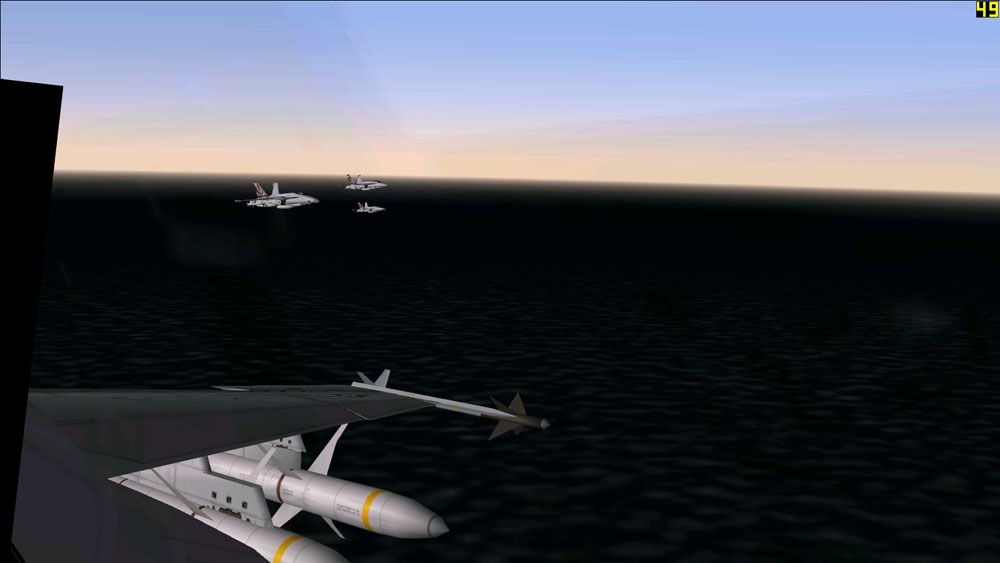
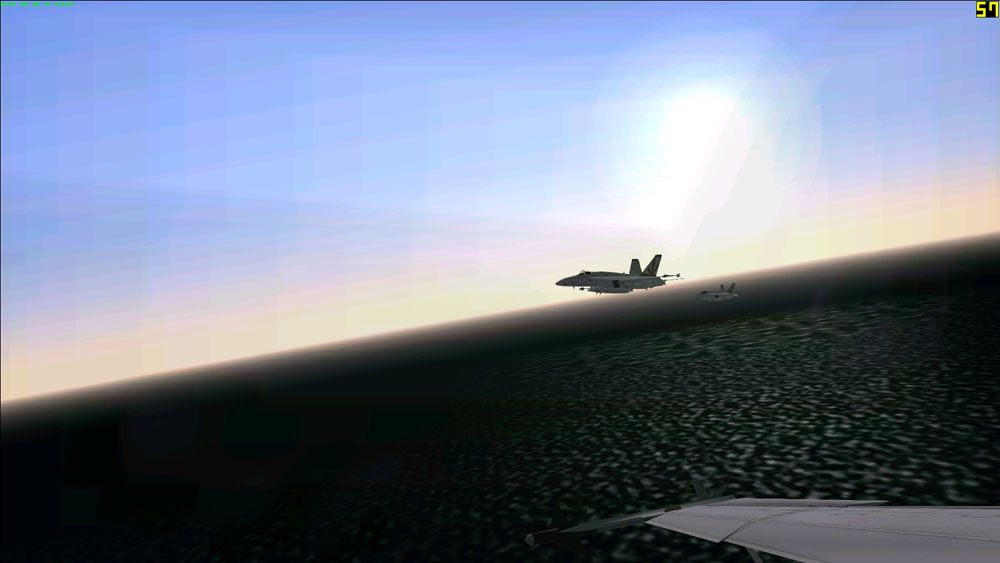
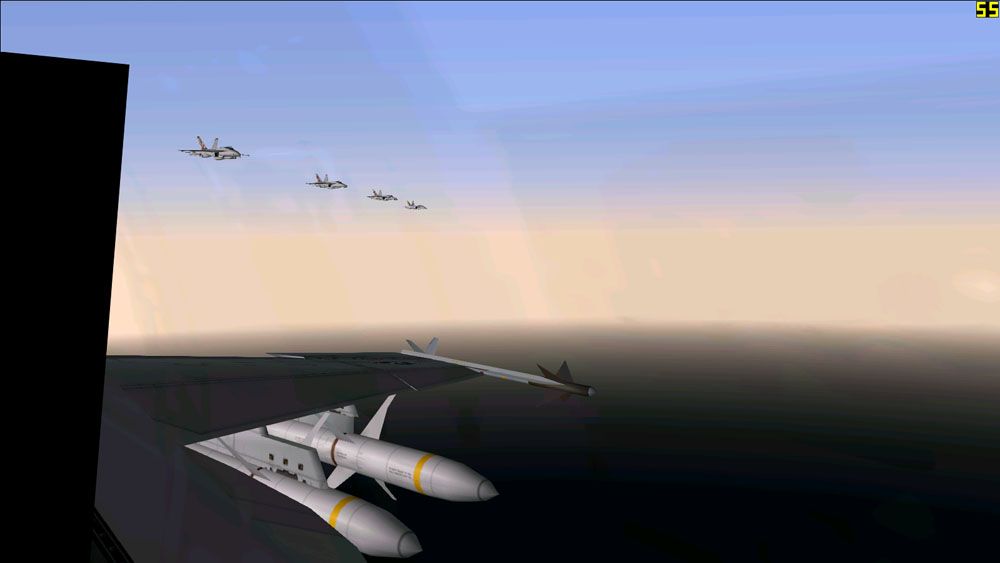
My wingman joins up on the right. You can see the
AIM-9X Sidewinder on my wingtip, and two
AGM-88 High-speed Anti-Radiation Missiles (HARM) on the outer stores pylons:
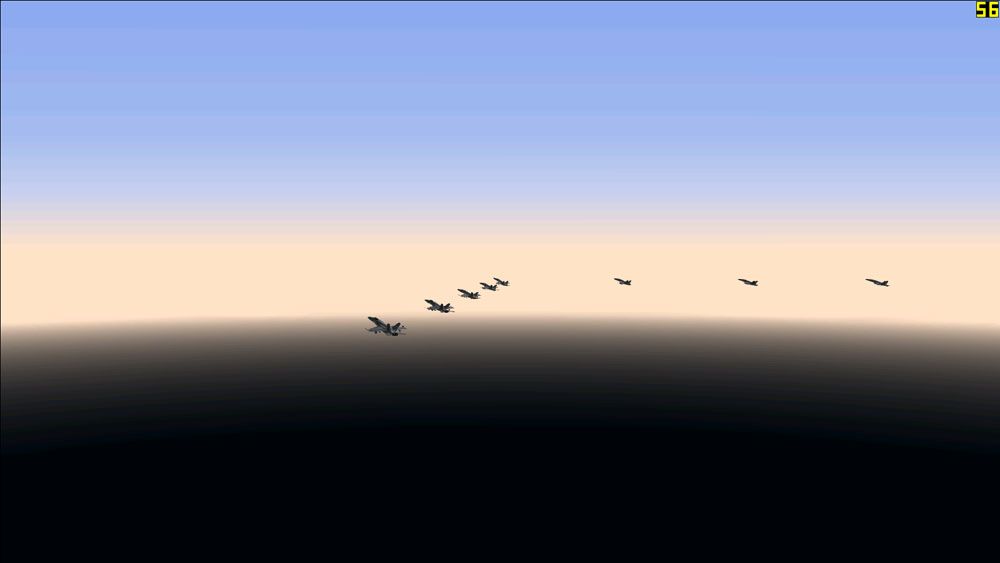
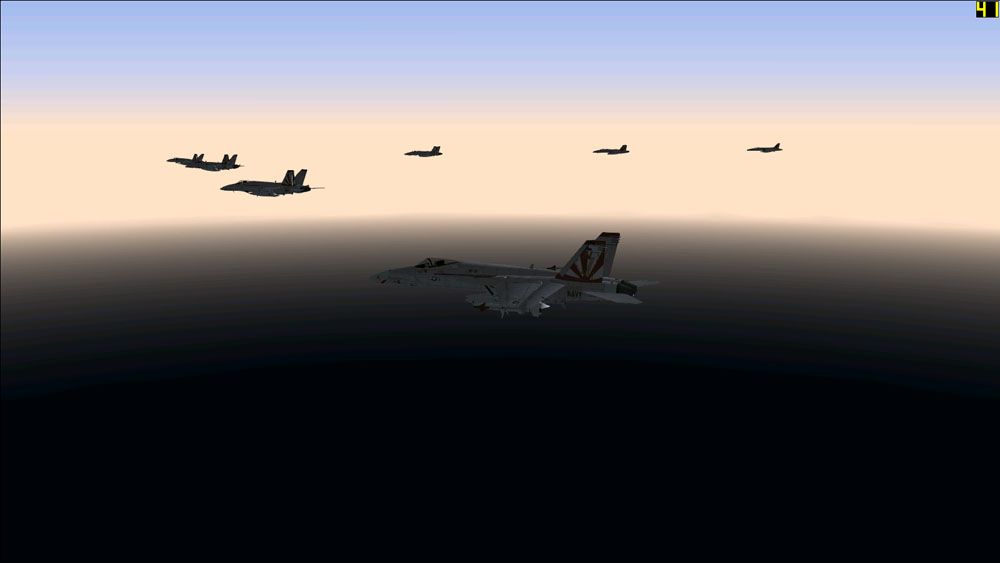
And the rest of my flight begin to join up:
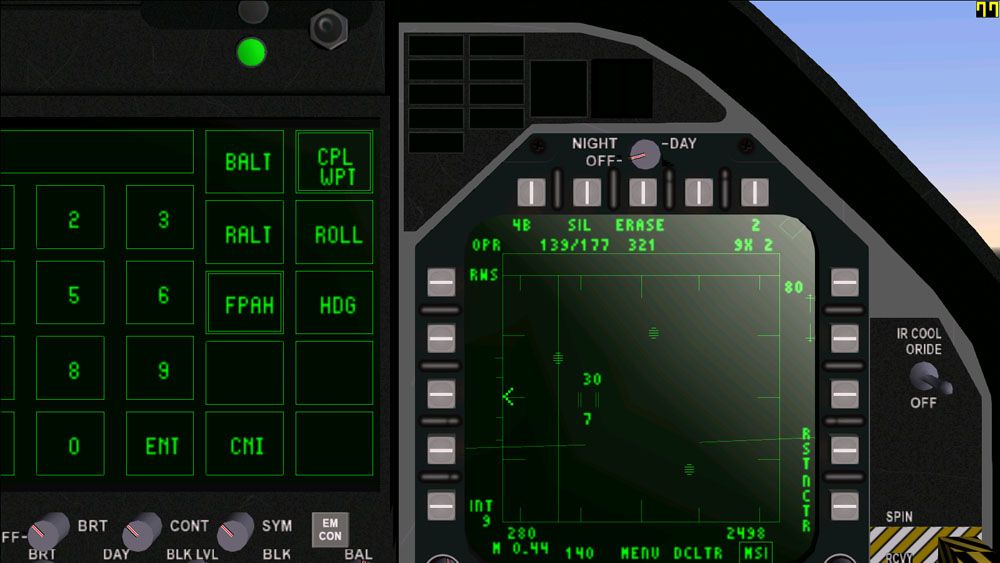
I check some raw contacts on the Radar scope from 18 to 60 nm. I have my radar set on Range While Search (RWS) mode, with the azimuth scan set to 140 degrees, Interleaved (INT) Pulse Repetition Frequency (PRF) setting, 4 Bar (4B) Elevation Bar setting and the antenna elevation centered, and 80 nm range. This setting gives me a decent volume of searched airspace.
You can have a go of the APG-73 Radar here: http://vfa-41.net/APG_73_Radar.php 
I know that it's only friendlies or civilian air traffic over the Gulf, but I use my
IFF (Identification Friend or Foe) system to interrogate the contacts. They respond as friendly (solid circles) so that means they are friendly coalition aircraft, not any civil airliners or bogeys:
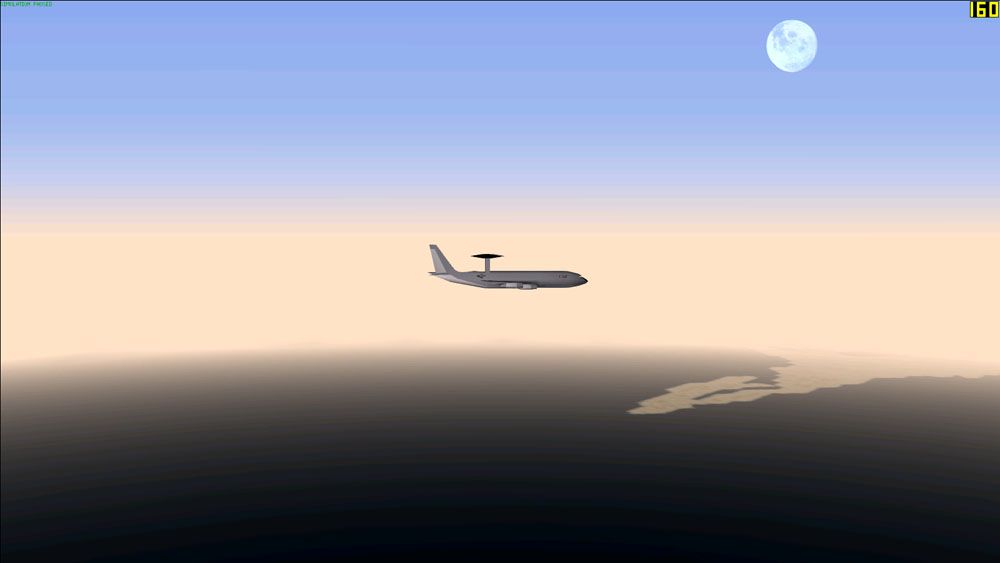
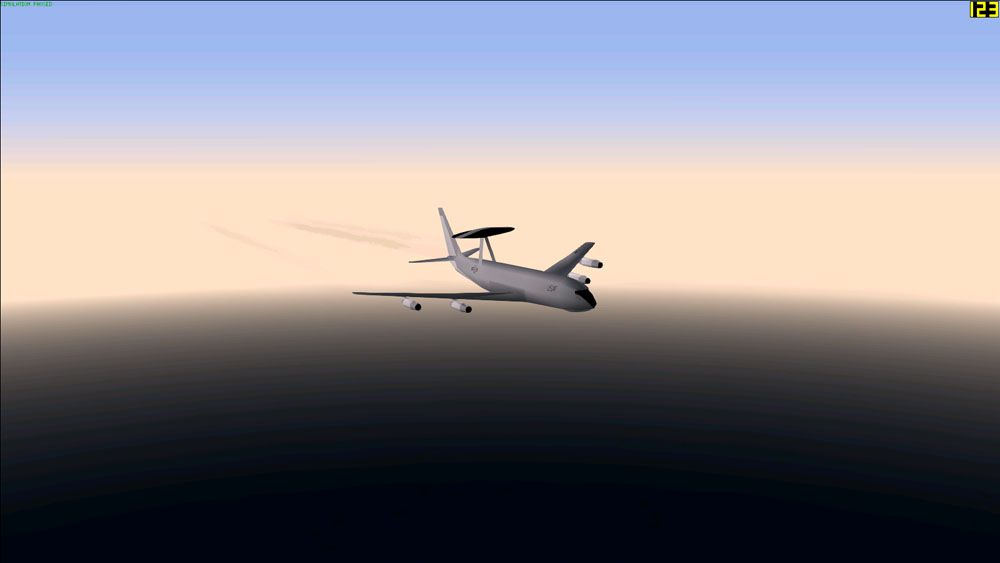
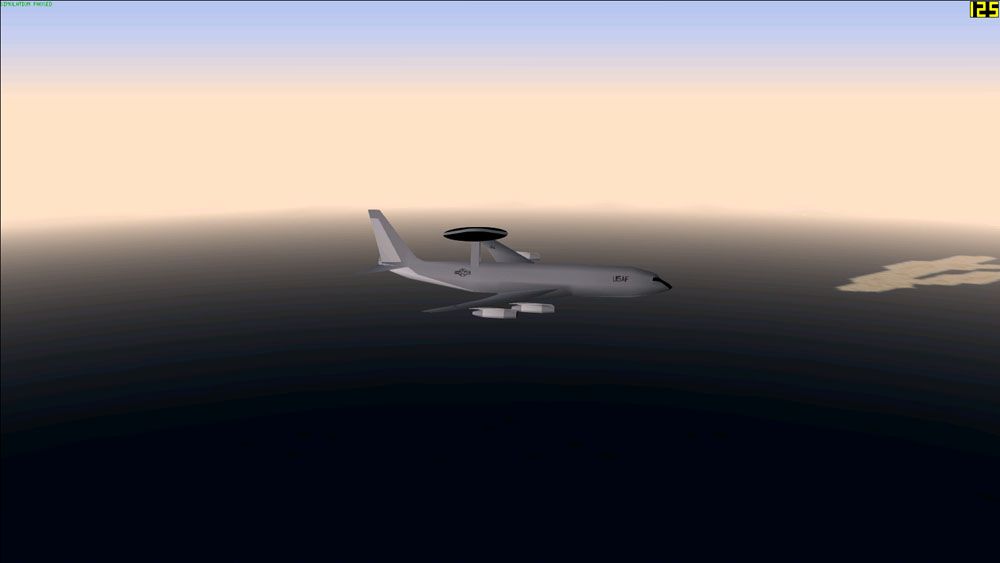
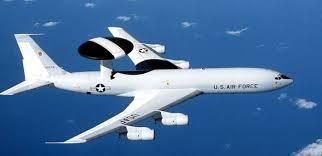
I check in with Shovelhead (AWACS) on the radio. The
E-3 Sentry is on station over the Gulf providing surveillance, command, control and communications:
And I establish a datalink with the AWACS. This allows me to share and view all contacts that the AWACS is tracking on my Situational Awareness (SA) page. I have Datalink 3 (DL3) selected which displays all Friendly, Enemy and Unknown aircraft. I looks like peak hour over the Gulf today....
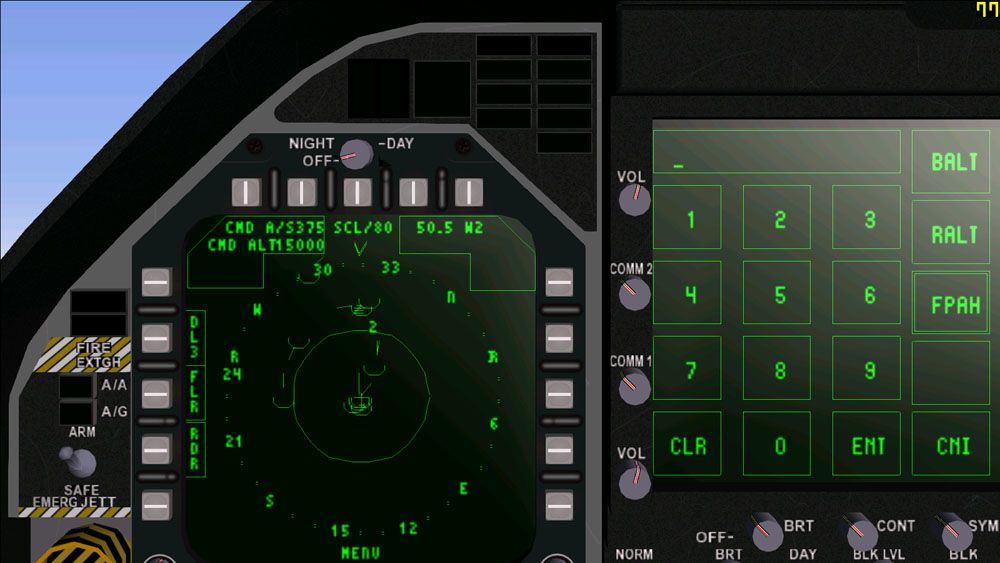
I have the range on the SA page set to 80 nm, and the radar coupled to it as well (R symbols designate my radar azimuth or left and right scan limits). My FLIR is coupled too but I don't have the FLIR switched on. This allows contacts from these sensors to also be displayed on the SA page.
I also couple my radar page to the AWACS with the Multi-Sensor Integration (MSI) mode. This displays datalink contacts from the AWACS on my radar page - some that may not be picked up by my radar if I don't have the scan settings right - a very handy option especially in air to air combat.
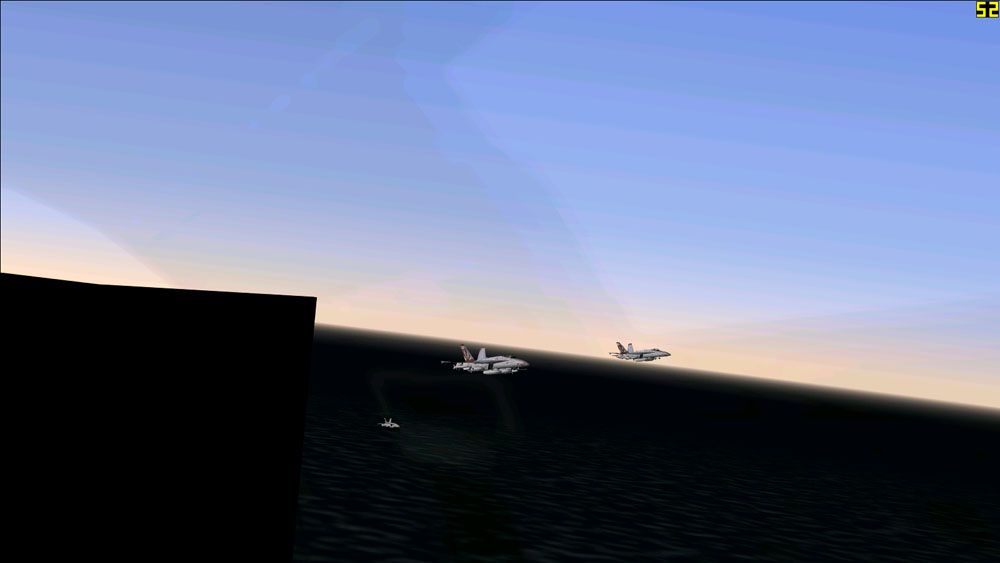
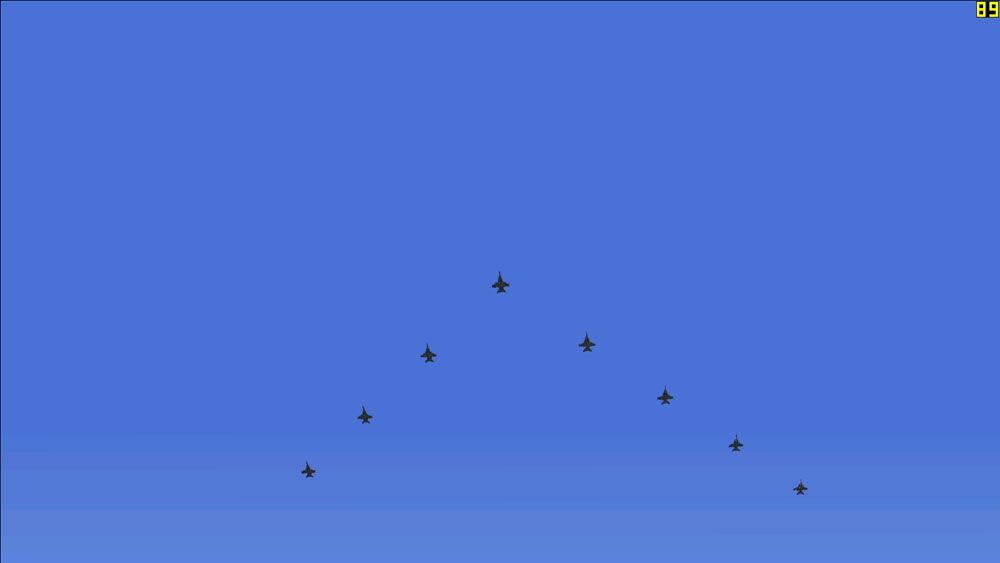
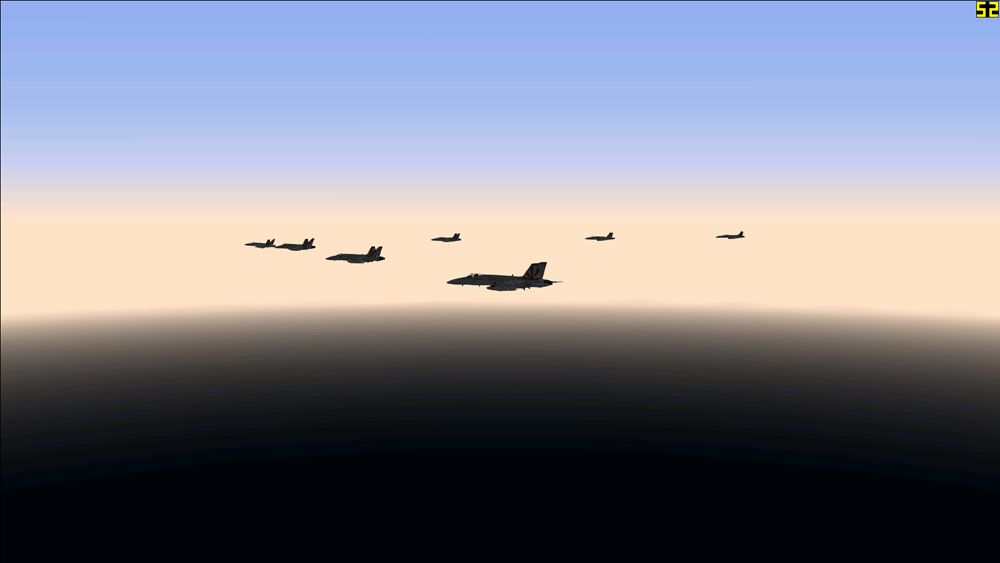
I get my flight to close up into a tighter formation:
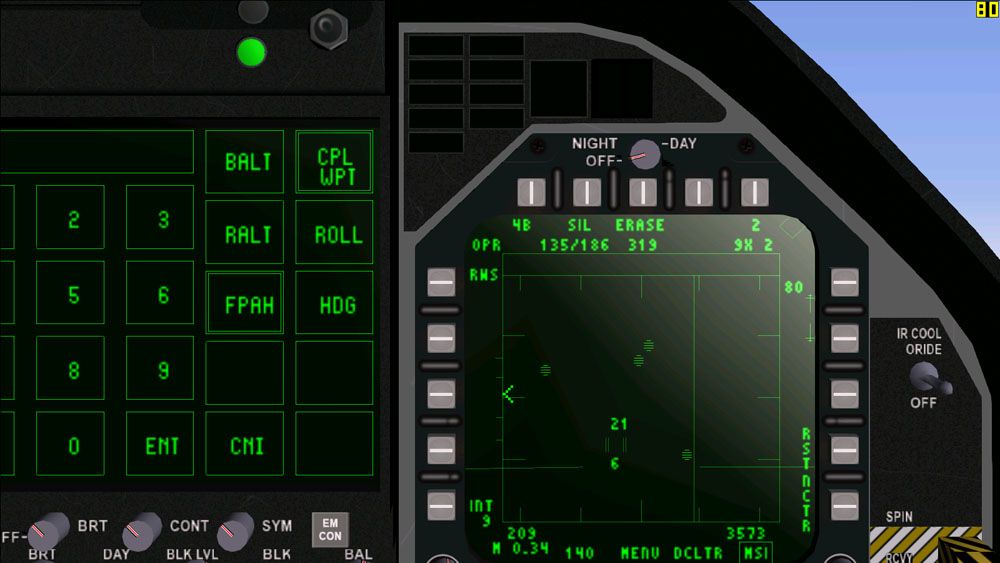
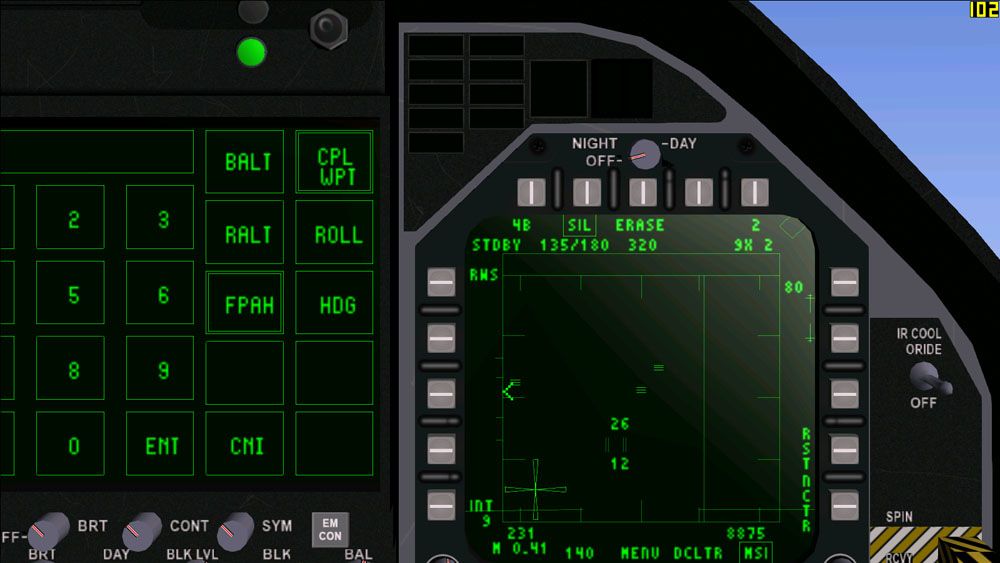
I radio to my flight to turn all radars off. Since we now have a datalink with AWACS and SA of all aircraft, I don't really need to broadcast our location and flight path to the enemy by having our radars blasting, and decide to keep EMCON (Emmission Control) on. I switch my radar to silent (SIL):
We begin the climb to 25 000 ft and waypoint 2 where we will RV with the tanker for refuelling:
Established at 25K and outbound to the tanker for a topup at WP 2 about 50 nm away:
Next part coming soon.....


