I was playing around with Battle Command again and ended up with a decent set of screenshots I thought I'd see if I can get an AAR out of it. I wasn't completely focused, kids were running around and my wife said something a few times I didn't quite get and we had lunch in the middle, but anyway, here goes:
I missed taking a setup shot so this is my recon element rolling towards Salm�nster, with preperatory bombardment from my howitzer battery:

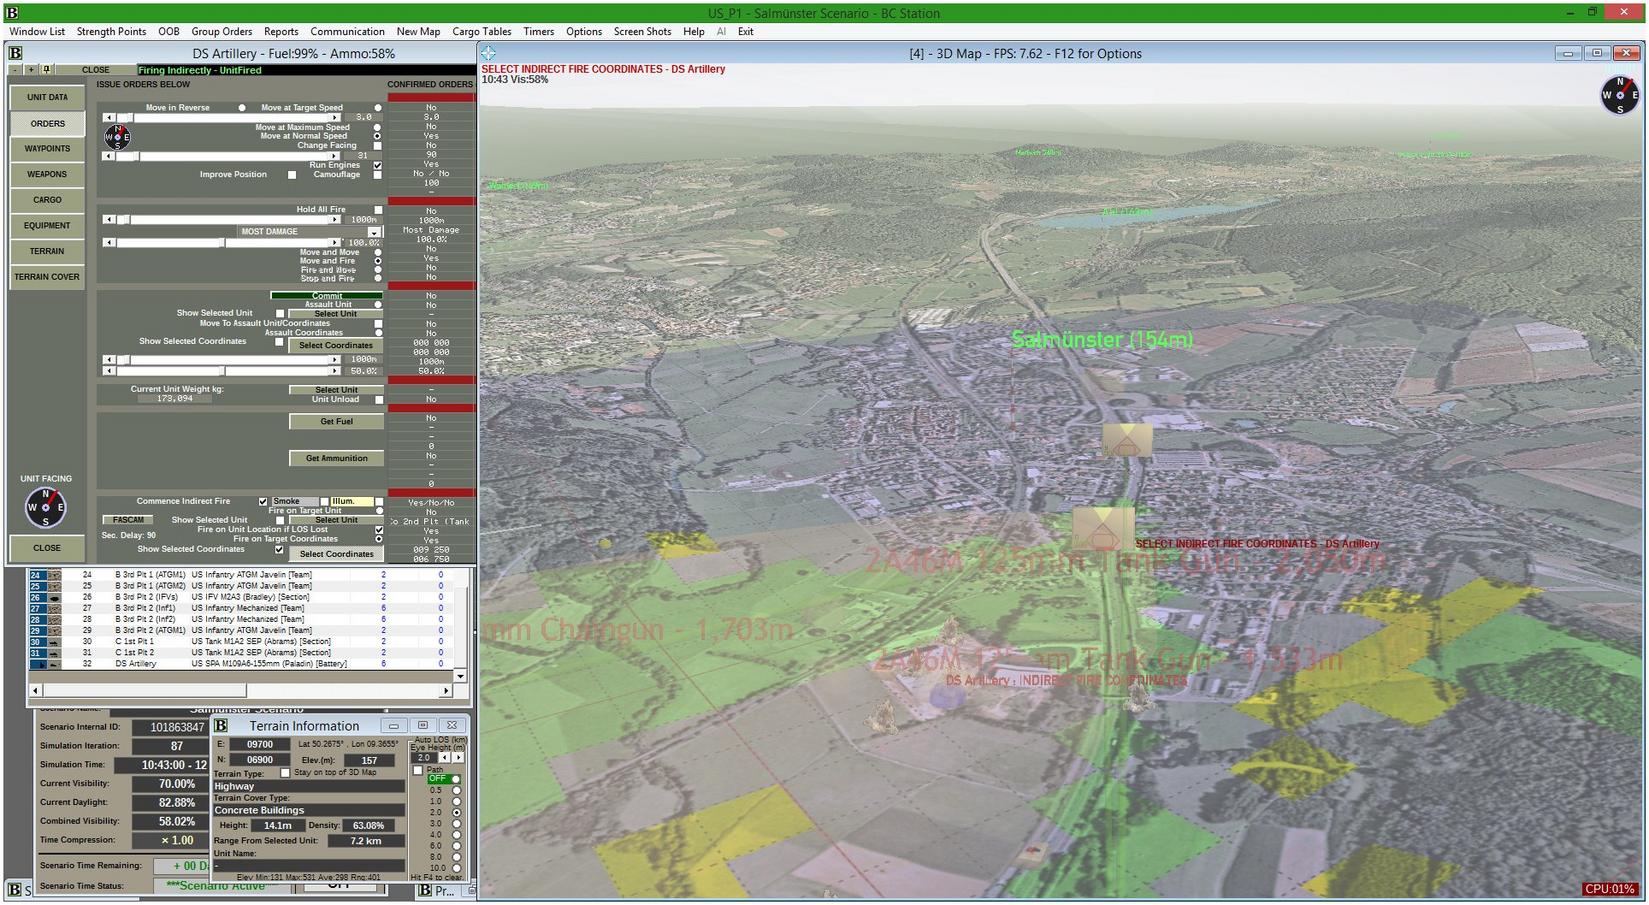
I split them up and send three left around the hill and three via the highway (the howitzers are reloading so no artillery for a few minutes):

Believe it or not someone had the highway covered (duh) and one Bradley buys the farm before I even get eyes on anything. Oops.
At least my howitzers are back, pounding suspected positions in Salm�nster.

Looking for a good place for my other bradleys with the LOS overlay (here for the ones in the center of the screen). You can see the dead bradley in the foreground and a fading unit sighting in the background where the green LOS overlay extends north:

Trying to bring some HE in on that guy, but the howitzers are readjusting and I can't get it done in time:

Something from over by that unit sighting is opening up with 30mm against the Bradley but the Bradley can't see anything.
Meanwhile I relocate two Brads to that Aufenau Offroad Track in the foreground in the hope of getting some eyes on:

I bring the tanks up now that I know where I need them and move more Bradley down do the edge of Aufenau:

I messed up my movement orders a bit and he doesn't have overwatch (except the Brads). Run, boy, run!

Arty is back from their nap so we can dish out some HE.
Up until here I was feeling pretty good about myself. OK, I lost one bradley with infantry, but other than that, I was rolling in on the objective with little to no resistance. Or so I thought.

A minute later things start going wrong. One of my tanks gets fatally hit and the Bradleys have incoming ATGM but can't see anything themselves:

I move the tank up and he immediately starts trading fire, while I try to move some of the bradleys somewhere more useful and unload some infantry on the ridge.

None of this does much good though. Two minutes later the other tank gets hit too, everybody is reporting incoming fire but only vague contact information. The OPFOR pop in and out before I can engage but their fire is starting to take a toll on my units. At least the Javelin team gets a few shots off, but their Bradley is getting shot up behind them:

I adjust my artillery fire and look for good vantage points. The ones I find already have dead vehicles in them... not a good sign I figure...
And then the straw that broke the camels back: My artillery is out of HE. Oops again. They, uh,
run out?

But they still have smoke, so I figure I'll blanket the place in smoke and bring the crunchies in close (yes I know this is not the entirely correct or legal way to employ smoke):

Time to call up the reserves:

Now the arty is out of smoke too. But look how the smoke spreads and blows over time (in the foreground is the burning wreck of the dead Abrams):


Time to roll, Bradleys assault the town!

That guy in the woods is back again, but this time I just return fire and continue on to the objective:

TOO MUCH WIND! Argh. The smoke has blown off the target area and now I have a fantastic view of a platoon of T-90s. And so do they of me out in the fields with my pants down.
One Bradley gets hit by infantry in the houses (already dead in the field to the north), the other one will manage to unload some of his troops in the smoke before the T-90 gets him too. The infantry in the foreground will soom be destroyed by that enemy infantry it has encountered. (
I wasn't really playing anyway...)

The Javelin team runs for the woods while the HQ bradley tries to make a difference from farther back. I need air support right about now.

The Javelin team heroically knocks out one tank and I try to move it to a good vantage point to knock out the other one:

There's still some infantry in the town from the bradley that got hit:

... and I try to kill the T-90 with them:

They try, but finally there is just one guy with an M4/209 left and I tell him to withdraw south and lay low. The Javelin team is out of Javs so there's nothing I can do. I call off the assault with forces about even, meaning a miserable failure.

Despite my miserable performance and fending off family and other real life issues on the side I had a lot of fun here. I think this is my favorite scenario so far. The terrain in complex and you can make good use of the superior range of ATGM - if you can get LOS to a target. It's a very challenging scenario IMO as there are limited avenues of attack.
What is incredibly fun is rolling the artillery in front of you as you advance, something which is very easy to achieve in Battle Command as you just call up the artillery unit window and adjust the targeting point. There's a very sophisticated artillery interface already tested out but not in the game. I missed the more nuanced control for my smoke bombardment, but just being able to adjust fire onto a unit sighting is incredibly satisfying. Great stuff.
The resolution sits somewhere between CO2 and CMBS, so you get pretty granular control but you're still not firing individual rounds or chosing what floor someone should move to.
I actually recorded a video of this but set it up wrong so the audio track is the microphone, i.e. mouse clicks and kids running around. At some point my wife says something (maybe twice). I thought I'd spare the general public. The audio just didn't fit the visuals.


