Since the cavalry advance to contact and subsequent combat team (CT) engagement
http://simhq.com/forum/ubbthreads.php/topics/3889220/Steel_Beasts_3_002_Australian_#Post3889220seemed to provoke some interest, I thought I'd post an earlier AAR from the Steel Beasts forum too ...
Here Battlegroup ANZAC (BG ANZAC), a virtual unit focused on Australian and New Zealand members - but open to all, is conducting a CT advance in contact across the rolling hills of PUCKAPUNYAL (Australian training area).
Whilst the ground is familiar to some participants it is the first time that BG ANZAC has fielded its new M1A1 AIM SA proxy [M1A2 SEP (with CITV disabled)] and new infantry structure as its standard configuration.
To reflect the increased combat power available to the Australians, I ramped up the opposition to T-90 and BMP-3 standard.
Paul drew the short straw as Officer Commanding, the Combat Team (CT OC).
His Mech Inf Coy had a Tp of tanks allocated.
I kept a second tank Tp in reserve in case he needed it (also my passport to join the fray, if required) along with the echelon.
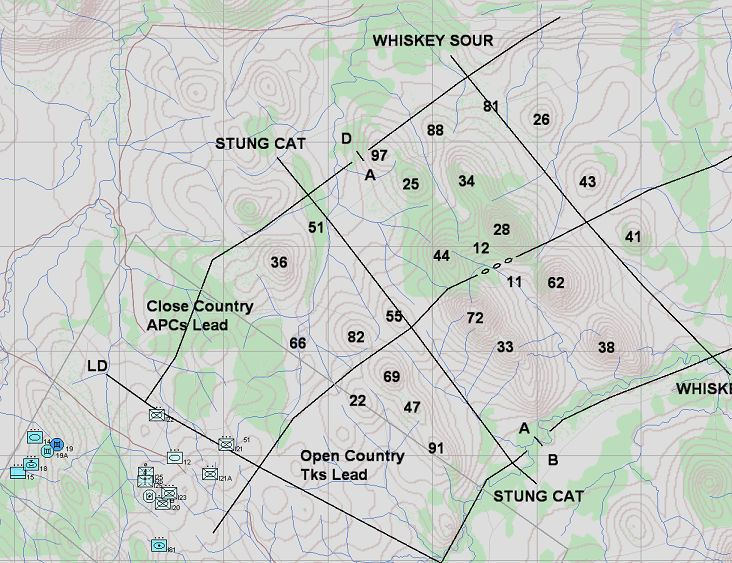
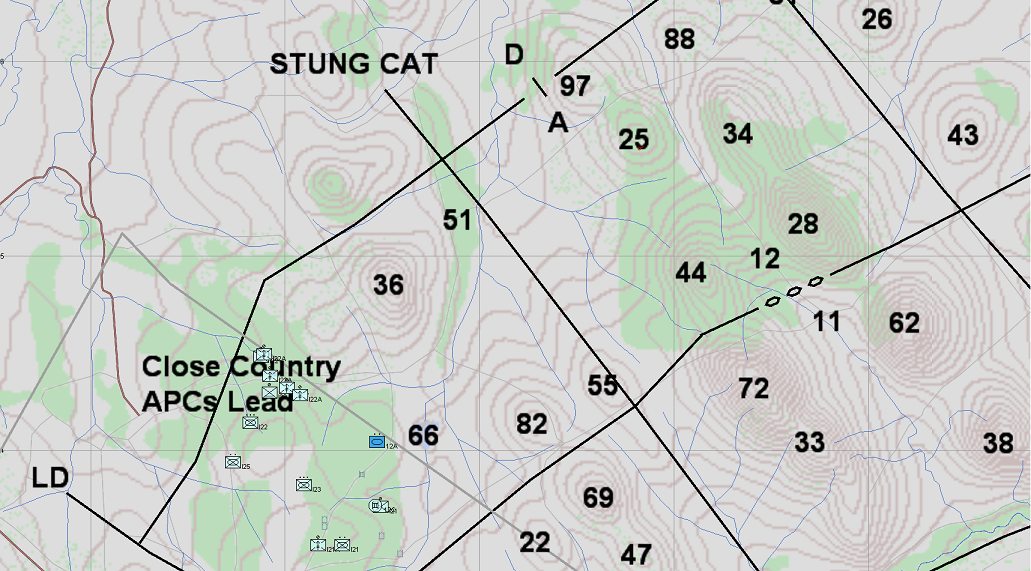
Paul's CT had to clear the left hand corridor (from the LD, through "Stung Cat" and onto "Whiskey Sour"), while a notional neighbouring unit cleared the one on the right.
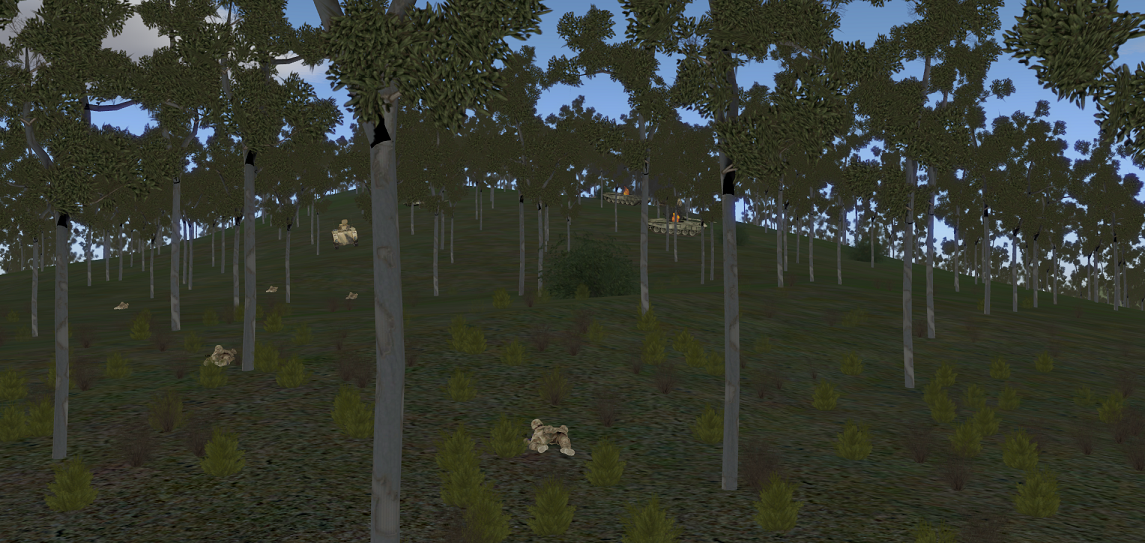
The action starts with the CT transitioning from the tanks of 12 leading to the two forward mech platoons I21 and I22 taking over as the woods await.
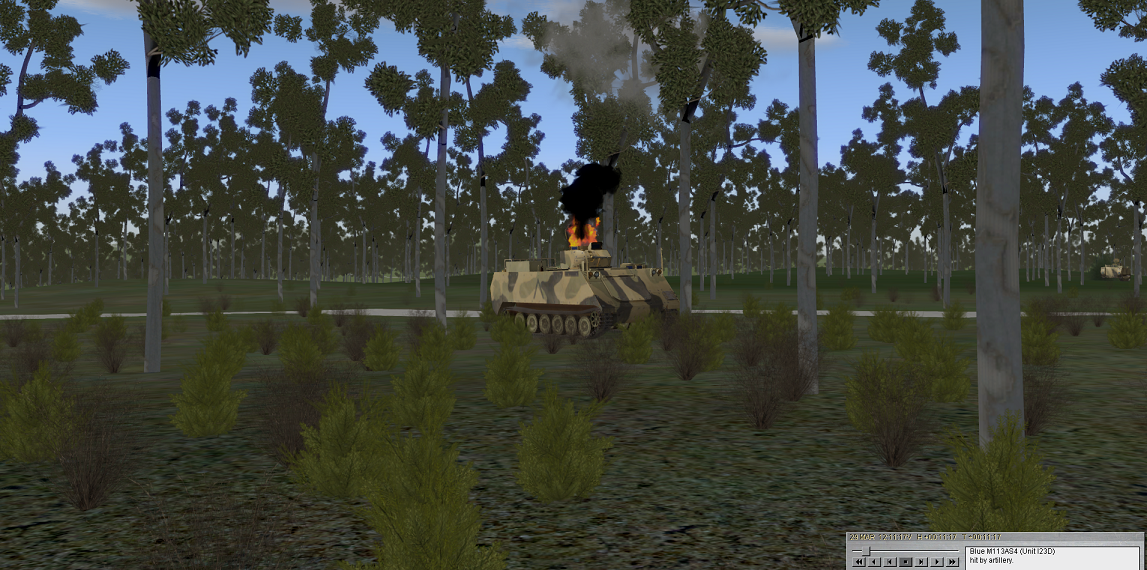
H+6 - An APC from the right forward platoon (I21) moves too far out of the concealment of the woods and pays the price:
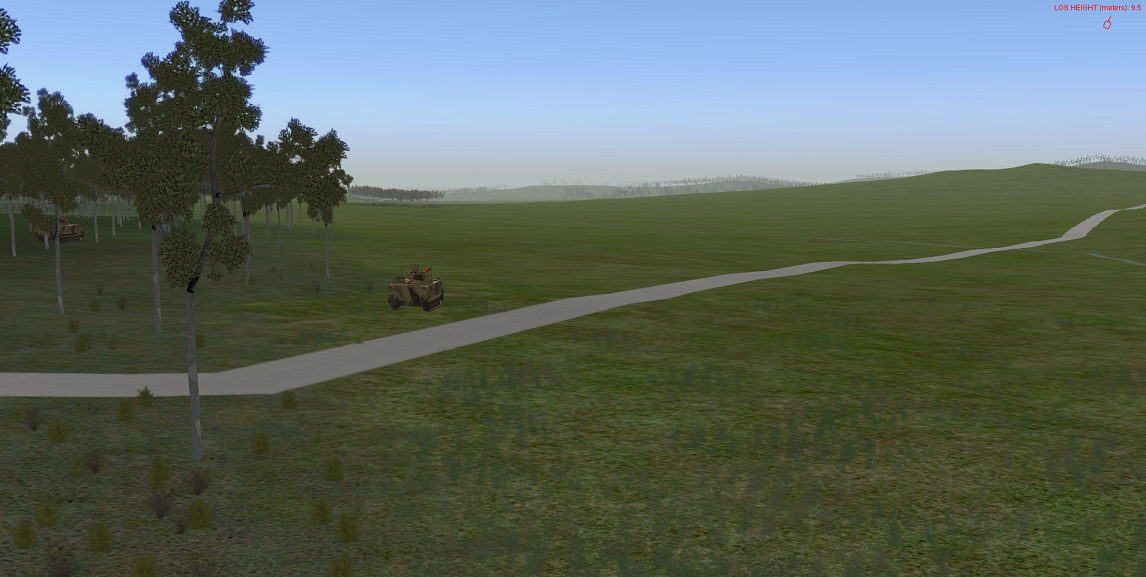
The fire came from the treed ridge on the skyline.
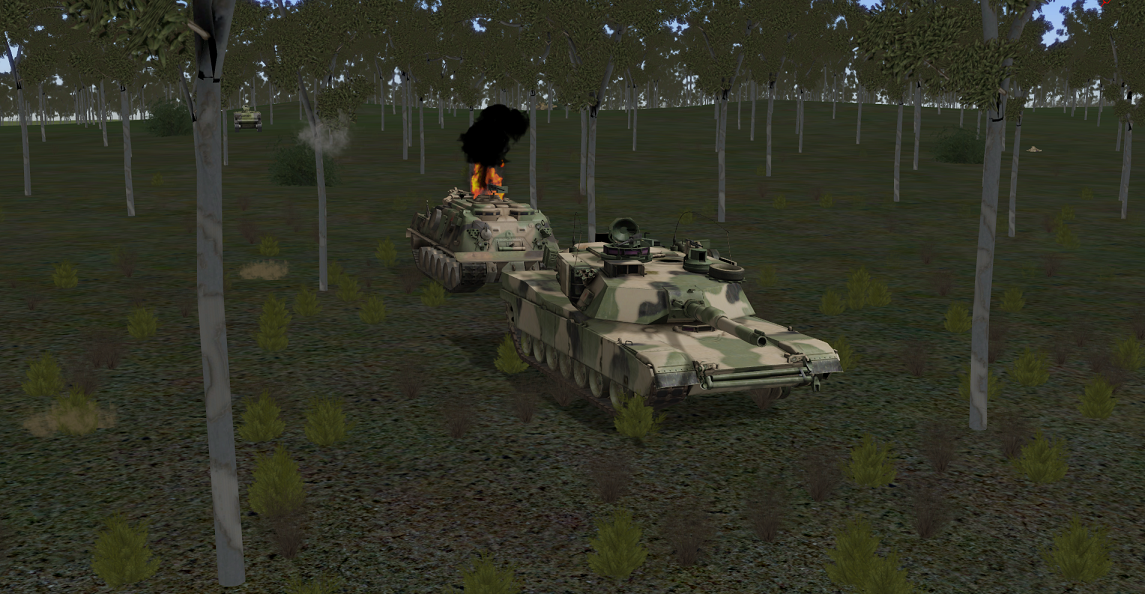
H+10 - 12 comes forward and to the right in an attempt to cover I21 but comes off the worse for wear with the T-90 exchange. One M1 destroyed, one mobility kill suffered:

For very little effect on the T-90s:
H+11 - The right forward platoon is no longer in the fight, reduced from five APCs to two and the tank Tp reduced to 50%. In addition the CTHQ has paid the price for remaining static for too long and has also taken casualties to artillery:
Things don't look good for the CT.
H+13 - Constant Indirect and tk fire from 12 has started to have an effect on the enemy on features "97", "25" and even "28".
I22 has been able to move forward on the left, with the CT Reserve, I23 preparing to take over from the mauled I21.
I25 also moves forward in readiness to bring the javelins to bear.
H+31 - The brave lads from the echelon attempt to come forward and repair/recover one of 12's tks but pay the price:
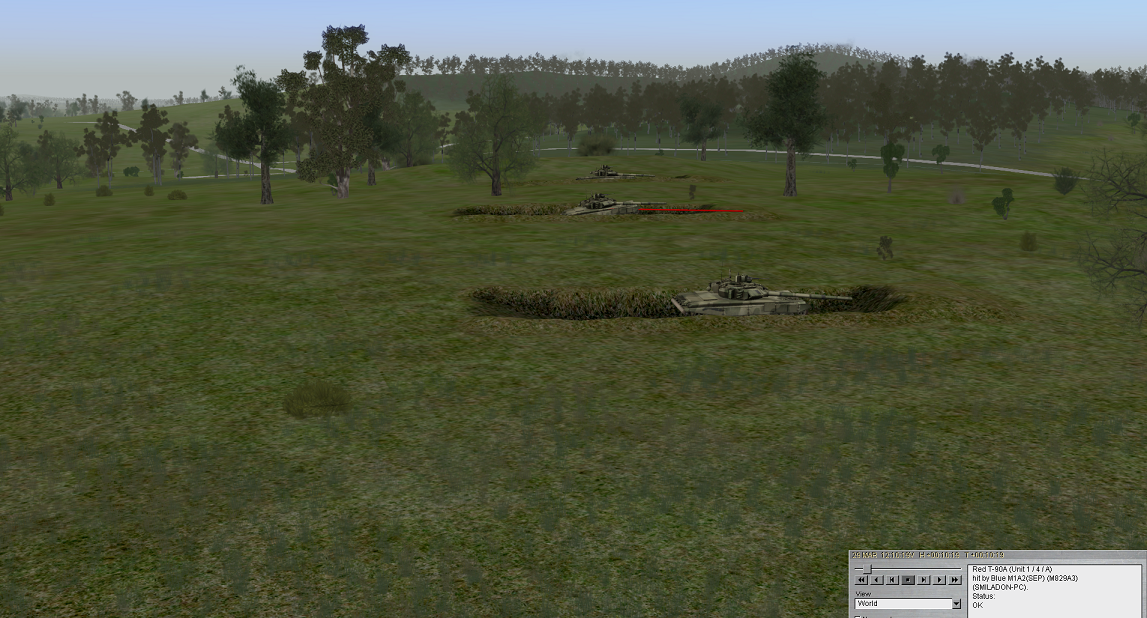
H+45 - In the meantime I25 has come forward and with security from I22 has occupied a support by fire position on the Northern slope of feature "36". From there they engage the T-90s on "97":
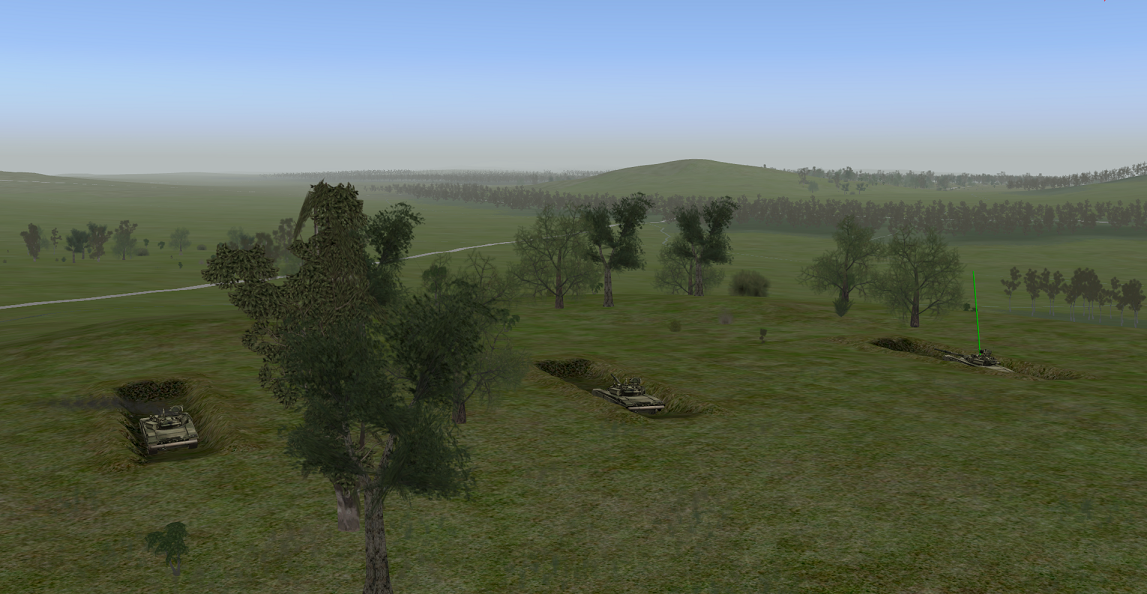
Note:
1. Feature "36" is the bald hill between the centre T-90 and the one on the right being hit.
2. The left T-90 is already burning.
At the same time I have released Tk Tp 14 from the BG reserve and it has come forward to conduct a left flank attack around "36" (between "36" and the boundary) heading for "97" and "25". The tanks will be supported by I22 with I23 and 12 providing a fire support position to the South.
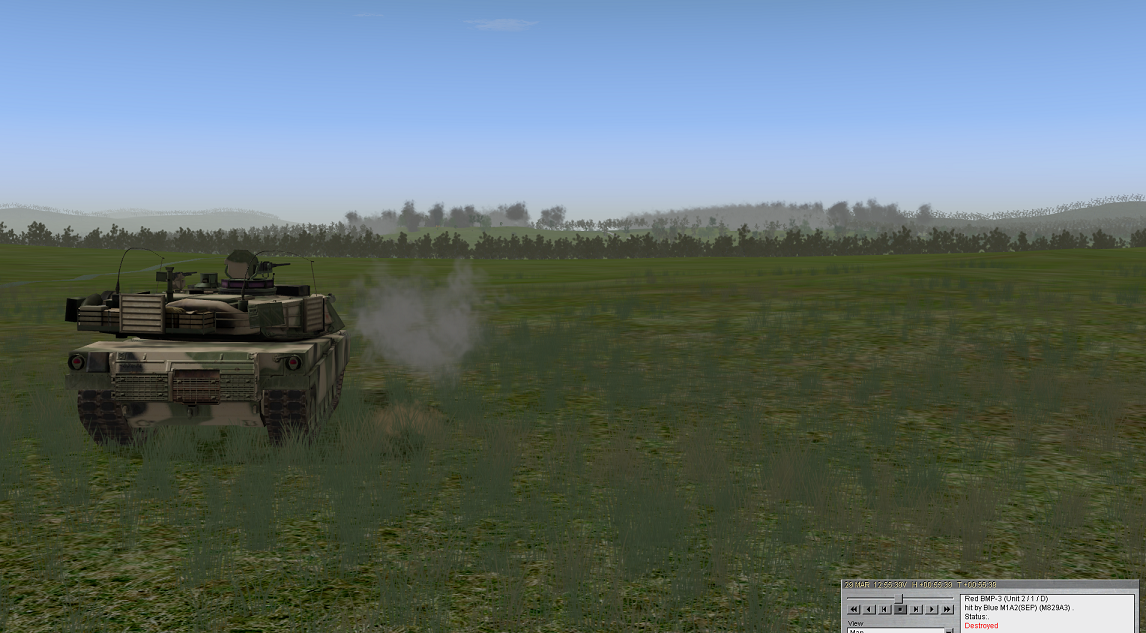
H+55 - 14 launches around the North side of "36", hitting and destroying a BMP-3 on "25" during the assault while both objectives are blanketed in artillery fire:
After clearing "97" and "25", the assault force was pushed forward to clear "34" and then swing right to clear "28" the last major feature.
H+87 - I22 clears the last resistance from Hill 28:
After a pretty bloody start the CT was able to clear its allocated sector, albeit with some reinforcement.
The AAR can be found here:
https://dl.dropboxusercontent.com/u/1951...N-SERVE1946.zipMore info on Steel Beasts can be found here:
http://www.steelbeasts.com
