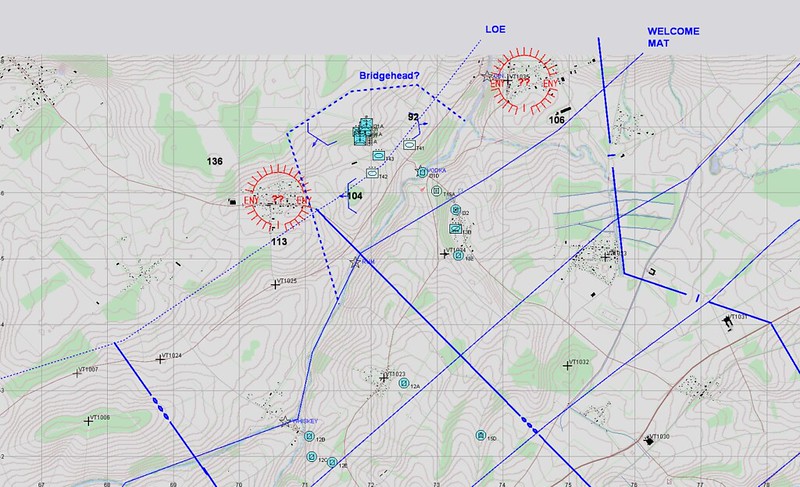
Over three nights BG ANZAC (a VU primarily setup for Aust and NZ players) played out a reinforced Australian Cavalry Squadron advance to contact with a subsequent combat team battle by the follow on force.
In brief the Australian recce forces conduct an advance to contact in order to:
- Disrupt the enemy's withdrawal.
- Determine the new enemy defended locations.
- Seize and secure suitable crossing points for exploitation by follow on units (the lead Cbt Team of the forward Battle Group is already moving).
Red's situation was isolated and dispersed forces attempt to impose some delay. Larger urban centres garrisoned and to be held. Company sized counter penetration force will be activated to repel Australian river crossing attempts.
We used the "pause / discuss / resume" technique to cover major points on the fly rather than wait until the end for a massive debrief and the guys seemed to like the idea of learning so they could correct an issue before it got too bad.
PART 1
So the broad picture / situation:
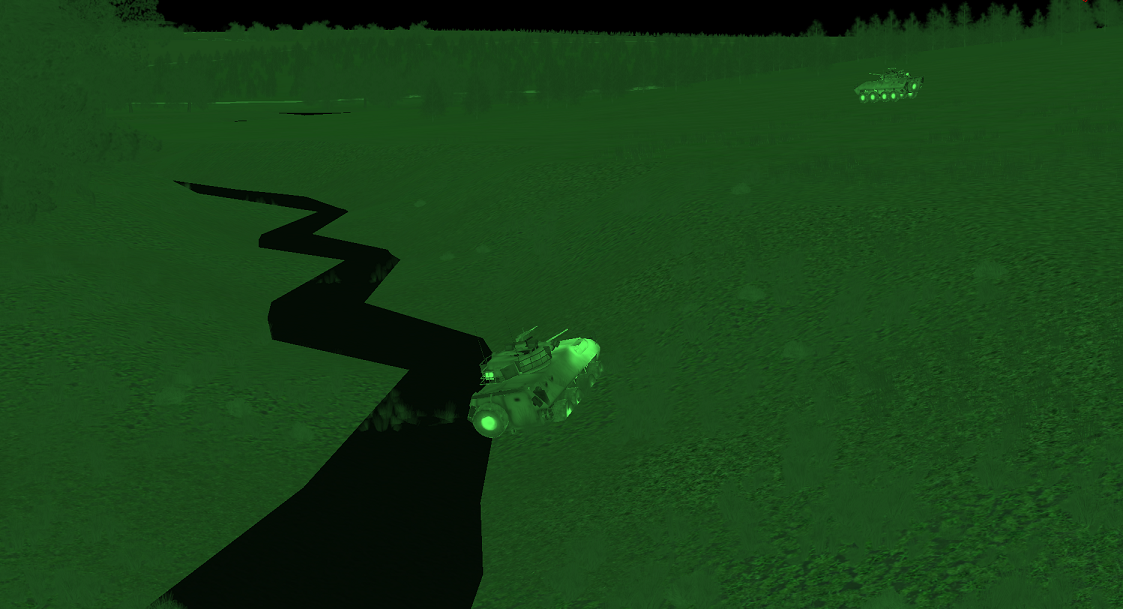
Its 0415
The OPFOR have broken contact during the night and are withdrawing, most likely to setup a new defensive line beyond "WELCOME MAT".
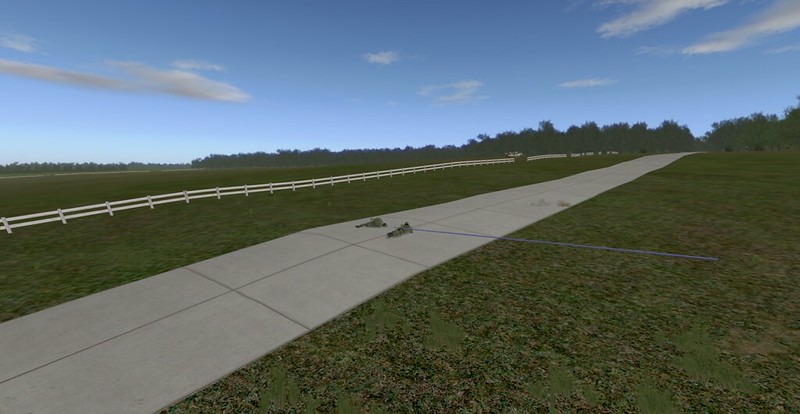
There are some small isolated parties left behind including vehicles broken down or damaged and some rear parties trying to get "out of Dodge" before the Australians arrive.
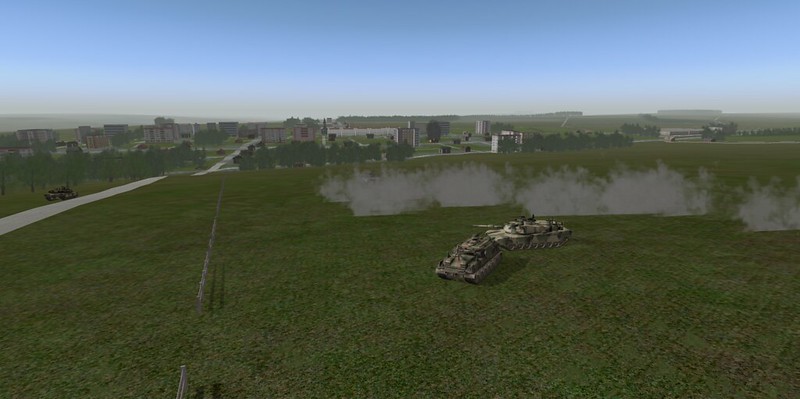
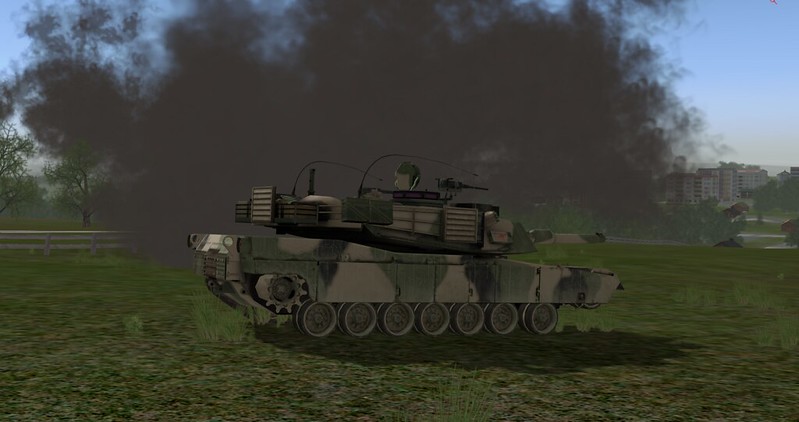
Based on previous fighting, RED has: T-90, BMP-3, BRDM-2, FO parties and the Infantry have RPG-29. All of which can make a dent in an ASLAV.
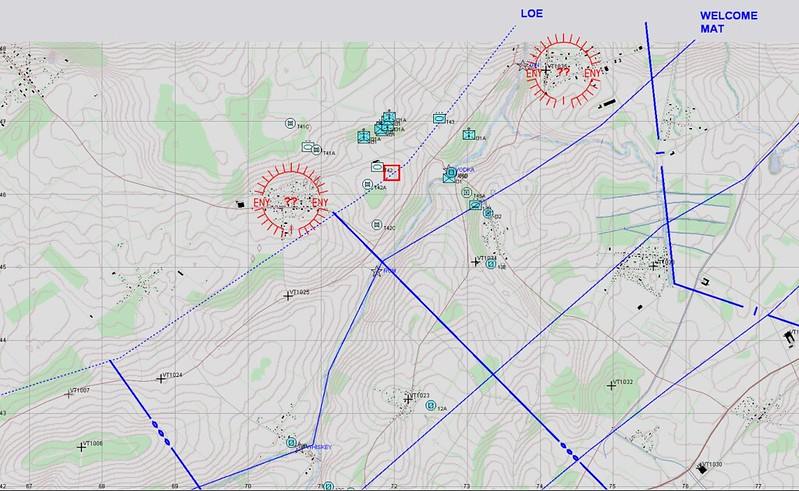
There are strong RED units North of "WELCOME MAT" and a poorly planned probe beyond there might well result in a bloody nose for the Australians - that's a job for CT LYNX.
BLUE's senior commander wants to deny RED the chance to fully develop those new positions and tasks the Aust Cav Sqn to move forward in order to:
1. Keep RED unsettled
2. Find a high speed, secure route for CT LYNX (and its parent unit BG PANTHER) who will enter the AO from the SE (near the blue dashed arrow).
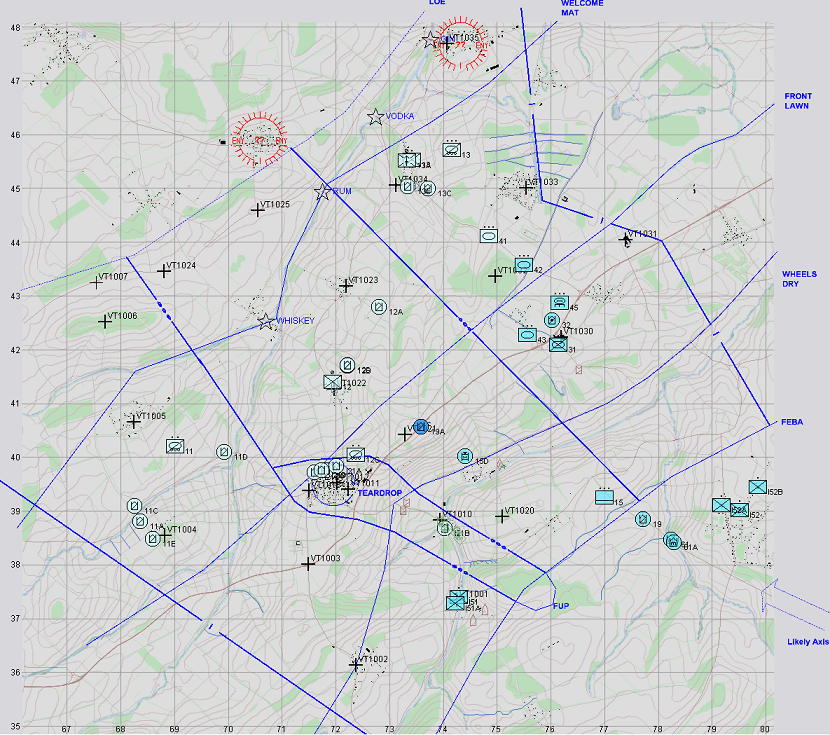
A sub mission of "2" for the Cav is to check the river between the FEBA and "WHEELS DRY" for suitable, high speed crossing points (either existing bridges or bridging sites) to ensure LYNX isn't delayed.
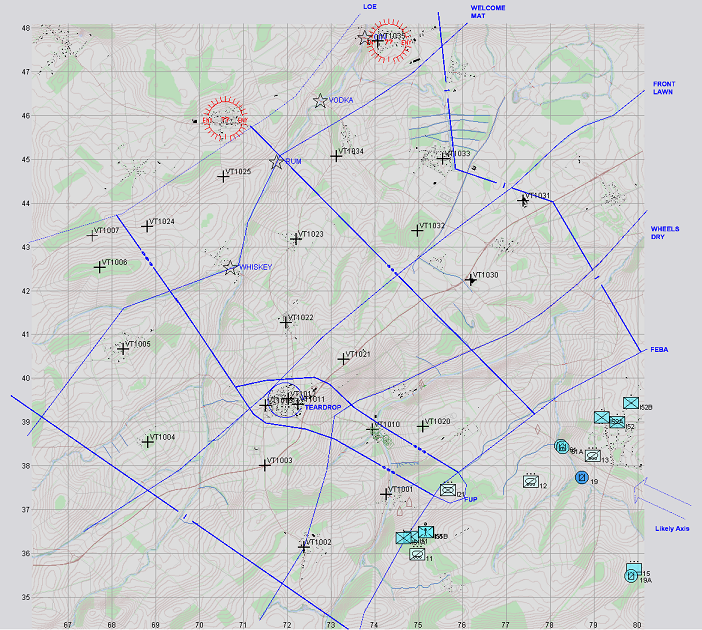
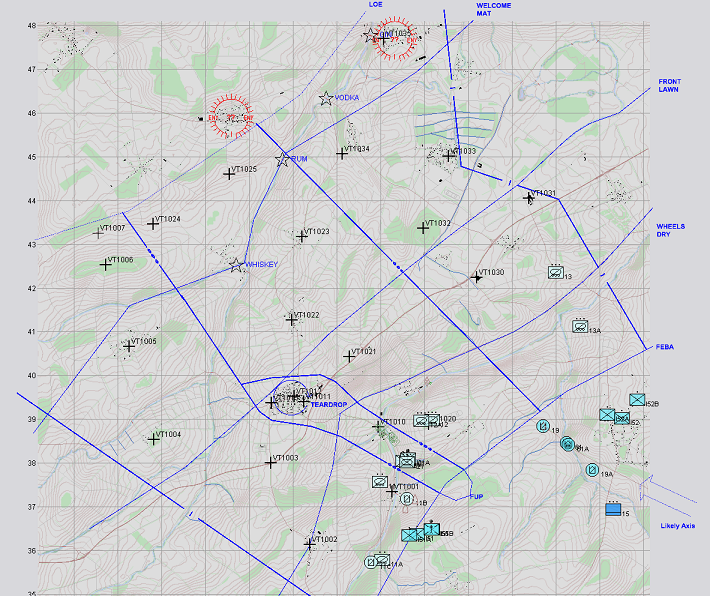
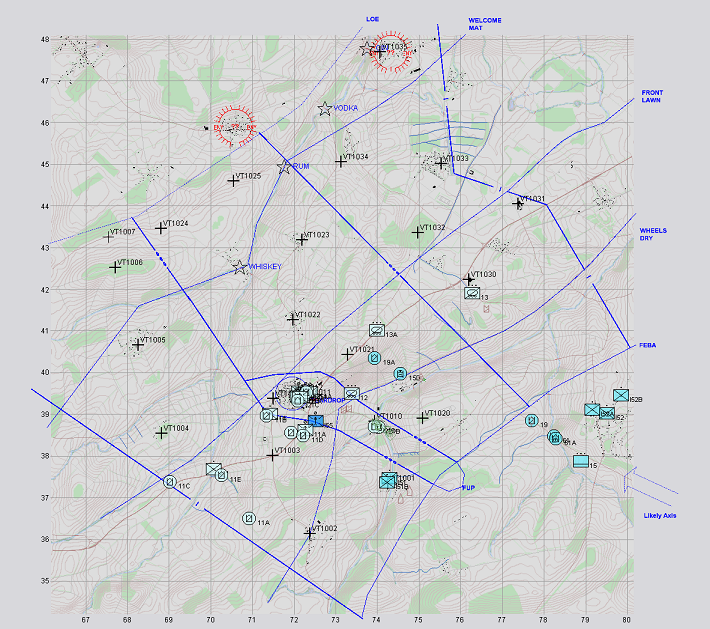
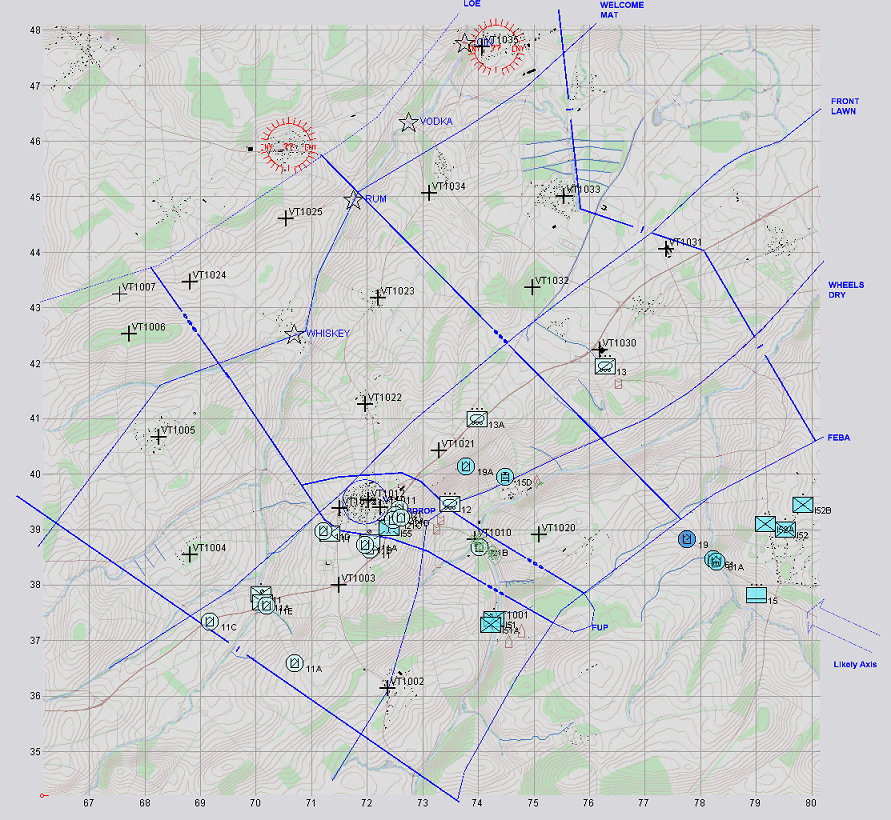
There are known good crossings (based on latest INT) at "WHISKEY", "RUM" and "VODKA" and the Cav's ultimate job is to confirm these are still good and ideally secure them for LYNX and PANTHER.
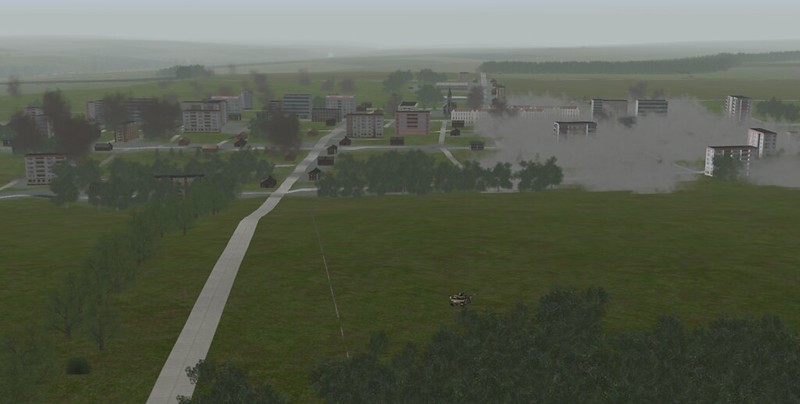
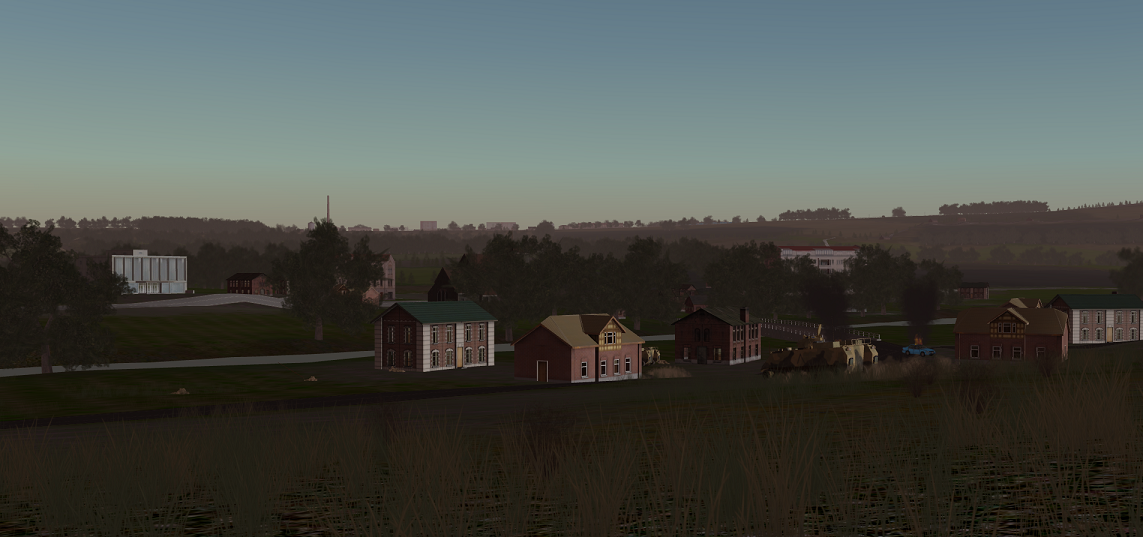
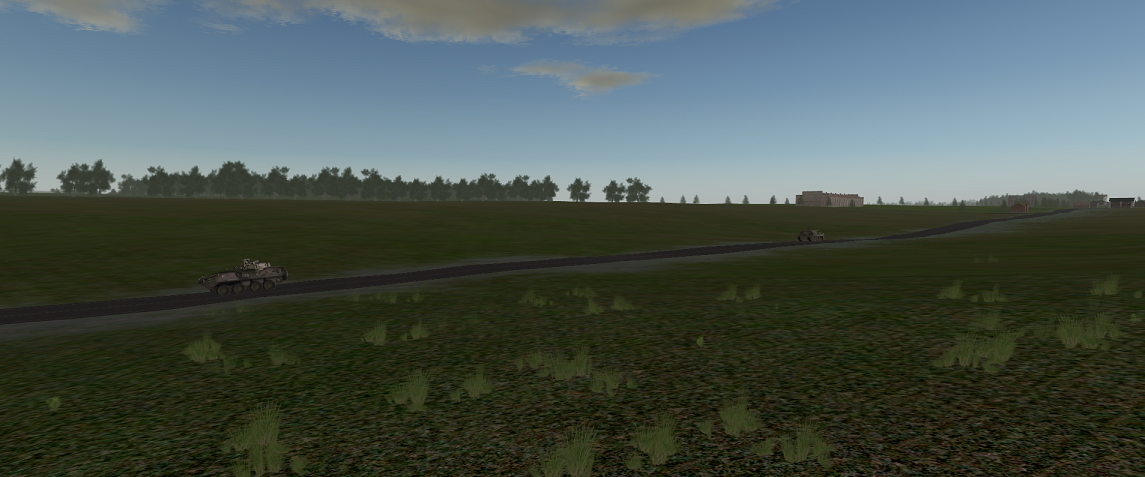
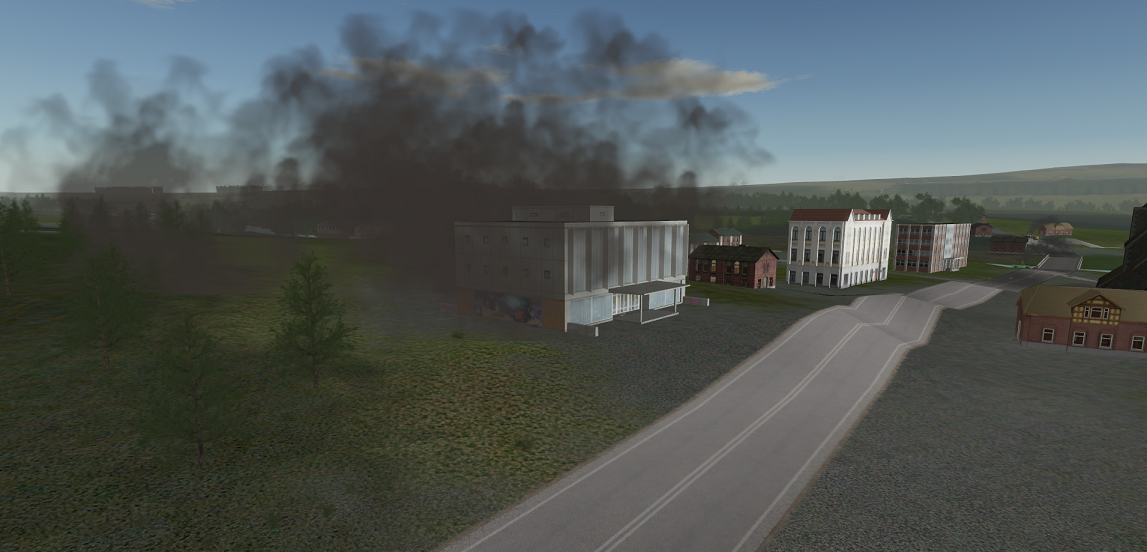
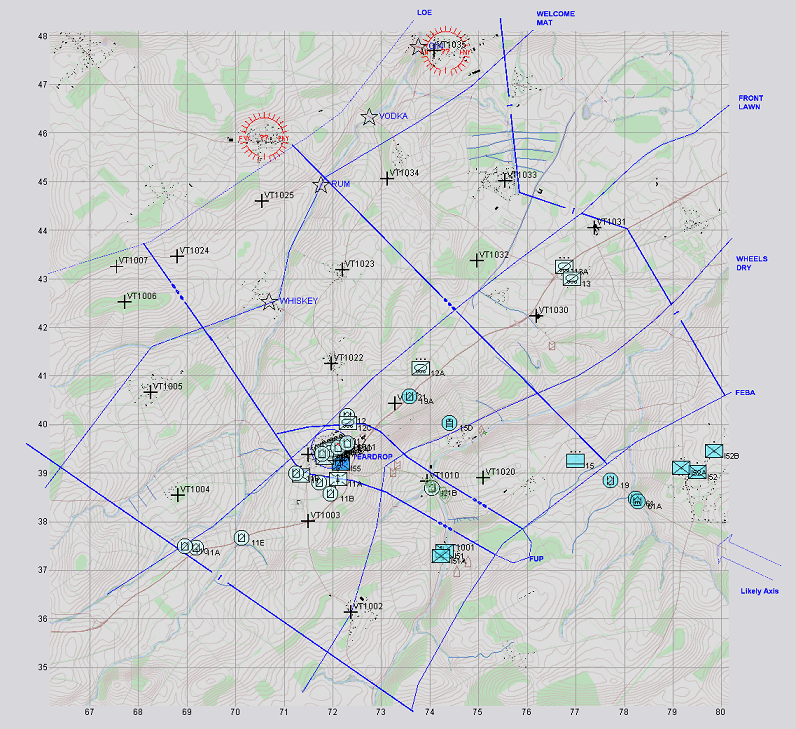
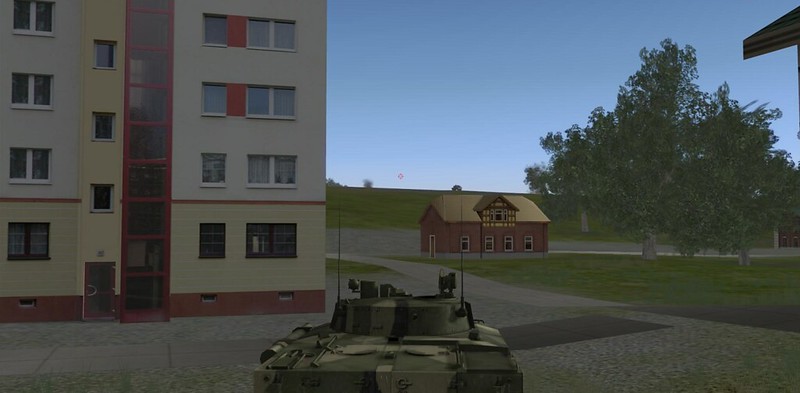
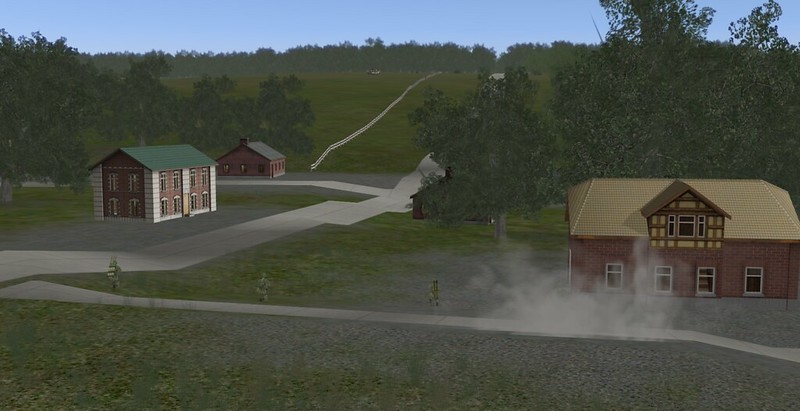
The Cav Sqn has a Mech Inf platoon (India 21 - I21) attached and their job will be to secure the town labelled as "OBJ TEARDROP" which is a road hub and possible Log node for the BLUE BDE that the Cav Sqn and BG PANTHER are part of.
The Sqn's echelon commanded by the 2IC is ready to support the forward units if required.
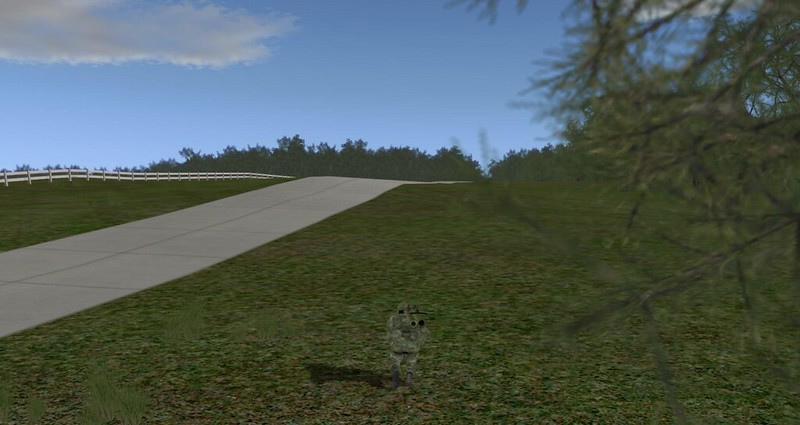
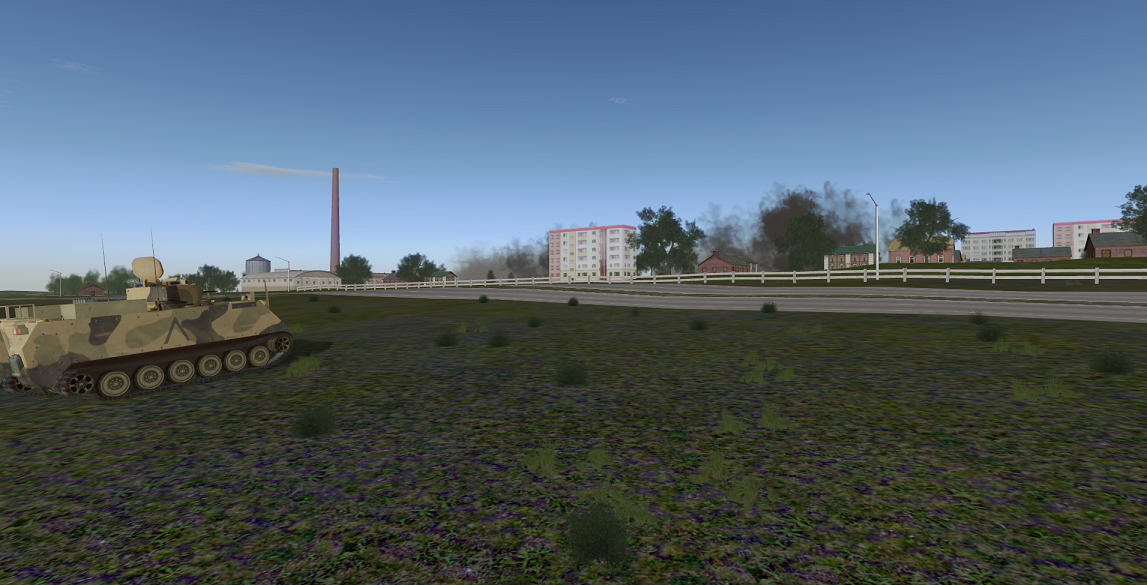
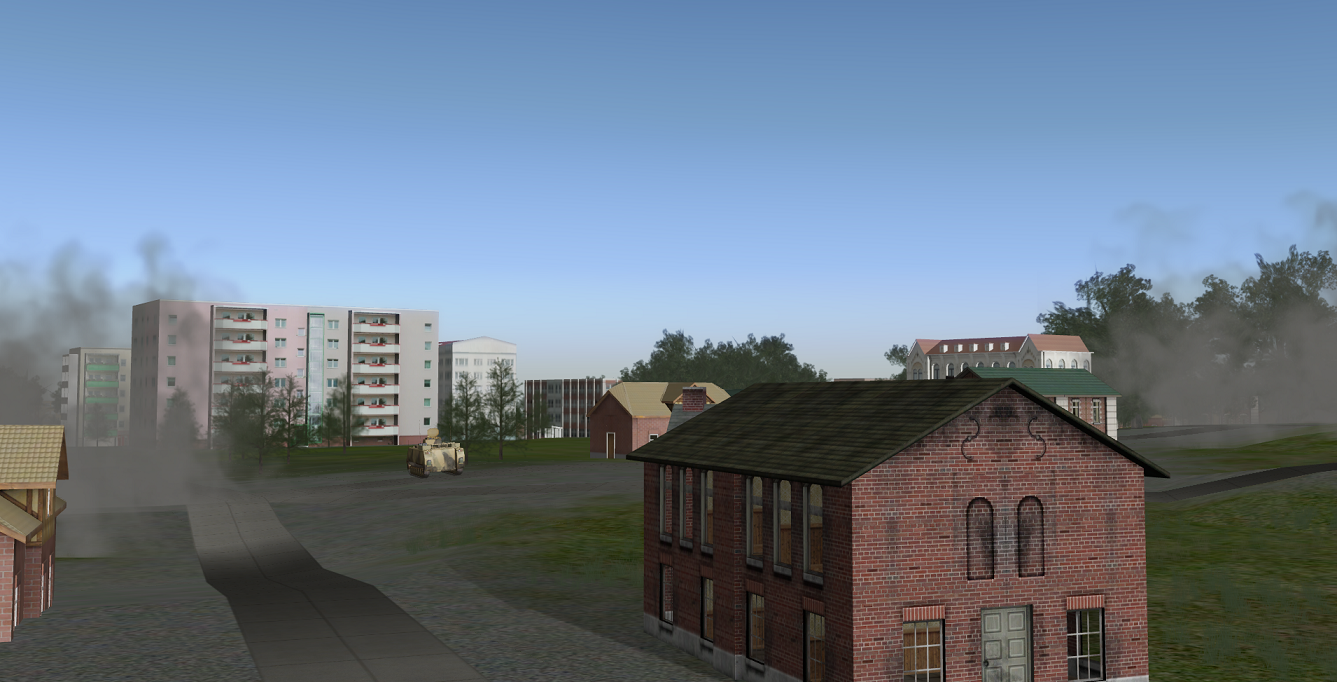
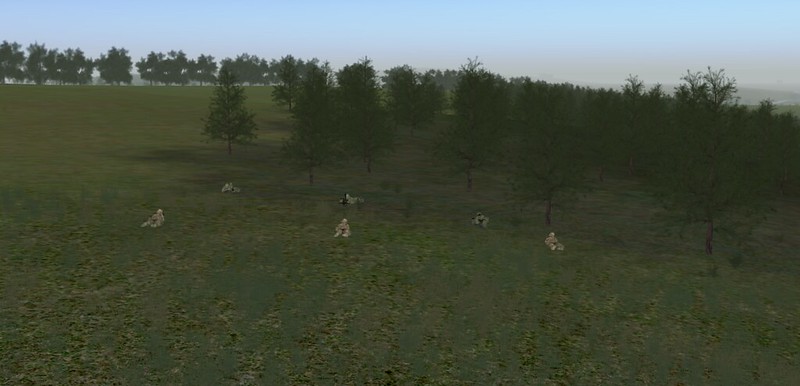
Dismounted Infantry from "India 5" are securing the FEBA and there is wreckage from the previous fighting scattered throughout the AO.
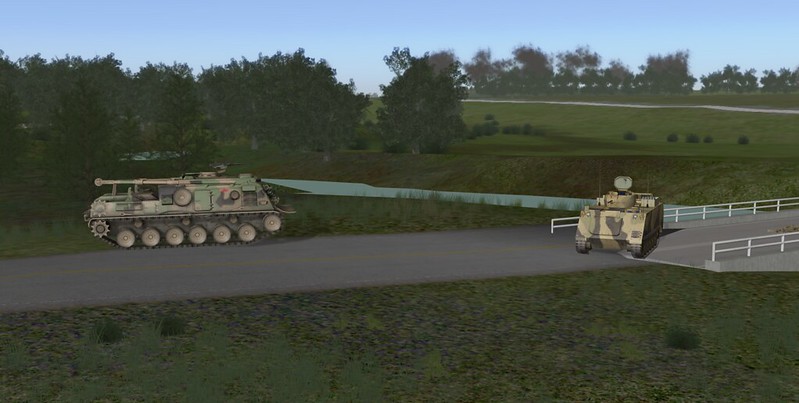
Some Engineers from "Echo 6" are working on improving the main road bridge in GS 7838 (cratered but not destroyed by the retreating RED forces).
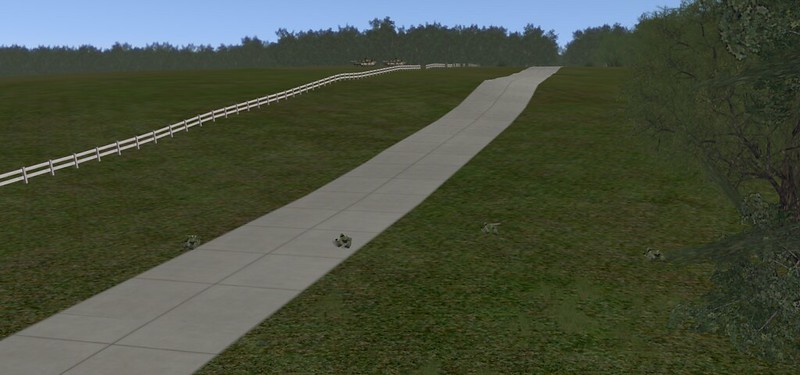
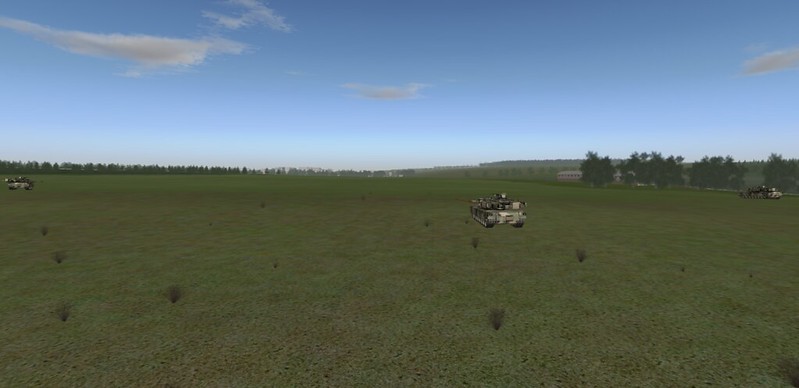
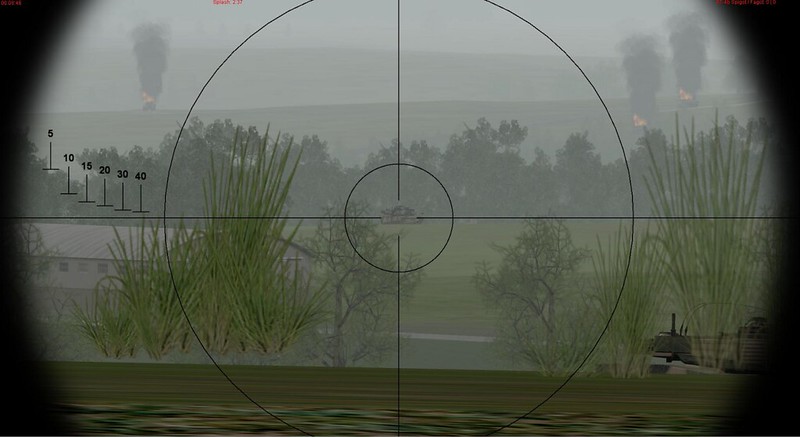
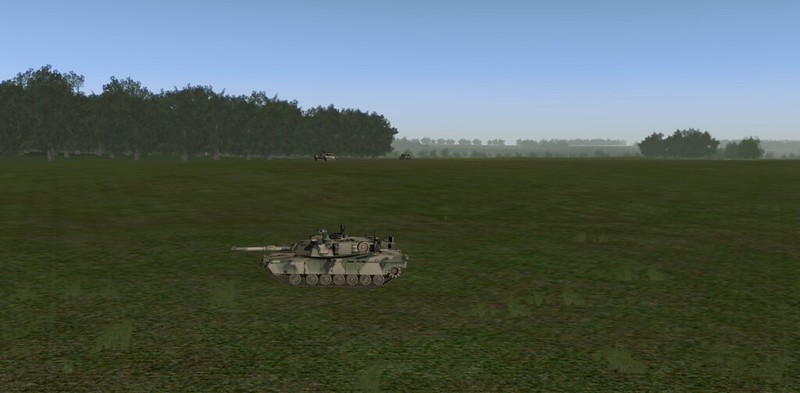
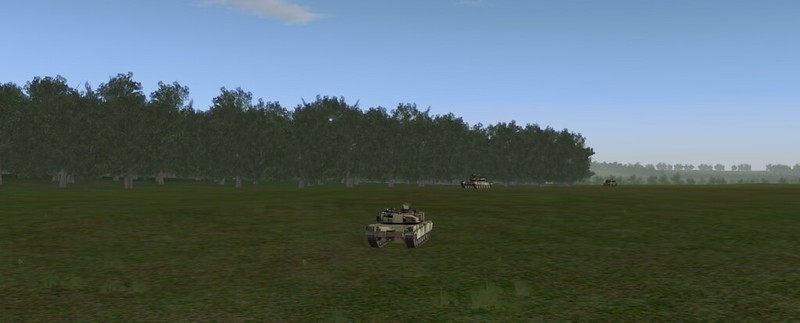
The Troop leaders face some challenges as they each roughly have a frontage of 2km or so, so they need to cover a bit of ground and can't just move as one Tp sized unit.
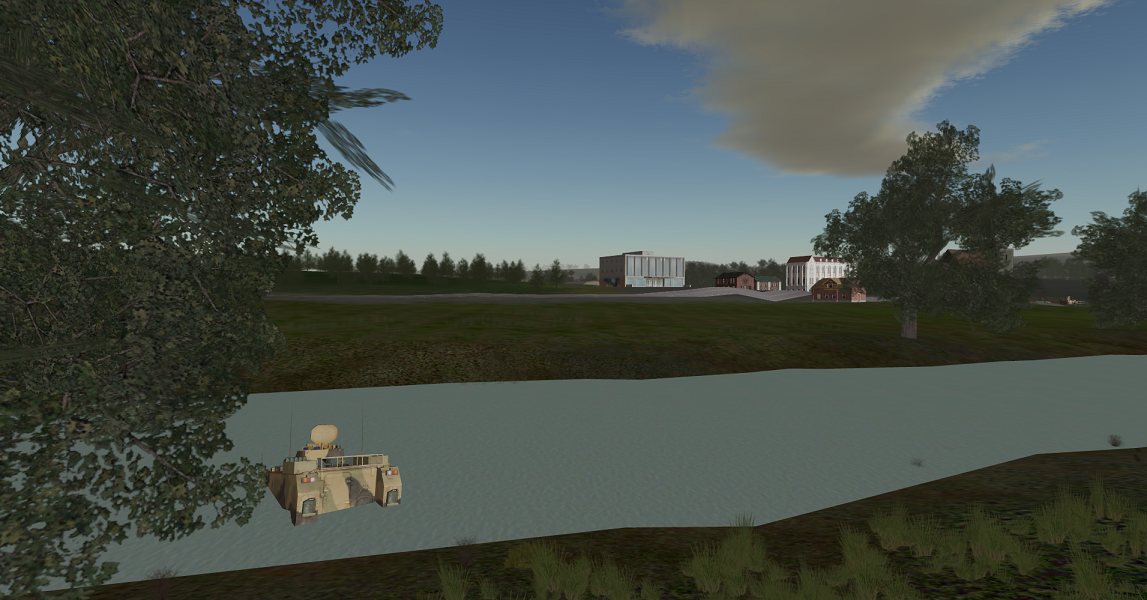
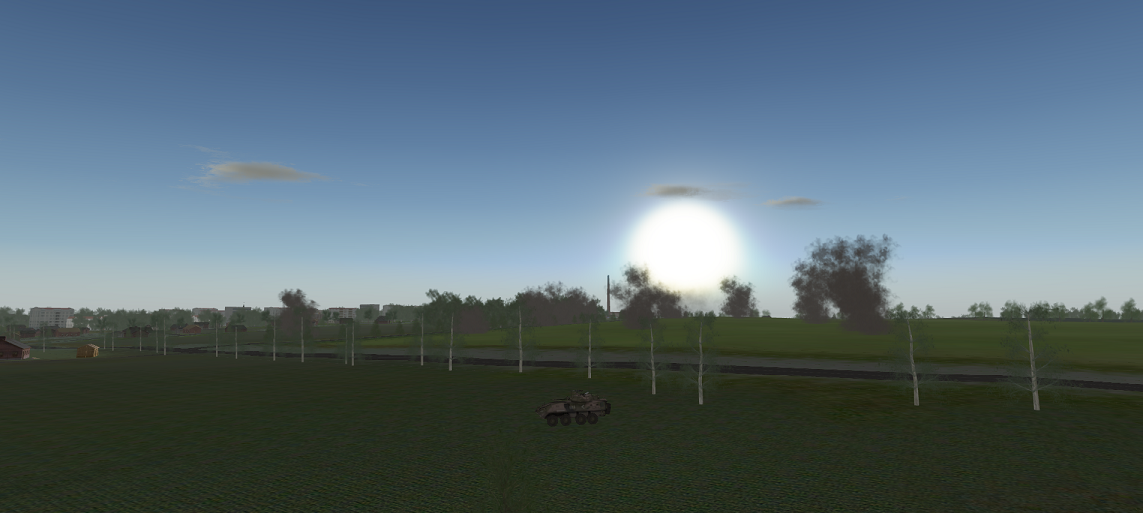
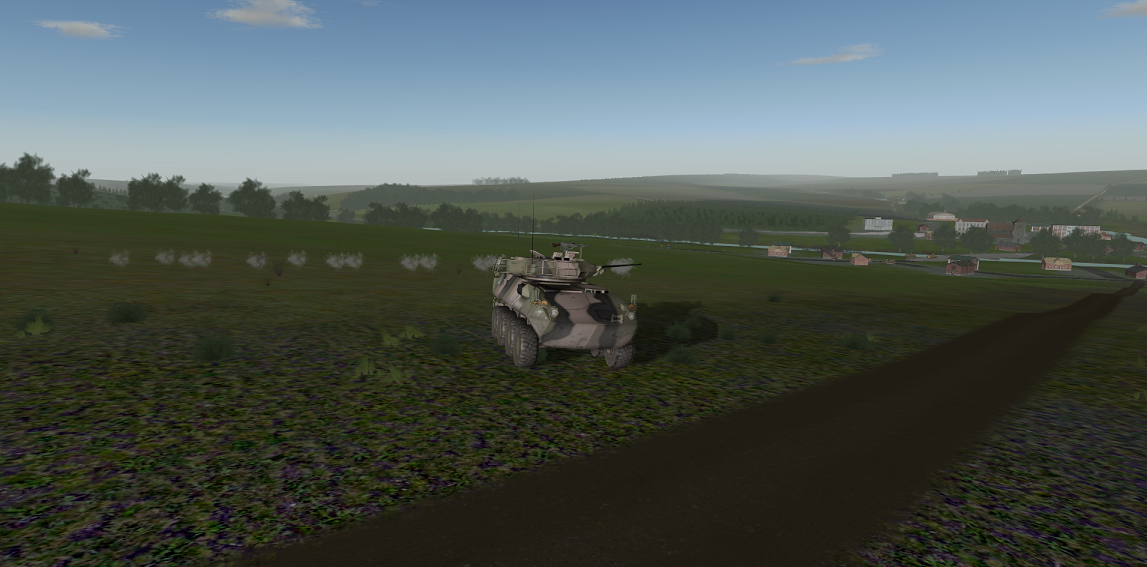
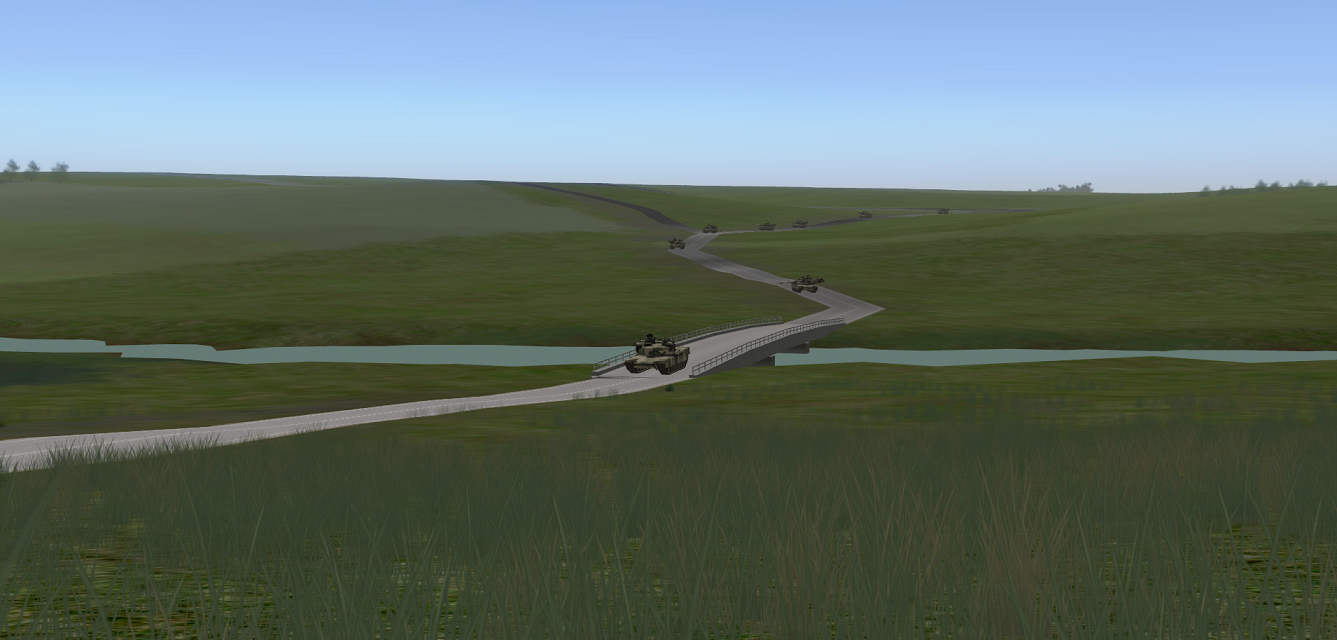
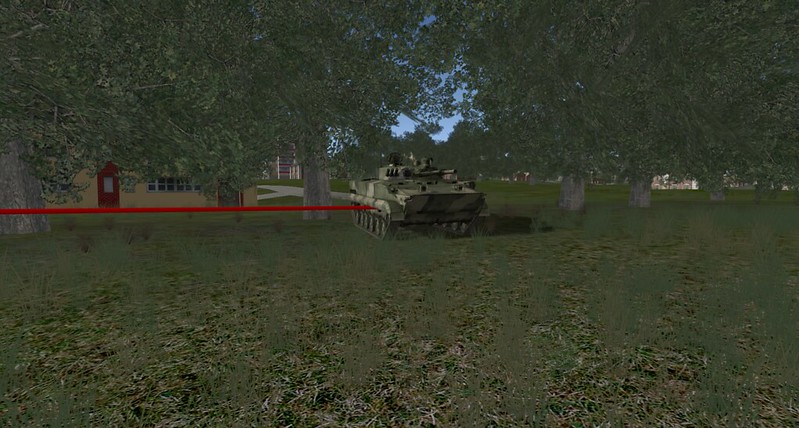
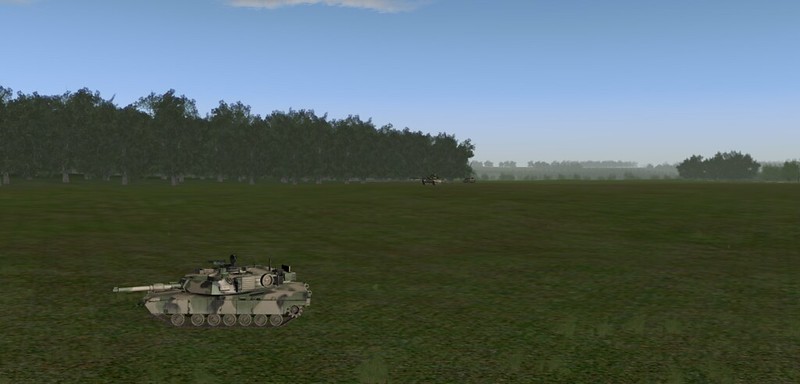
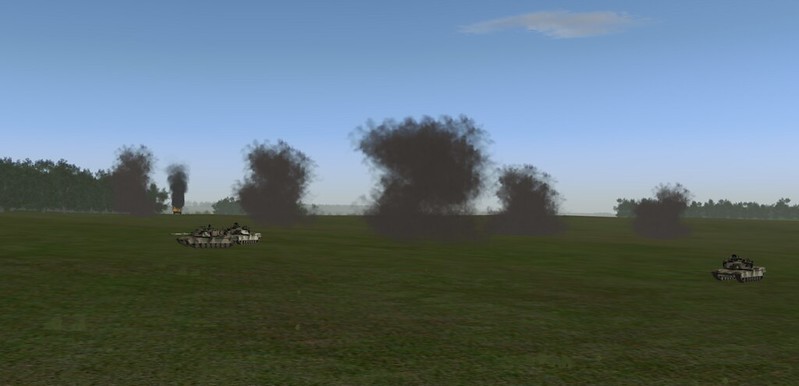
H+6: V11's Alpha Patrol (2 x ASLAV, 1 x ASLAV PC) starts to check the river in the West for crossing points:
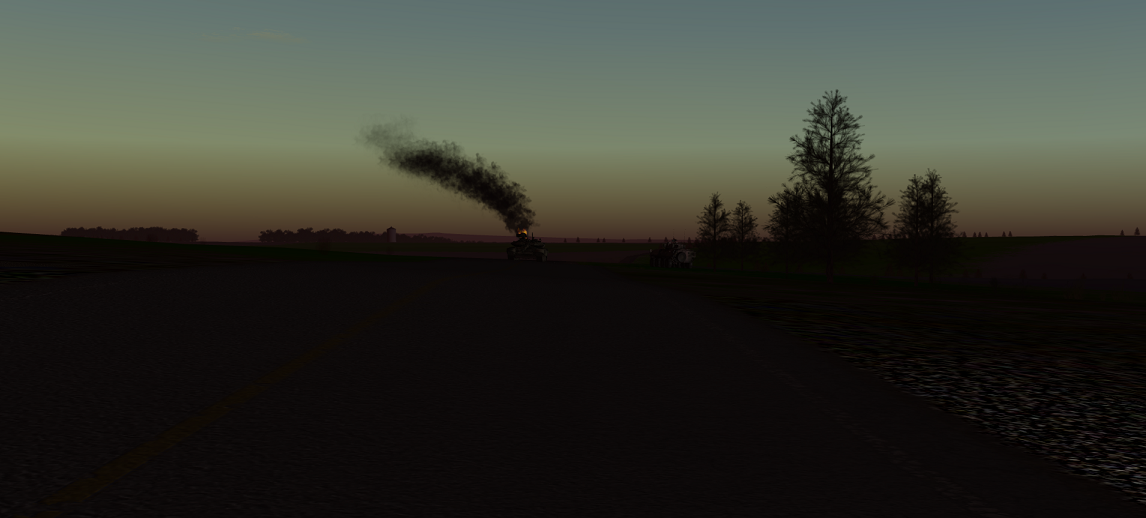
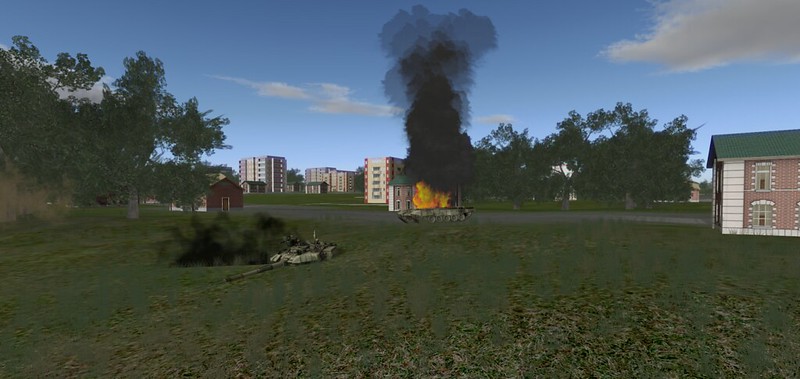
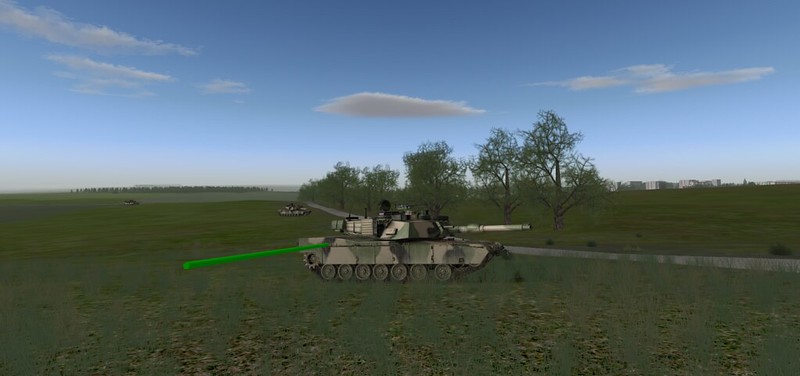
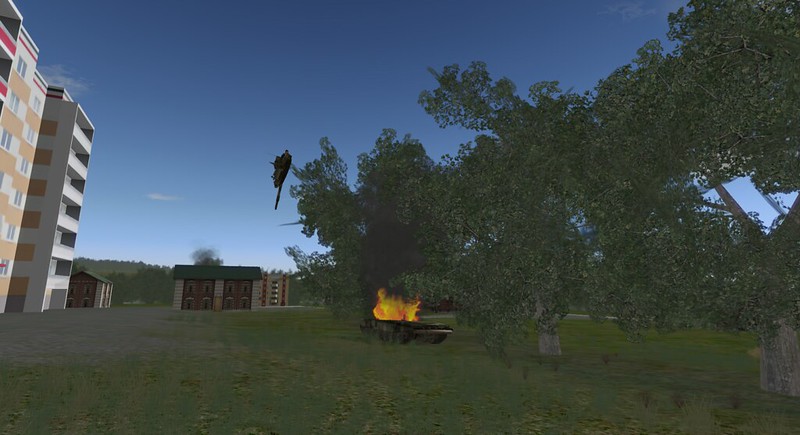
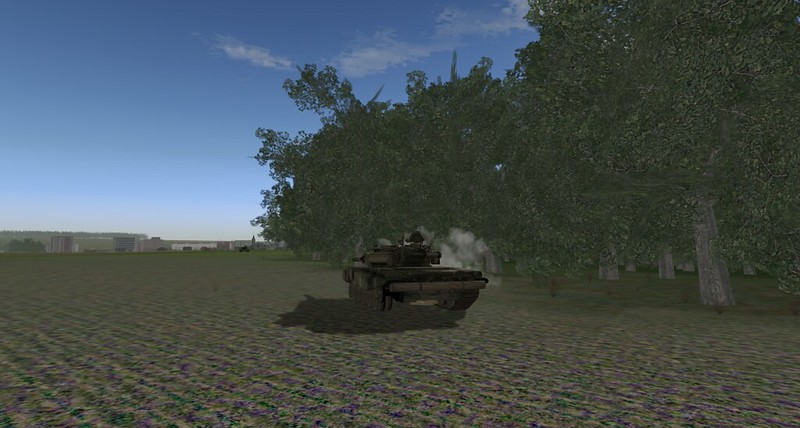
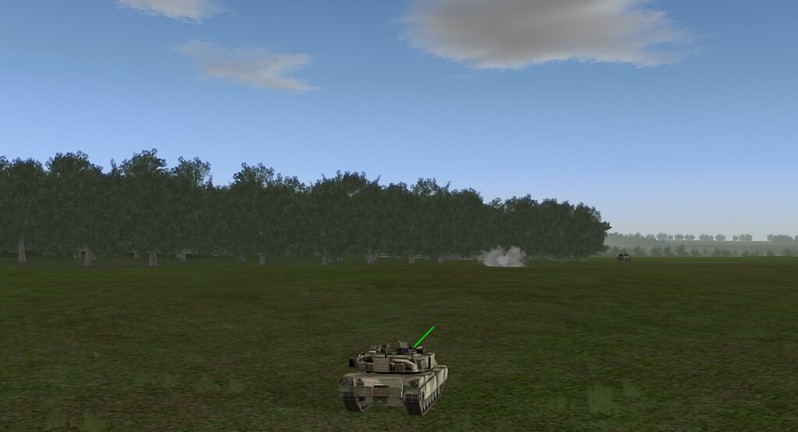
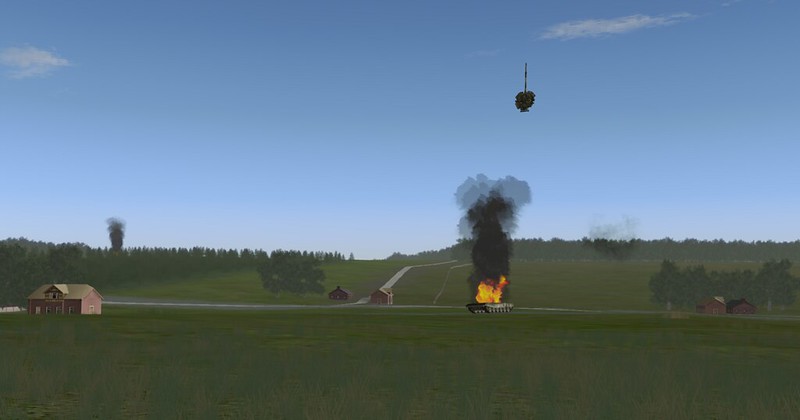
H+11: In order to still influence the battle, but without becoming caught up in it, the OC moves forward and takes up a position (right hand side of the road) near a still burning T90 carcass:
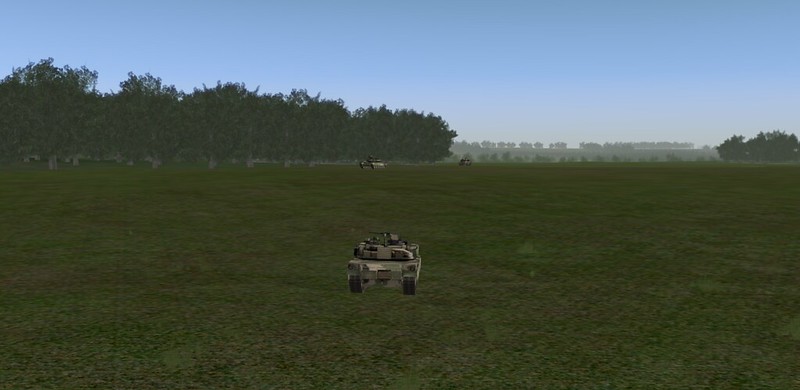
H+15: V11 on the left has crossed the bridge in the village in GS 7437 and found a good crossing point in GS 7336.
I21 has dismounted some of his Infantry to get a better feel for the village in GS 7338 (in hindsight this is where his subsequent control issues probably started - refer
http://www.steelbeasts.com/sbforums/showpost.php?p=249788&postcount=15)
V12 is in a good location to spt I21 into the town.
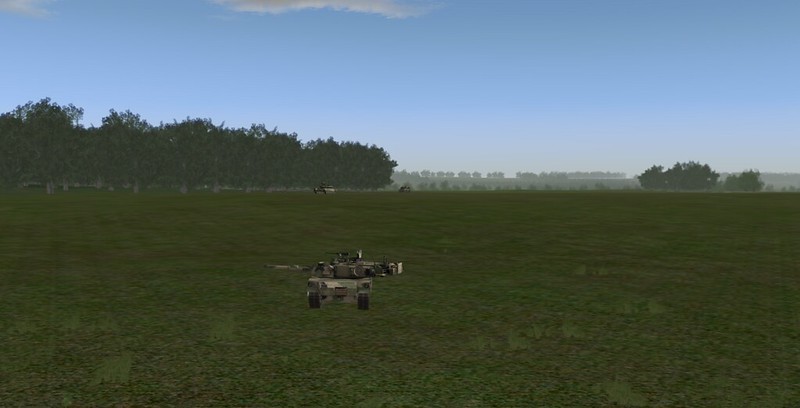
V13 has already cleared the bridge in GS 7841 and his Alpha patrol is now examining the river bank in his sector and will also report on the bridge in GS 7840.
In terms of the Sqn mission, we have established a route for LYNX / PANTHER in V13's sector to get them as far as "WHEELS DRY":
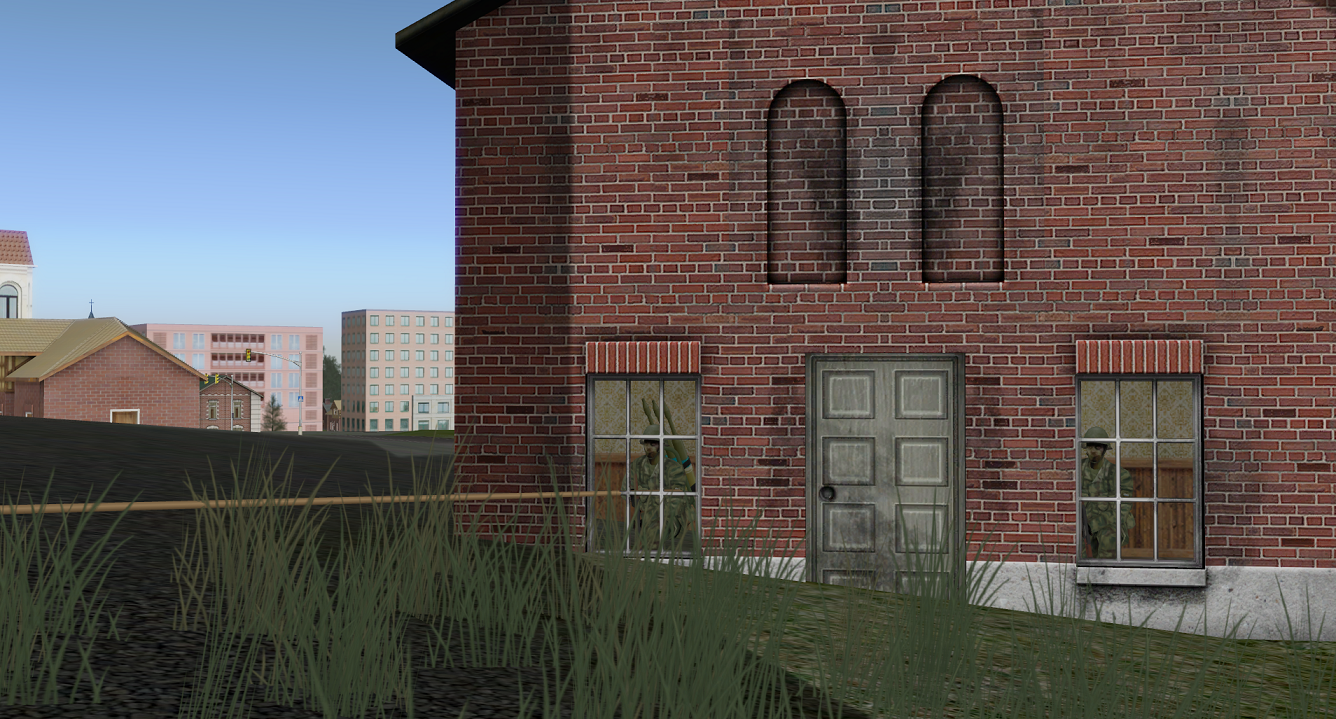
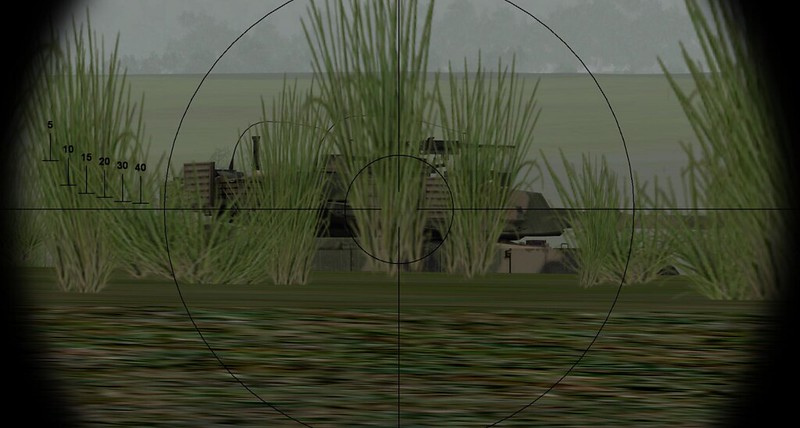
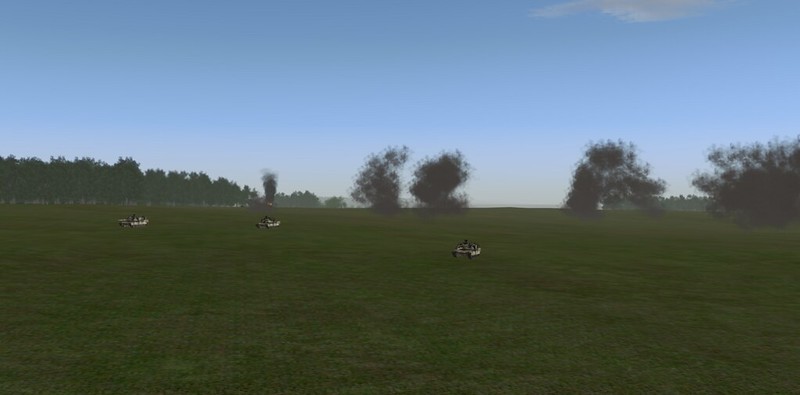
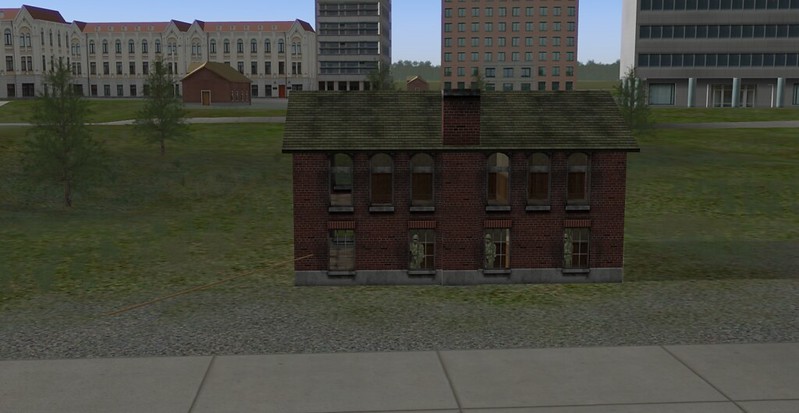
H+22: I21 in his cautious approach to the village takes small arms fire from a RED FO party holed up in a multi storey building across the river:

H+30: As the Sun rises, I21 continues to manoeuvre on the edge of the village, taking more small arms fire from the official looking, light coloured, building on the far bank of the river:
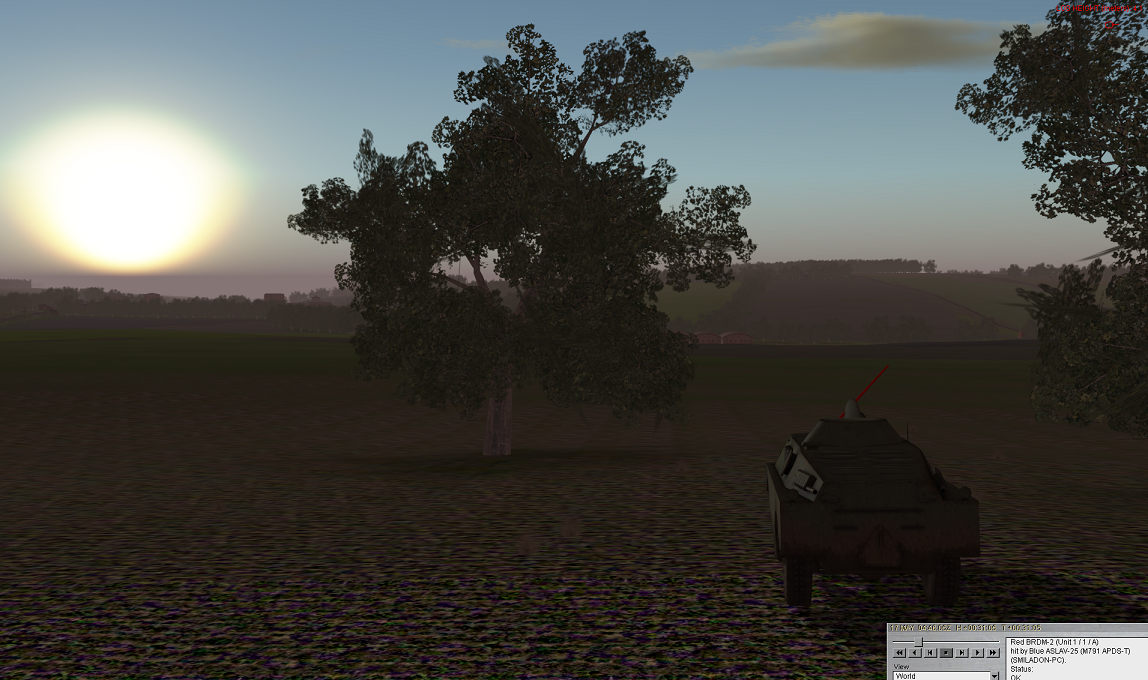
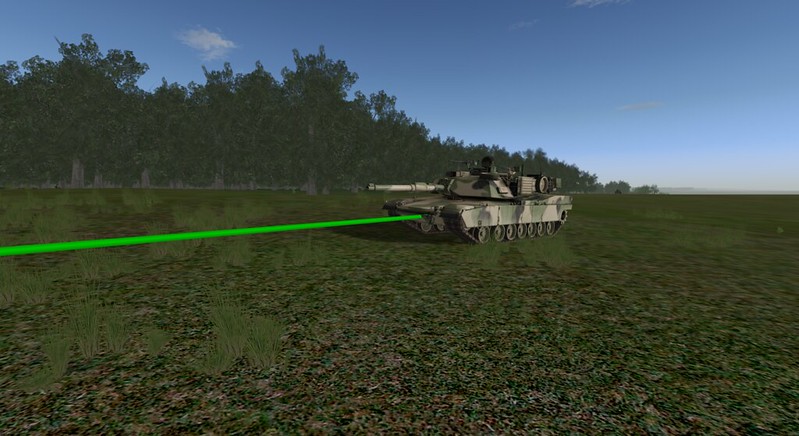
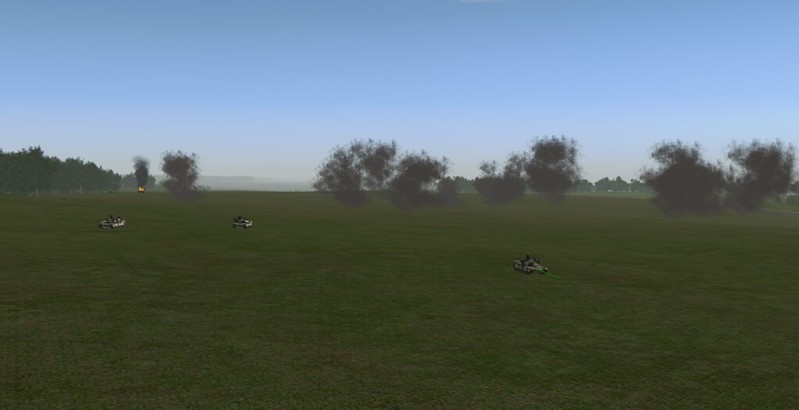
H+31: V12 engages a BRDM-2 approaching I21's position but fails to destroy it:
V11 and V13 are told to go firm until I21 and V12 can clear this village and check the collection of bridges within it.
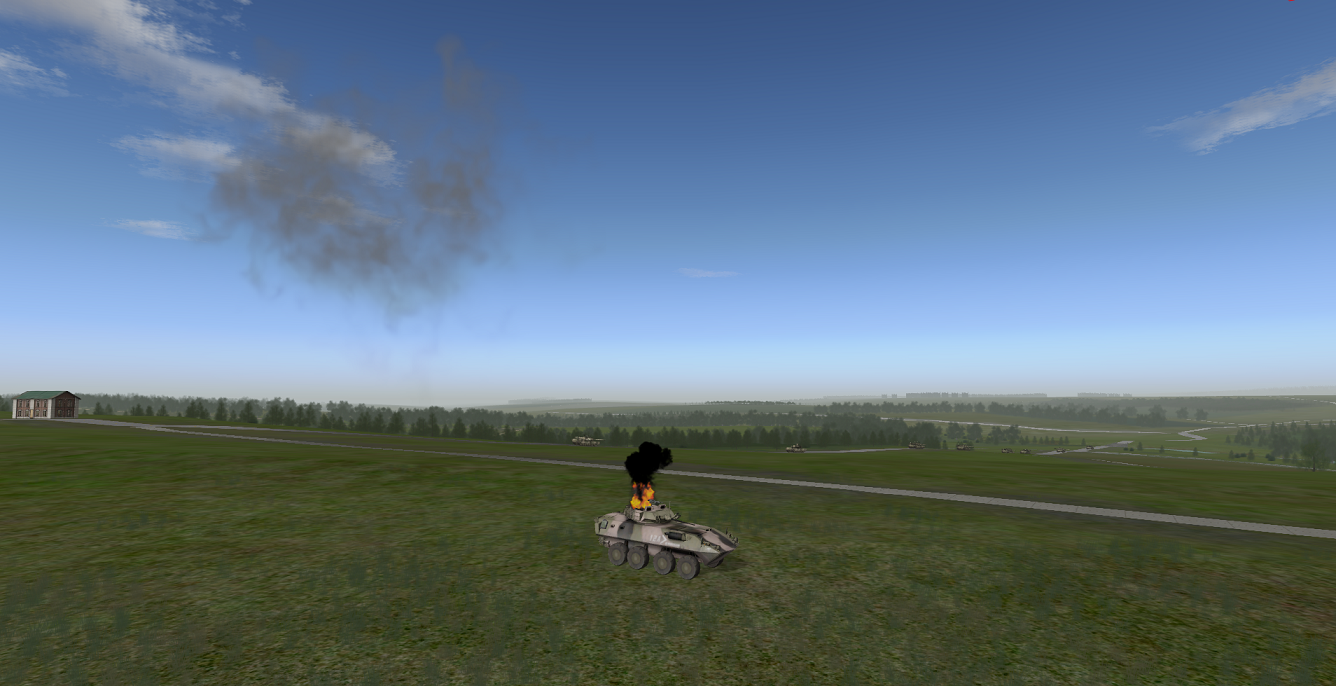
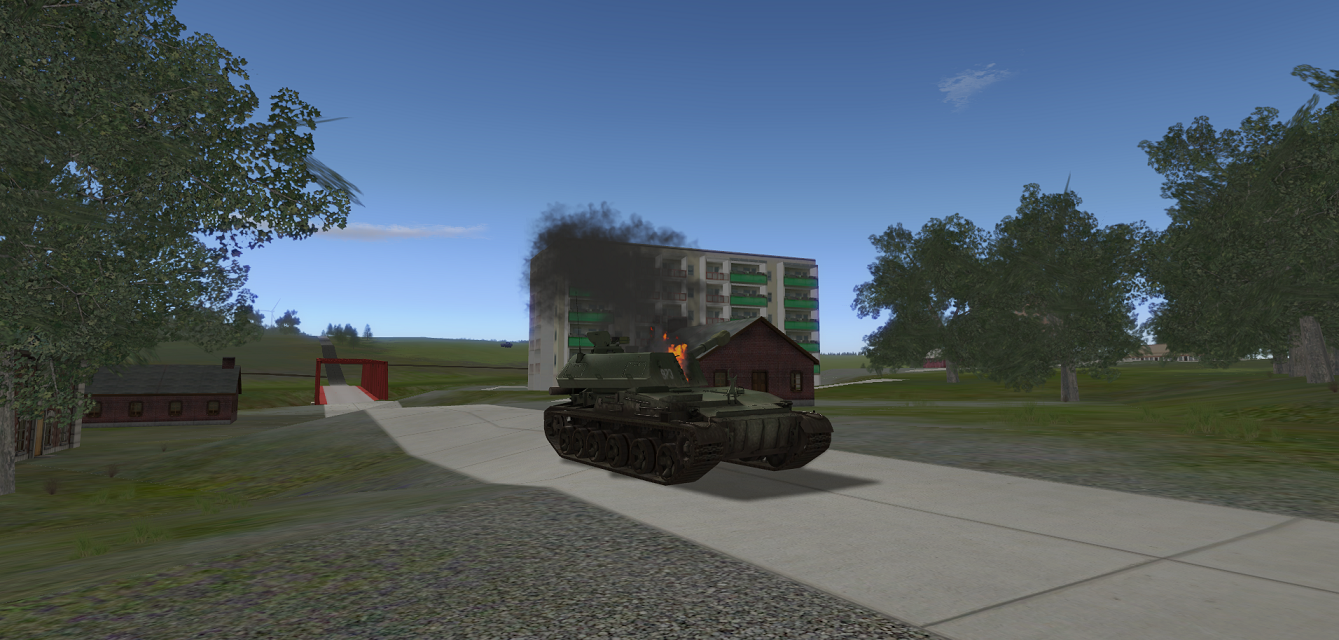
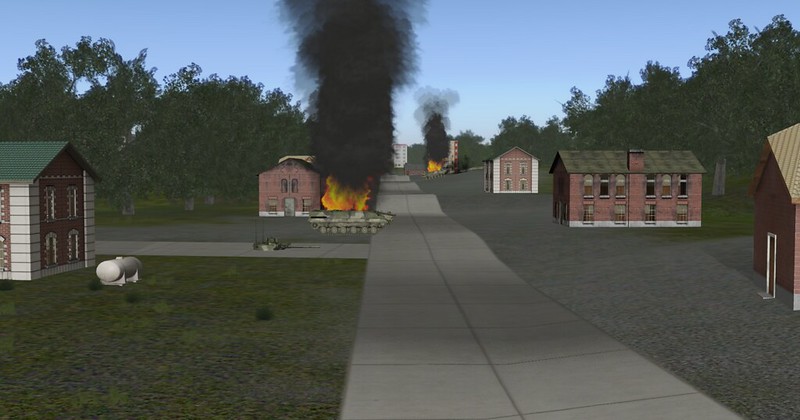
H+42: One of I21's M113AS4s gets into a spot of bother with the building at his 1 o'clock being the source of the fire that has pinned I21 down:
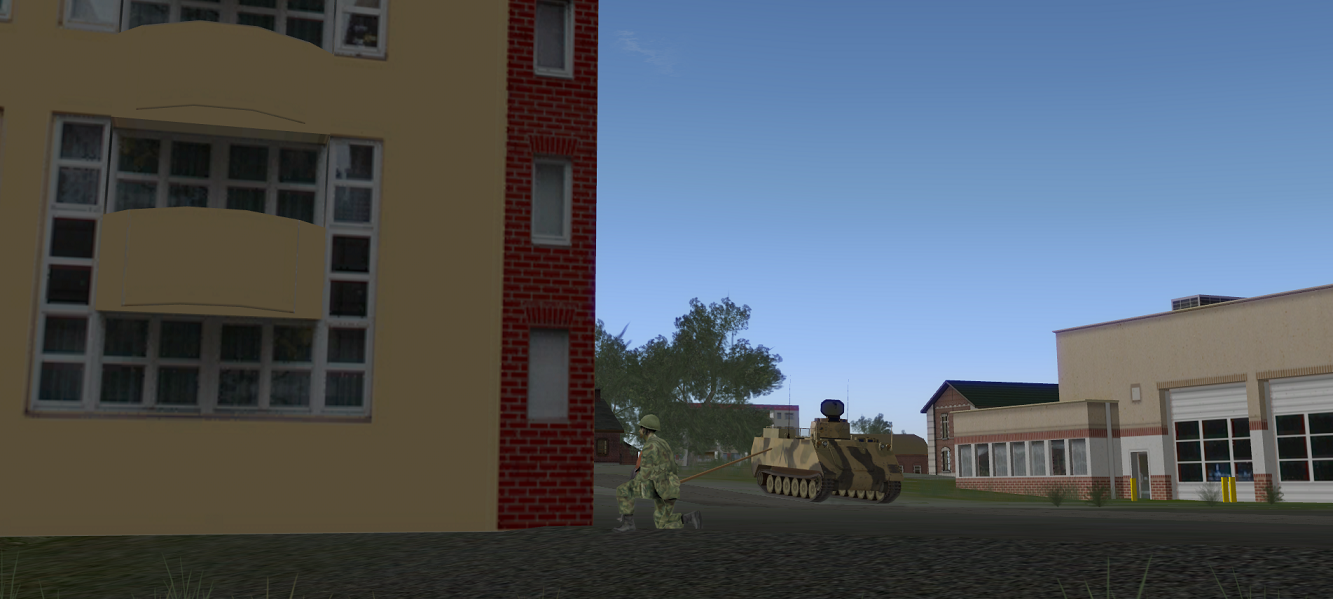
The Sqn 2IC (to provide escort and local security) and M88 are dispatched. This was to be the start of a busy day for them:
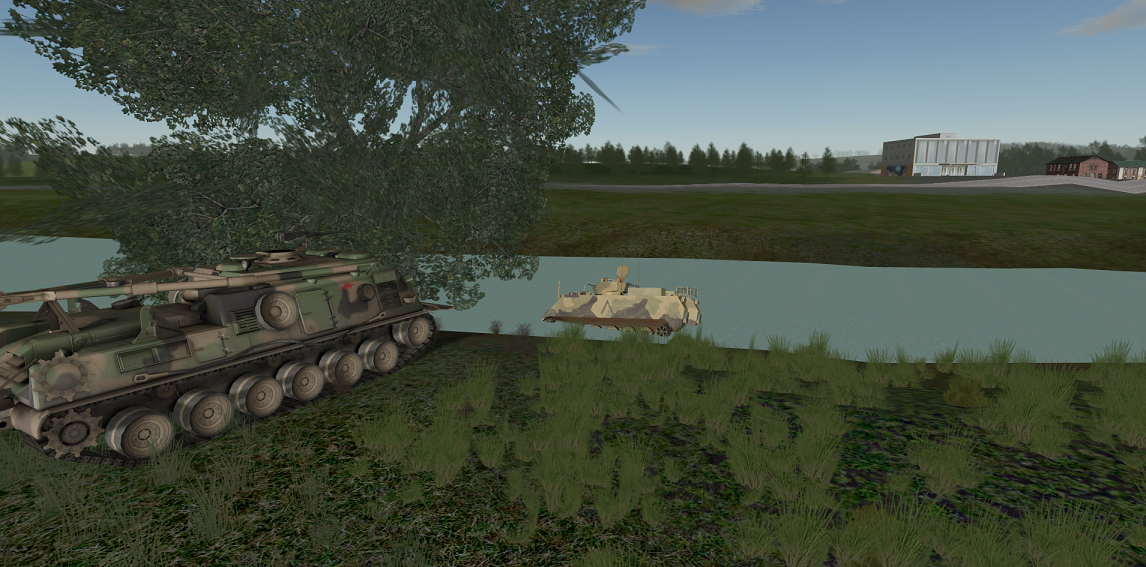
H+45: Meanwhile an inexperienced vehicle commander in V12 tried to cross a bridge whose wooden construction meant it wasn't suitable:

It was never going to end well:
The recovery vehicle's dance card was starting to fill.
H+52: After some "real world" issues trying to get I21's APCs to "work", the OC brought up half of I51 which had been advancing on foot behind the ASLAVs to help I21 clear the town.
Their assault was unsuccessful with the lead section cut down as it assaulted the building where the enemy was located:
The OC took stock.
The I21 whose main job was yet to be done at OBJ TEARDROP was now down to approx. 50% and the advance had been held up long enough while the Platoon Leader tried to sort it out with his own resources.
The Sqn (and CT LYNX's) missions could not afford this delay.
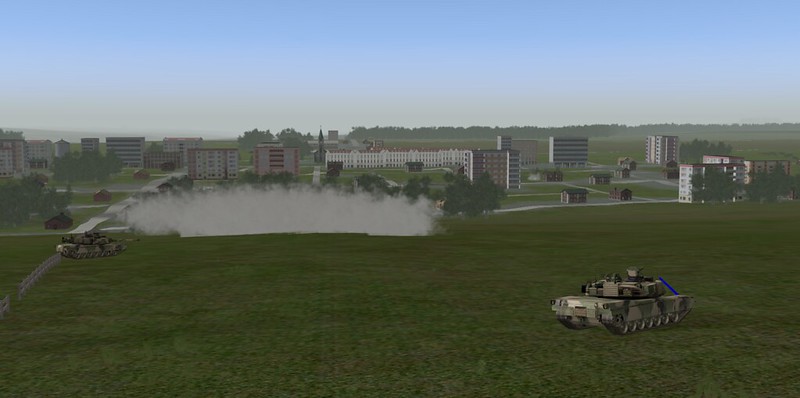
He decided to order I21 to pull back and send the enemy in the building some 155mm greeting cards:
At the same time, elements of V11 on the outskirts of OBJ TEARDROP were taking ineffective indirect fire:
H+58: The M88 recovers the first of its customers for the day. This vehicle had suffered major damage and was subsequently dragged to the centre of town to provide a rally point for the security element left behind:
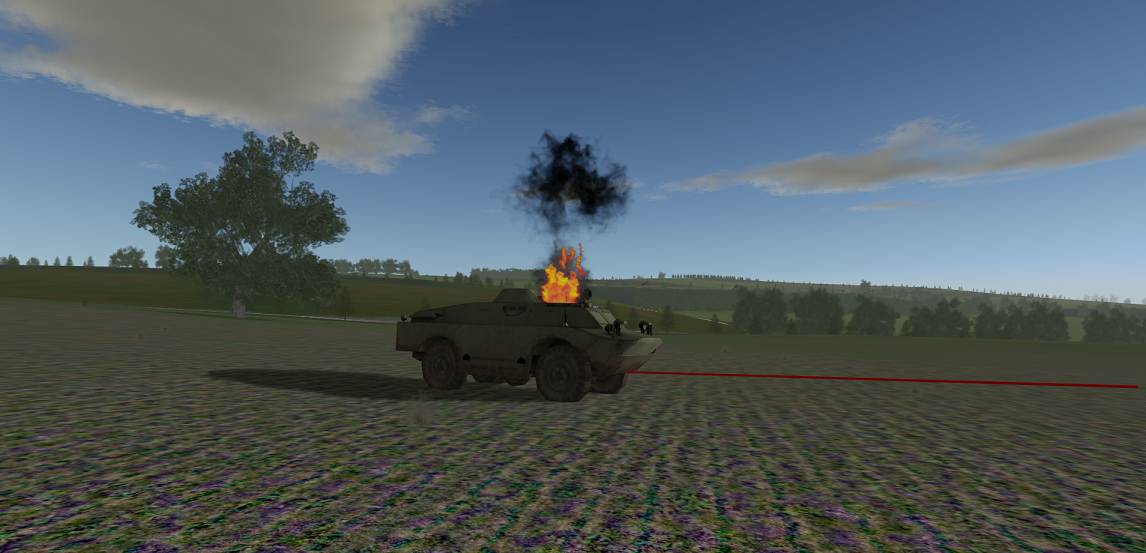
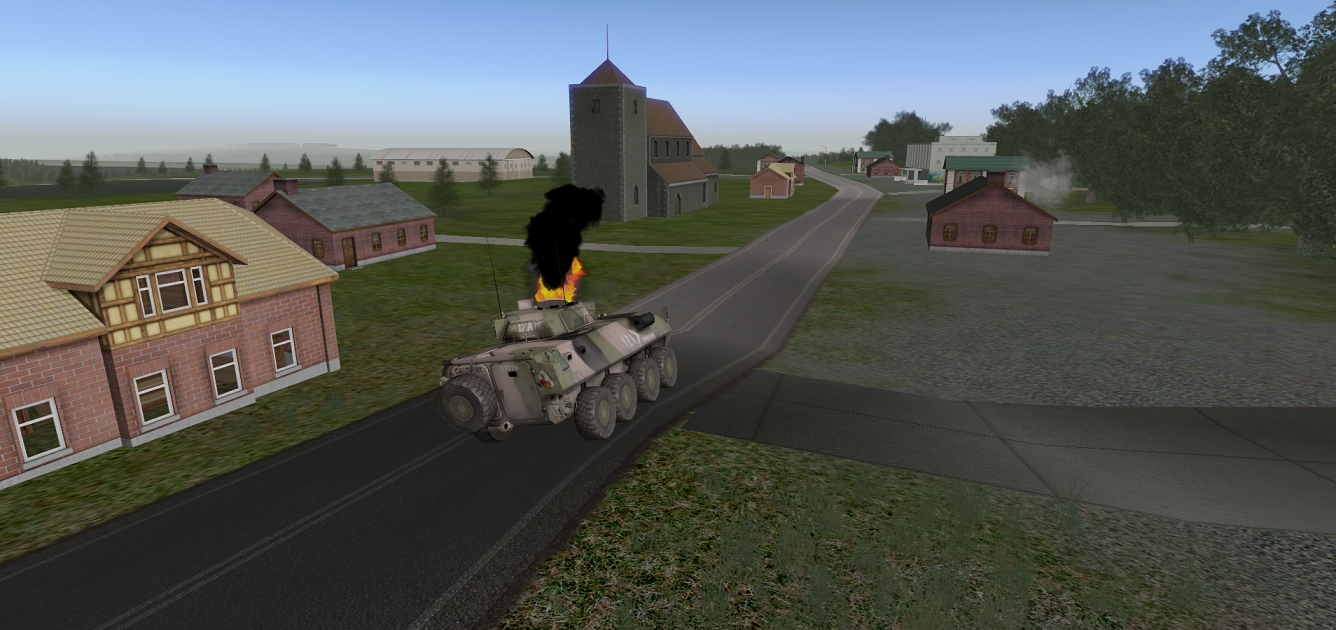
H+61: Over on the far right, one of V13's ASLAV PCs had been surprised by a BRDM-2 and was hit in probably the best place, the double skinned ramp:
H+61: At about the same time the Sqn 2IC came across the BRDM-2 that V12 hadn't finished off before and did the job properly this time:
"TARGET!"
"STOP!, TARGET DESTROYED".
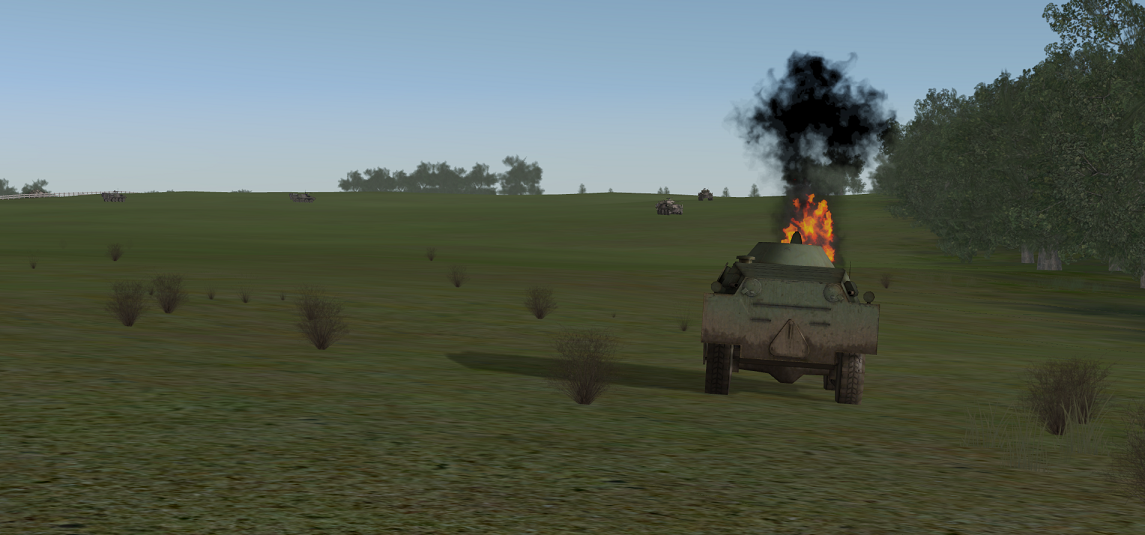
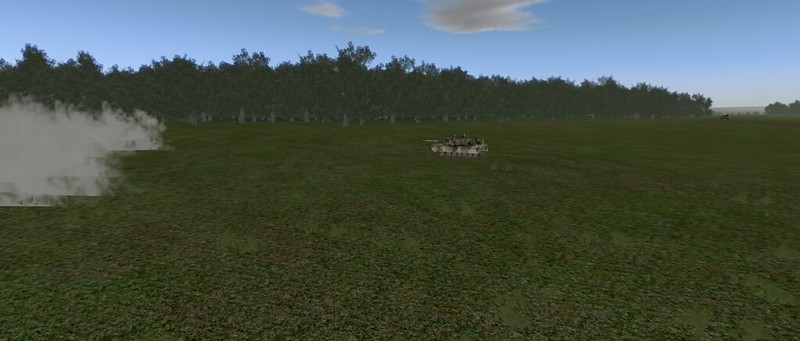
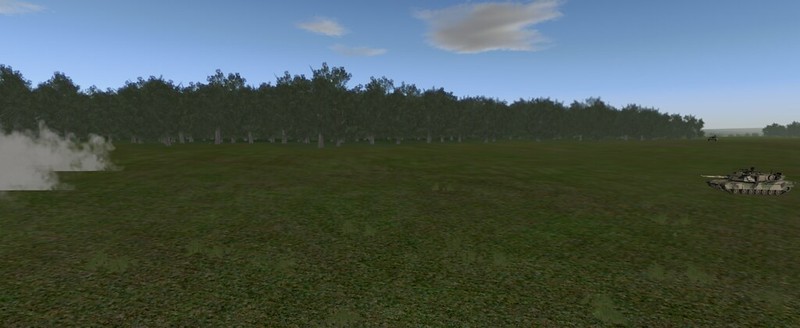
H+83: V13 finally kill the BRDM that they have been sparring with for 20mins or so:
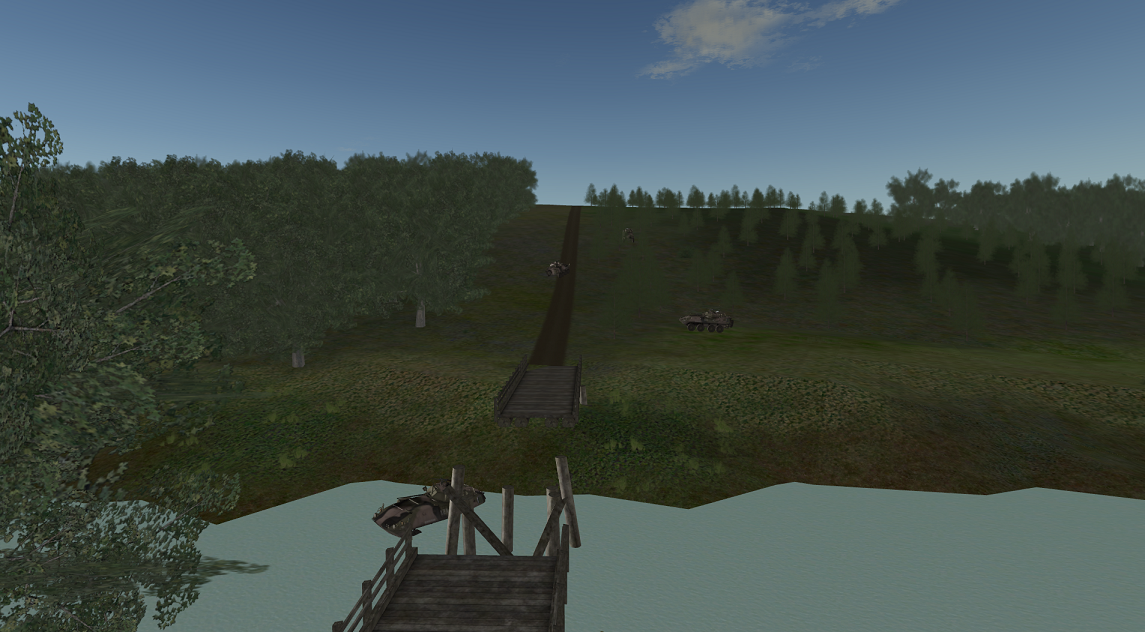
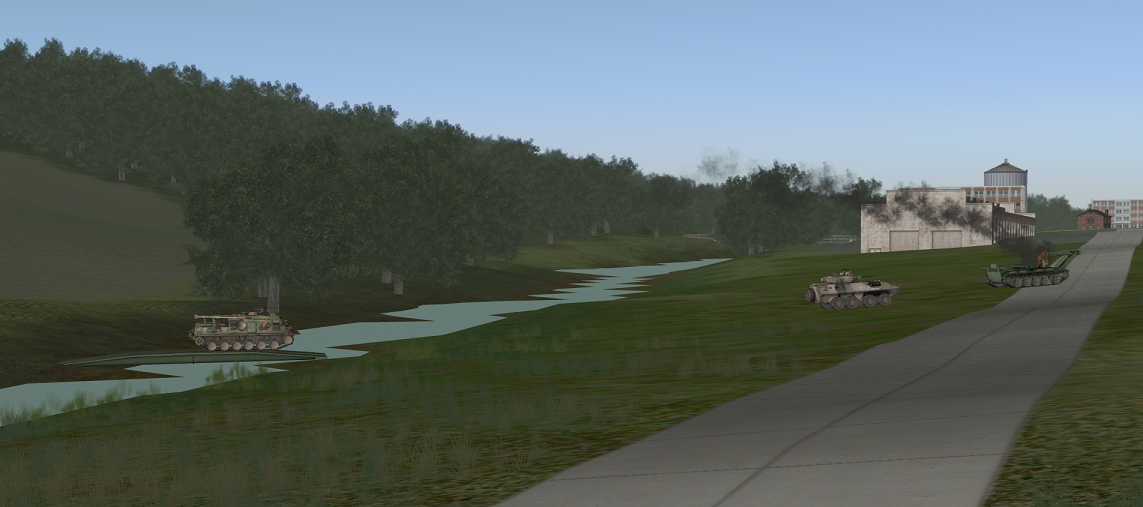
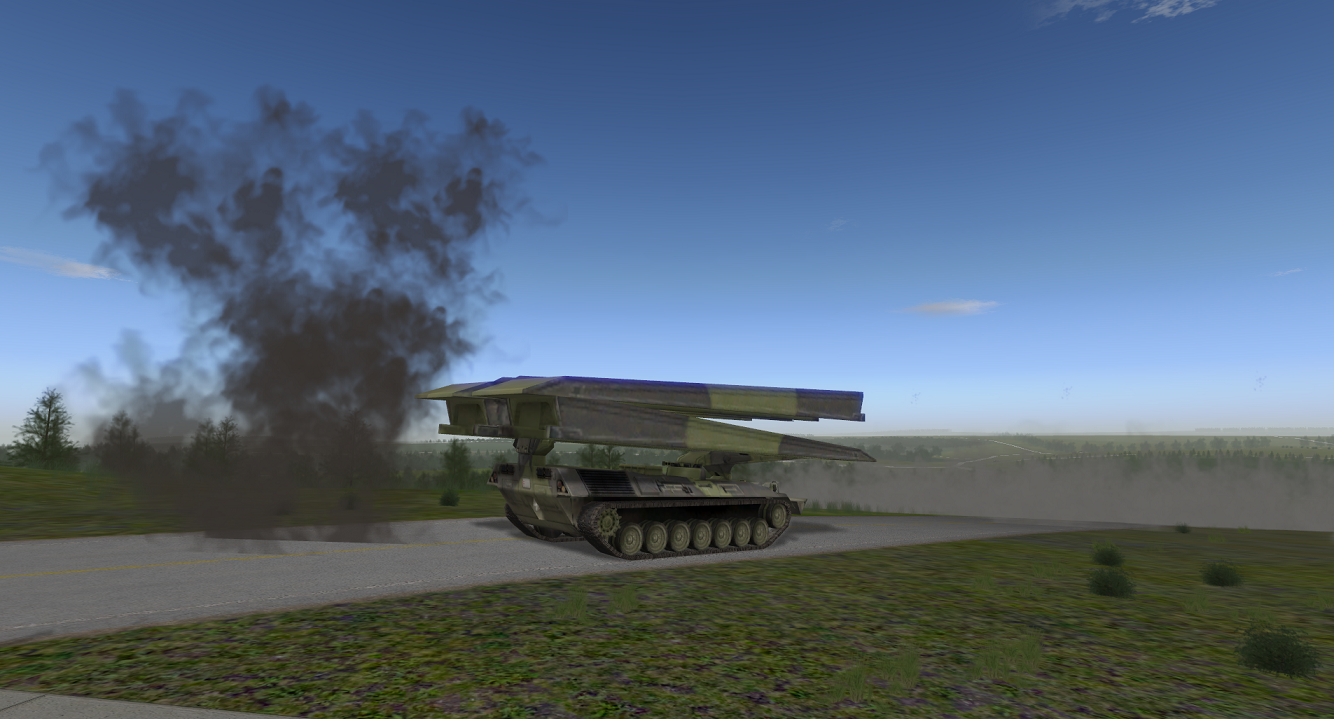
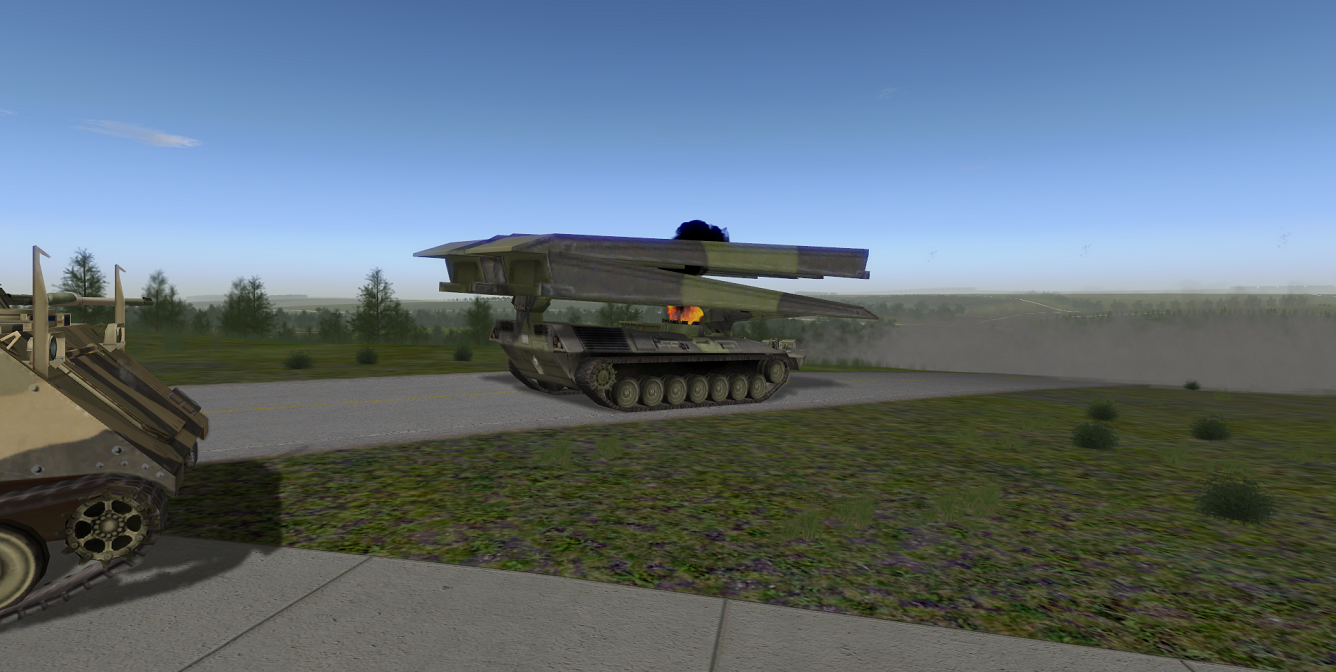
H+98: 19A and the M88 cross a MT-55 laid bridge (the launch vehicle was destroyed in the RED withdrawal) en route to drag the "high speed rapid trial" expert from V12 out of the drink:
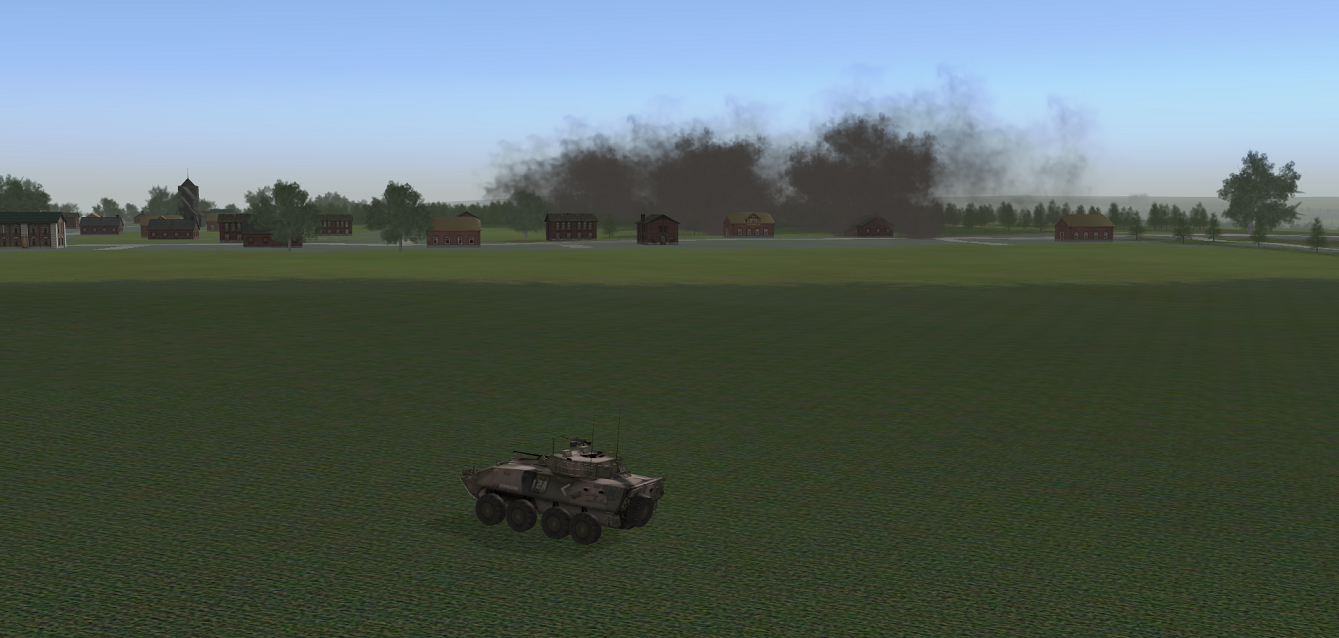
H+118: With elements of I21 arriving in dribs and drabs the clearance of "OBJ TEARDROP" commences with artillery, Javelin and 25mm ASLAV fire to support the understrength Platoon:
H+140: We paused the mission there with a view to continuing at a later date.
The Sqn had cleared to just short of "FRONT LAWN" and CT LYNX had a good route to the main road that runs across the AO from the SW to the NE.
V11 had secured a crossing on the Sqn boundary and was supporting I21 during the break in for "OBJ TEARDROP".
I21 had taken significant casualties but was now clearing "OBJ TEARDROP"
V12 was a little behind (not helped by having to help I21 clear the village and his "enthusiastic" crew commanders).
V13 had cleared their sector and had sent a patrol to assist V12.
The echelon had been busy but done everything asked of it.
I51 had moved forward and secured some new ground behind the Cav elements.
CT LYNX wasn't far away ...
The AAR is here:
https://dl.dropboxusercontent.com/u/1951...N-SERVE1930.zipPART 2
Where we left the action (sort of).
While we intended to use the "in progress save" feature to link mission 1 to mission 2 we did experience some problems:
Issue: While the mission did load and displayed the Blue unit's current locations, the time had reverted to H hr (0445) so we were back in the dark.
Attempting to edit the saved file meant it would no longer load.
This has been mentioned here:
http://www.steelbeasts.com/sbforums/showthread.php?t=20110Fix: I edited the original file, adjusting the time, moving Blue units to where they were at the end of mission 1, inflicting roughly the damage/casualties and recording Red casualties.
I didn't go to the detail of adjusting individual ammunition loads etc. So Blue was effectively at full strength in each undamaged unit.
I also took the opportunity to swap the Ural supply trucks for the Unimog supply trucks (albeit with German markings).
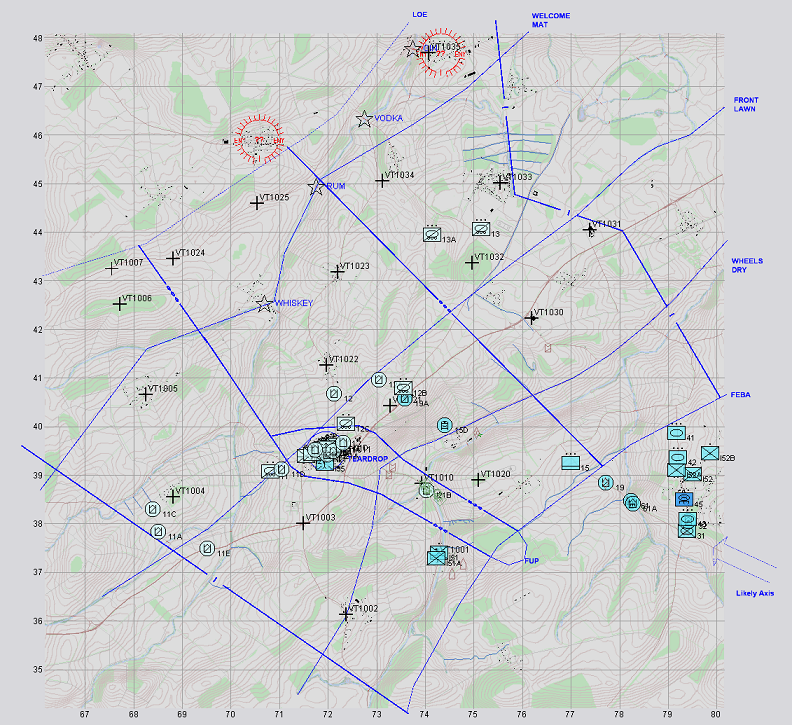
H+140:
The Sqn had cleared to just short of "FRONT LAWN" and CT LYNX had a good route to the main road that runs across the AO from the SW to the NE.
V11 had secured a crossing on the Sqn boundary and was supporting I21 during the break in for "OBJ TEARDROP".
I21 had taken significant casualties but was now clearing "OBJ TEARDROP"
V12 was a little behind (not helped by having to help I21 clear the village and his "enthusiastic" crew commanders).
V13 had cleared their sector and had sent a patrol to assist V12.
The echelon had been busy but done everything asked of it.
I51 had moved forward and secured some new ground behind the Cav elements.
CT LYNX wasn't far away ...
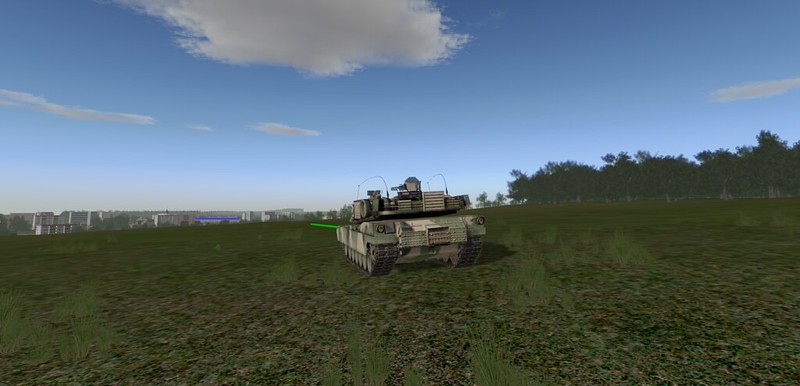
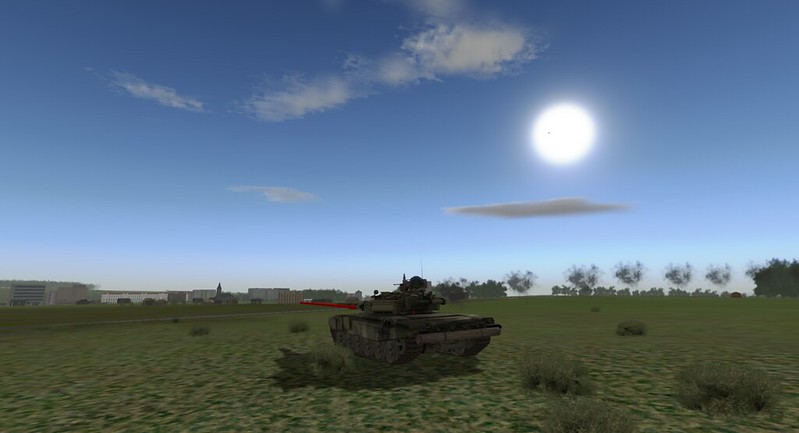
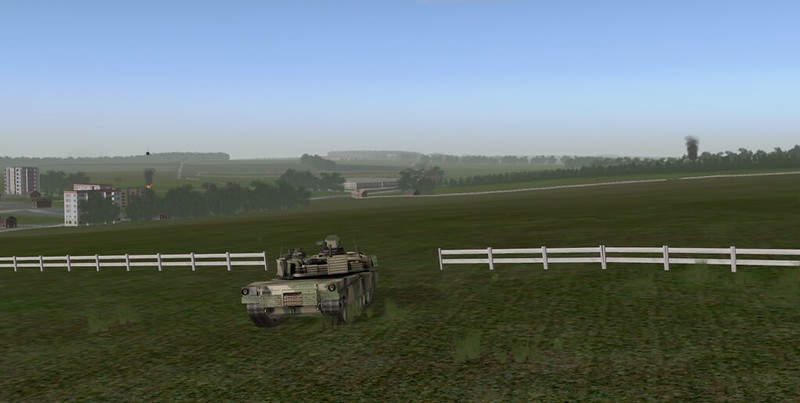
H+141: "I love the smell of T-90 in the morning!" The OC takes in the great sunrise.
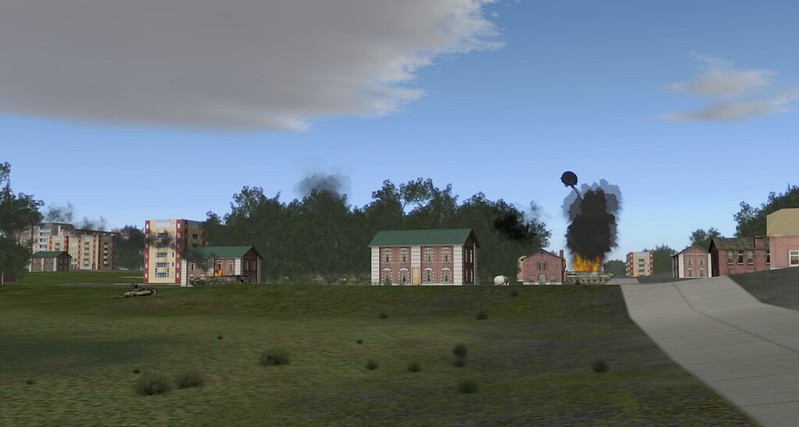
H+144: Supported by indirect fire, elements of I21 begin the break in at "OBJ TEARDROP".
H+151: The enemy stay behind parties using prepared positions, can still put up a fight, as the right forward section of I21 discover.
The fire is coming from the four storey white building with the broad base.
H+158: They close the range but are still pinned down.
H+172: They have closed to being just across the street from the enemy held building.
H+172:
The Squadron had paused in order to spt I21's clearance operations in and around "OBJ TEARDROP".
V11 had secured a crossing on the Sqn boundary and was supporting I21 during the break in for "OBJ TEARDROP".
I21 was continuing the clearance of "OBJ TEARDROP".
V12 had resumed responsibility for the centre with V13 now able to focus on the left. A patrol from V12 was supporting I21 in "OBJ TEARDROP".
V13 had moved back to focusing on the right. Just as well too since the high speed approach to VODKA was in its sector.
H+174: One of I21's APCs comes around the corner just as an enemy squad risks crossing the road. The QCB 0.50" makes short work of them.
H+175: And the guys in the building that the first person emerged from.
H+180: I guess none of the enemy watched "Saving Private Ryan".

H+200: CT LYNX enters the AO looking to follow the high speed route the recce is supposed to have found for them.

CT LYNX's OC isn't too worried about the house to house fighting in "OBJ TEARDROP", his job is to secure a crossing for himself, the rest of BG PANTHER behind him and the rest of the BDE behind that.
OC A Sqn grants permission for his units to cross "FRONT LAWN" (with the exception of part of V12 still supporting I21) and implements his "piquet and bypass" policy.
H+204:
"Victor 19 this is Tango 49, entering your AO from the SE, proceeding on the Eastern route towards VODKA, over"
This simple message told OC A Sqn that three Troops of tanks, a Platoon of mech inf and four armoured bridging vehicles (Armoured Vehicle, Launched Bridge - AVLB) were now moving best speed through his location heading for VODKA.
V11, released from its support role for I21, had started to move forward on the left.
I21 had cleared the Southern half of "OBJ TEARDROP" and had now crossed the main road that ran through town to clear the remaining NW corner supported by elements of V12.
V12 had started to move forward again.
V13 was within 3,000m of VODKA.
V11, V12 and V13 had all crossed "FRONT LAWN".
T41 (lead call sign CT LYNX) was about to cross the FEBA and would close the distance between it and V13 rapidly.
H+209:
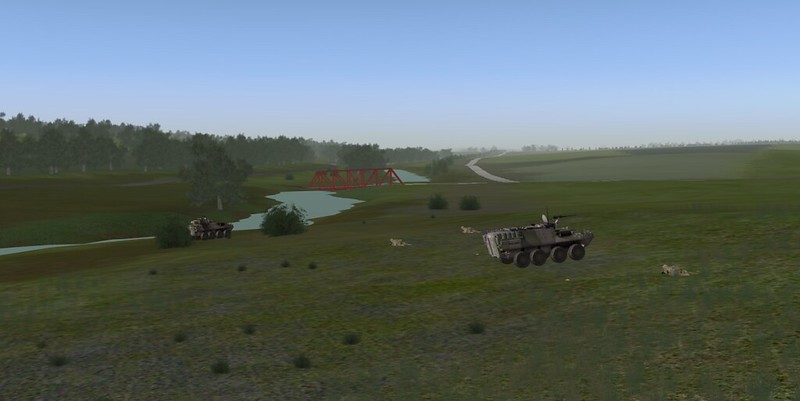
CT LYNX crosses the first major river obstacle via a good highway bridge. No need to use the AVLBs, done quickly, in good order and indeed "WHEELS DRY".
H+210:
On the left, V11 had encountered another small group offering resistance from a village.
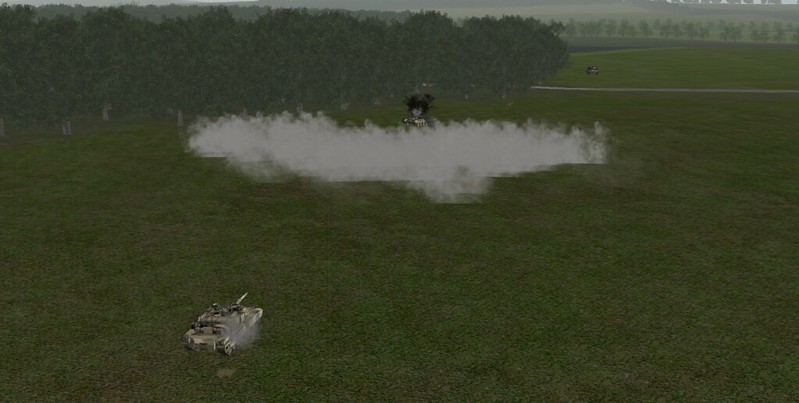
After some coax, they called in some artillery support:
H+215:
In the centre, V12 had encountered yet another small group offering resistance from a village.
After some coax, V12A called in some artillery support:
H+222:
V13 had been making good progress but perhaps it was over confidence or perhaps the proximity of the crossing but they crossed a cluster of buildings "flank on" and suffered for it:
A combination of HMG and RPG fire had destroyed one ASLAV-25 (in background) and heavily damaged the ASLAV-PC, wounding the crew and passengers.
H+223:
At almost the same time V12 ,on V13's left, had a similar "rush of blood" and sent a single unsupported ASLAV-25 into the hamlet it had been suppressing.
There was no real surprise in the outcome.
H+245:
In the space of a few minutes things had changed markedly
V11 was in contact on the left.
I21 had consolidated in "OBJ TEARDROP"
V12 had lost a vehicle in the centre.
V13 could see the crossing at VODKA but had lost two vehicles and was now conducting a dismounted clearance of the township.
V13 was briefing T49 as to whether going through the town (with its Infantry contacts to date) was a better option that the uncleared route to the West.
T41 (lead call sign CT LYNX) was across "FRONT LAWN" was about to link up with V13.
H+248:
T41 links up with V13 en route to VODKA.
H+253:
V11 collects an RPG-29 in the side.
H+254:
Moments later his partner is saved by the fact that the RPG hadn't armed before it hit.
H+255:
Over on the left a V13 vehicle is hit by an AT-4 while providing flank protection for CT LYNX advancing on VODKA in the low ground.
H+257:
The guy in V11 who should have bought a Lottery ticket wasn't so lucky second time around.
H+261:
T41 crosses "WELCOME MAT" and then VODKA.

H+262: Indirect fire starts to land on the CT LYNX column
H+263: The indirect fire is closely followed by tank fire, which makes short work of the AVLB
H+264: The Red Counter Penetration force has been triggered by the crossing at VODKA.
H+270: CT LYNX Tanks on the far bank come under AT-4 ATGM fire. Ineffective to date.
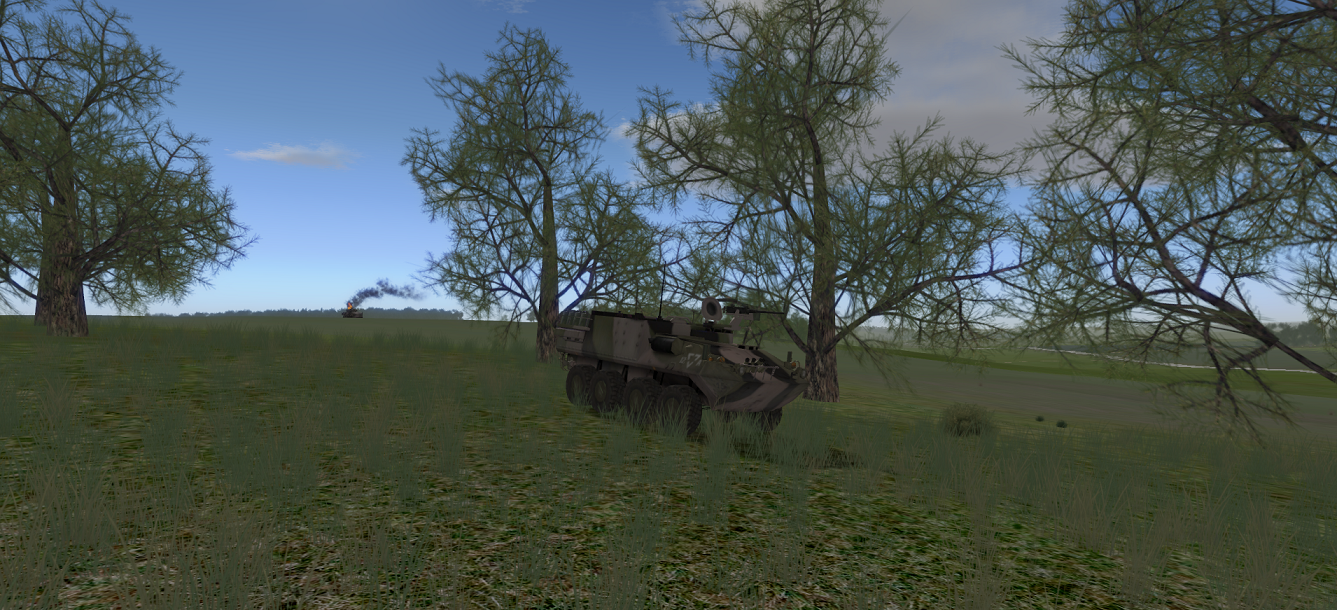
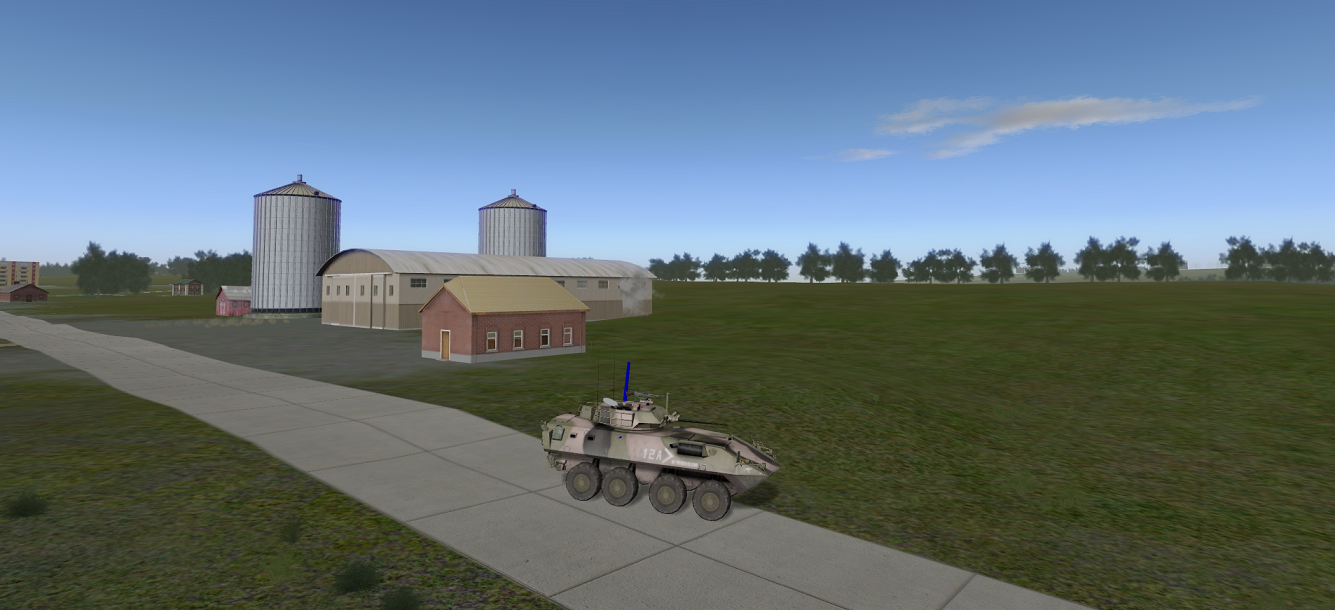
H+274: V12 comes across a stranded SPA piece on the approaches to WHISKEY and puts it out of its misery.
H+276: We paused the mission there with a view to continuing at a later date.

The Sqn had cleared to "WELCOME MAT" within sector and secured "OBJ TEARDROP".
CT LYNX was across at VODKA.
V12 was determining if WHISKEY was a suitable secondary / alternate crossing.
V11, V12, V13 and I21 had all taken significant casualties.
The echelon had been busy but done everything asked of it.
The next challenge was the Enemy Counter Penetration Force as it attempts to push us back across VODKA.
The AAR is here:
https://dl.dropboxusercontent.com/u/1951...N-SERVE1941.zipPART 3
H+276: SITREP
For a bit over 15 minutes CT LYNX has been across WELCOME MAT at VODKA.
In that period there has been Artillery, Tank and Missile fire from Red positions and it is clear that he intends to contest the crossing (refer concluding stages of the AAR from the 5th of DEC).
The Cav Sqn has cleared to WELCOME MAT within sector and secured OBJ TEARDROP.
However the Sqn still has the implied tasks of supporting the CT where possible and looking to secure the crossings at RUM and WHISKEY, in order to provide the BG and BDE commanders with options.
OC CT LYNX's plan
The OC has decided he doesn't have enough combat power to become embroiled in clearing the town to his immediate West.
Instead he has opted for three, Troop sized, tank battle positions to secure the lodgement within his "Bridgehead line" with a the Mech Inf Platoon protecting the central wooded area.
The Troop in the NE battle position is to be his situational reserve.
He also needs to clear the disabled M113AS4 currently blocking the bridge at VODKA, which is preventing reinforcement.
He is confident he can adopt a defensive posture and use his superior platforms to neutralise the enemy well before they can penetrate to VODKA.
Note:
1. Neither side has been resupplied since the previous AAR (something that Red will regret).
2. Blue is not playing any vehicles short of WELCOME MAT apart from the recovery vehicle and V13.
H+277:
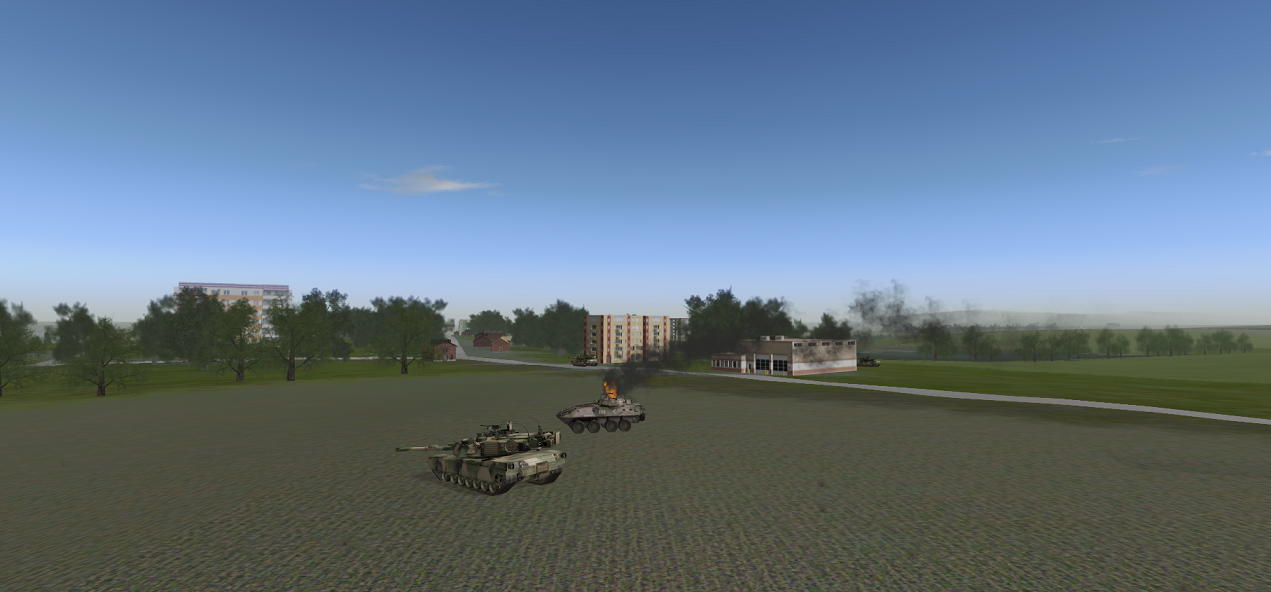
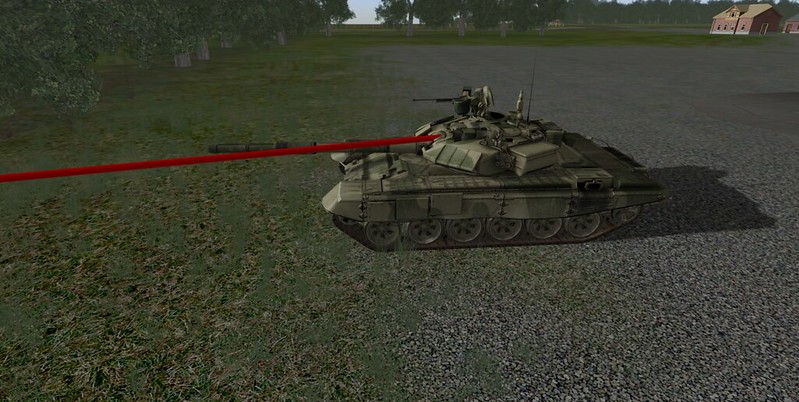
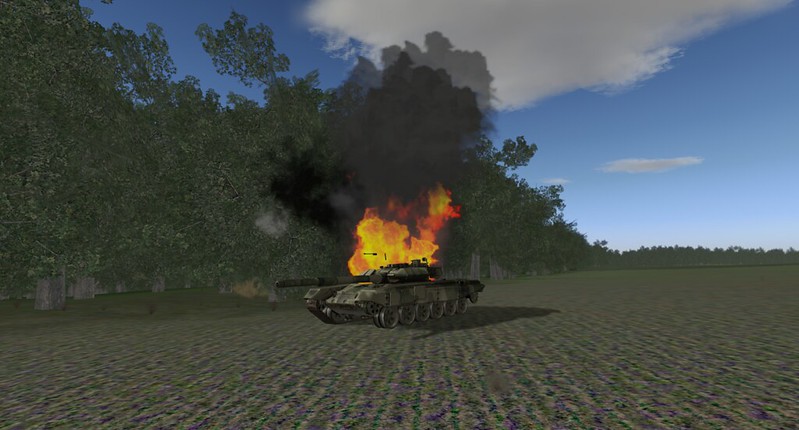
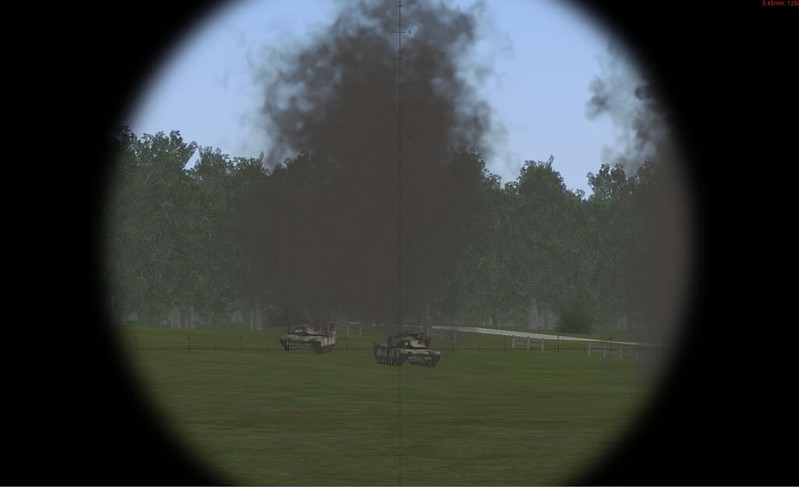
Almost immediately the Troop Leader, 2 Troop's vehicle is hit by a 100mm round fired from a BMP-3 some 1,500m away in the town.
H+278:
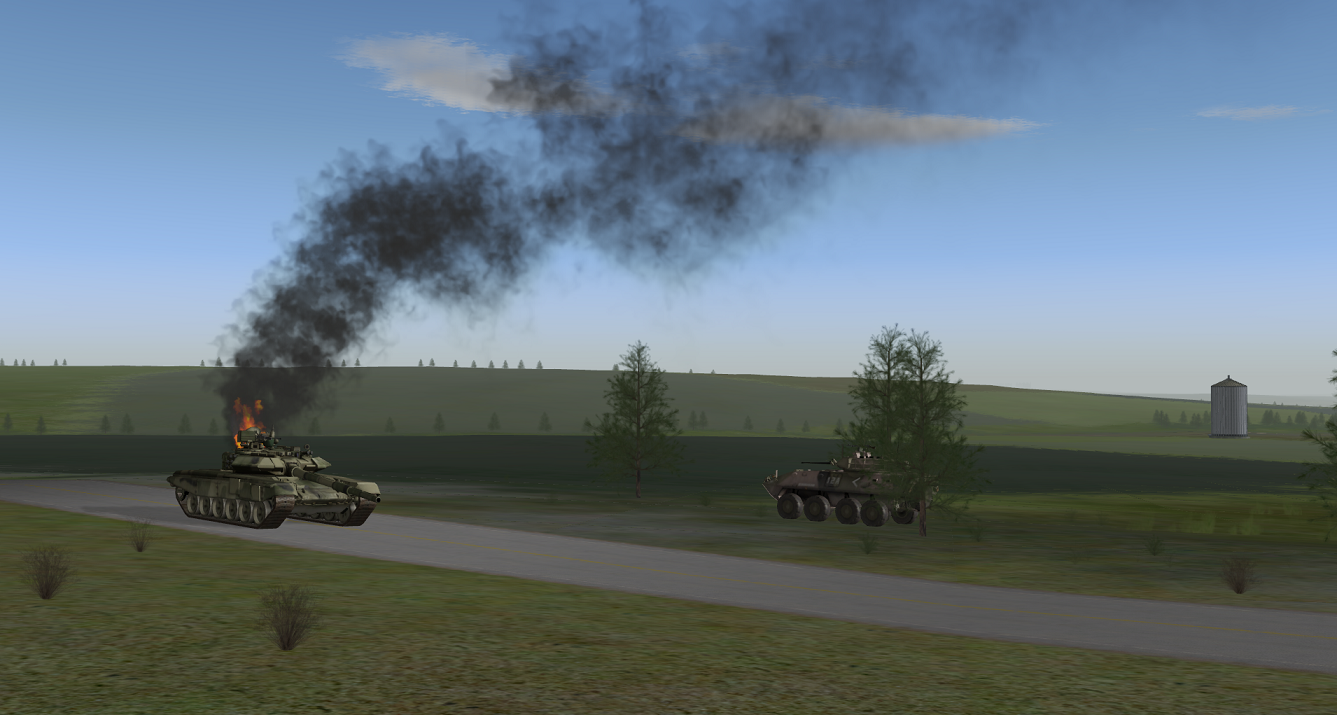
In the Southwest sector, a T-90A loses its exchange with a M1 from 2 Troop.
H+278:
At the same time in the In the Northwest sector, a AT-4 tracks a M1 of 1 Troop as it moves flank on across his front.
H+278:
They take the shot, but aren't rewarded for their patience and can't follow up with a second round.
H+280:
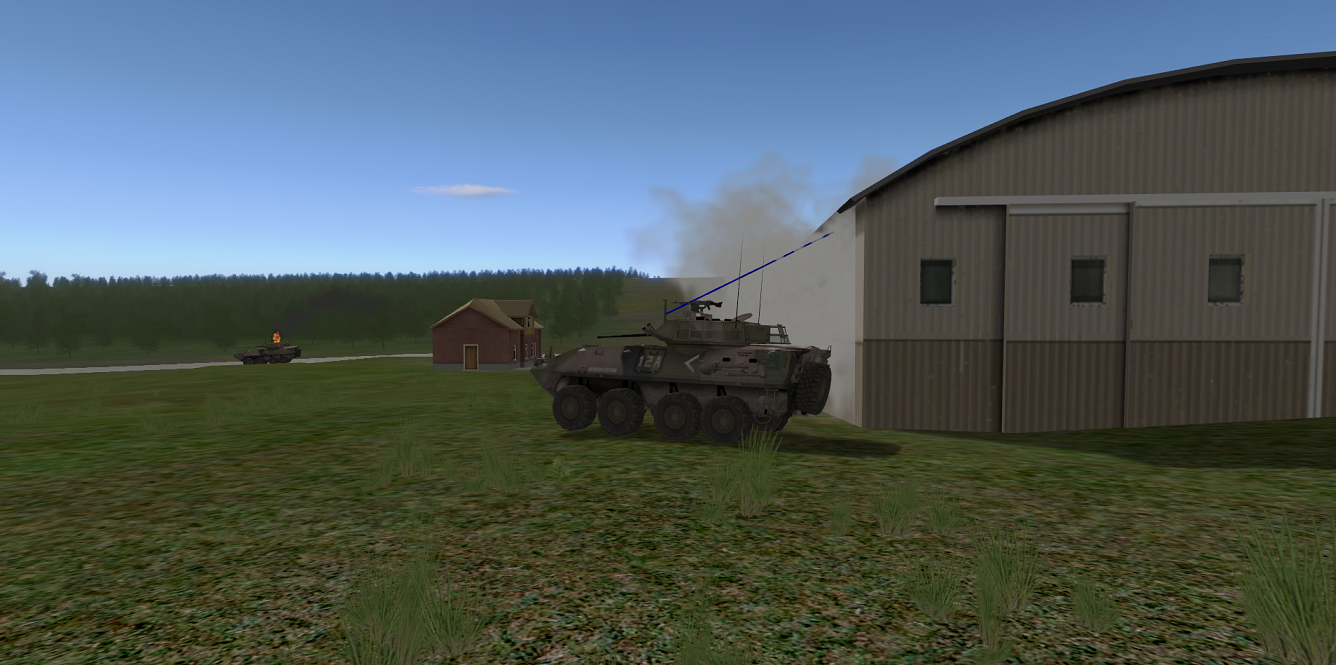
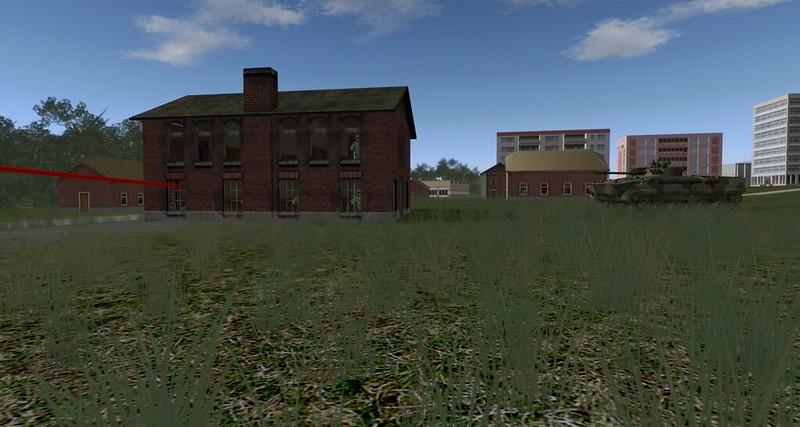
Having survived the AT-4 post's last missile, 1 Tp is now engaged by AT-11 fire from a T-90A. A single M1 survives three glacis plate hits in the space of a couple of minutes.
The T-90A is firing from the ridge beyond the row of apartments highlighted with a blue line.
H+281:
2 Troop continues to reach out and touch T-90As to the South.
H+282:
A Red Infantry team orientated to the East to face 2 Troop, are caught in a cross fire from 1 Troop approaching from the North.
The BMP-3 remains concealed for the time being.
H+282:
A different BMP-3 re-orientates to face the threat from 1 Troop.
But while cautiously advancing towards the tanks on the ridge, is destroyed by cross fire from 2 Troop returning the earlier favour.
H+283:
As was this T-90A.
H+284:
In a matter of seconds 1 Troop returns the fire of the T-90As on the ridge (beyond the apartment block) accounting for first one vehicle.
And then another (the first can be seen forward and slightly to the left of this second kill).
Finished off with a confirmatory round.
The same treatment given to his wingman, slightly closer to 1 Troop.
H+286:
To the South, call sign V12 secures the crossing at WHISKEY, moving past the burning artillery piece.
Only ten minutes have passed in the current phase but there have been more contacts than the previous four and a half hours.
H+287:
The AT-4 parties continue to ghost targets (albeit without missiles to shoot).
However some of their earlier efforts can be seen in the background on the far side of WELCOME MAT where ATGM fire accounted for quite a few losses in the seizure of VODKA.
The following sequence I suspect resulted in:
a. A change of tanksuit for the M1 crew concerned, and
b. A chat with the other vehicle about covering arcs.
H+288:
The good news here is that the M1 survived yet another AT-11 hit.
The bad news is that the tank approaching from behind (and currently unsighted / unspotted) is not an M1.
The M1 crew pop smoke.
and pull back from the threat to their front. The T-90A continues to approach.
The M1 crew is pulling back and about to "jockey right" towards the assumed protection of the tree line.
They turn the tank to the right to commence the lateral move (T-90A still unsighted).
They put the gun at 9 O'clock (axis of hull) to cover what they believe is the most dangerous threat.
Having finished the lateral move they re-orientate to hull towards the initial threat.
At some point here the crew commander has a look around and has a "WTF!" moment.
They get the hull around just in time to be hit by the T-90A. Luckily not badly damaged.
The M1 crew appears to be momentarily stunned.

Now the T-90A pops smoke.
The M1 fires blind into the smoke aiming for the centre of seen mass last observed.

Then puts a second one in for good measure.
Meanwhile the tea has been brewed in the other M1 just a few hundred metres away (but facing the wrong way).
H+291:
Meanwhile back in 2 Troop's sector another BMP-3 is cremated. The town is now littered with burning tanks and AFVs.
For all their losses Red was not stupid. They had detected that the CT appeared to be templating its response to artillery fire.
Almost every time that artillery had fallen, the tanks had displaced forward.
Red was now going to test this.
A mission lands in and around 1 Troop.
They displace forward (on cue).
Into a waiting AT-5 ambush, fired from a BMP-3 down in the town.
Luckily for 1 Troop the hit caused little damage.
H+293:
Unfortunately the BMP-3 was then cut down by 2 Troop while trying to cross the road / fire lane that ran through the town.
This fire lane had accounted for the other BMP-3 in the foreground only a few minutes before.
H+296:
The recovery vehicle arrives to drag the M113AS4 off VODKA and open the road to traffic.
SITREP:
T41 and T42 have been attriting the enemy with only small amounts of damage sustained in return.
T43 has had a quiet time to the Northeast.
I31 has secured the central wood and is now moving West to support 1 Troop in the wooded area.
V12 has secured WHISKEY to the Southwest.
V13 is moving towards VODKA with a view to crossing WELCOME MAT and securing RUM.
The enemy has been skilful in employing his weapons and supporting arms, although the CT enjoys a qualitative overmatch.
H+301:

One of the Enemy's few remaining tanks caught trying to infiltrate around the Western side of the town. The 2 Troop vehicle that destroyed it is approx. 2,500m to the East beyond the town.
H+306:
The cross fire continues. Following the 2 Troop kill (smoke pillar to the left) 1 Troop got this vehicle from the ridgeline you can see in the background..
The view from the CT side.
H+307:
A MG team from I31 stumbles across the AT-4 party that had remained hidden in the woods.
A brief and bloody firefight ensured with the MG equipped team prevailing over the useless missile launcher and two AK-74.
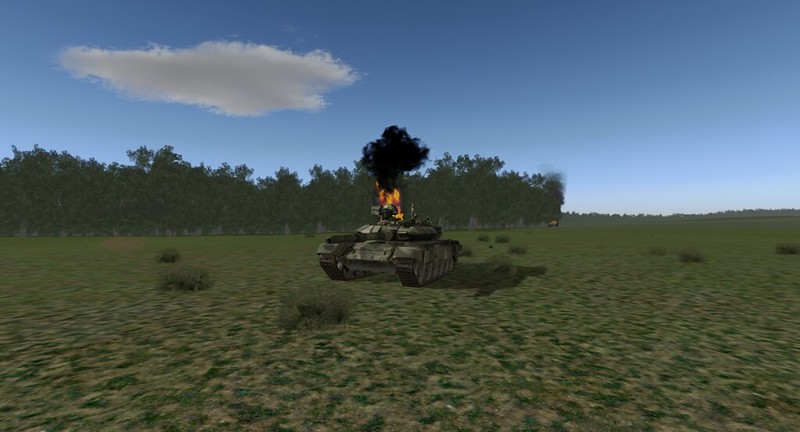
H+326:
M1 immobilised by a RPG-29 hit (note the puff of smoke beside the two storey brown building).
H+326:
Crew Commander returns fire with his 0.50" QCB.
H+327:
A patrol from V13 arrives at RUM and begins observing the crossing.
Dismounts being dispatched to secure the objective.
H+336:
Once the enemy knew they had disabled a tank they started to circle like sharks
Putting another RPG into it.
Concentrating their artillery.