Thought I'd drop this in here......I made a very quick reverse mounted pedal set last weekend. Had been toying with it for a while as my foot always seems to ache in long driving stints. I think its the position of the feet, I feel as if I'm pulling my heel and toes back into an un-natural position even when just resting on the pedals. This is a common modification, nothing new but if I can do it then everyone can, especially after seeing some of the masterpieces in this area of SimHQ.
I will add to start with that I'm absolutely no good with wood whatsoever, I don't do clean cuts, I mess things up even when I measure 5 times and always bludgeon my way through everything. I thought I'd put the post in here though in case it spurns any other people to have a go or triggers some creativity elsewhere.
Basically I'm not good enough to measure twice and cut once

so I generally use these rules:
Measure 5 times, and then you only need to cut twice
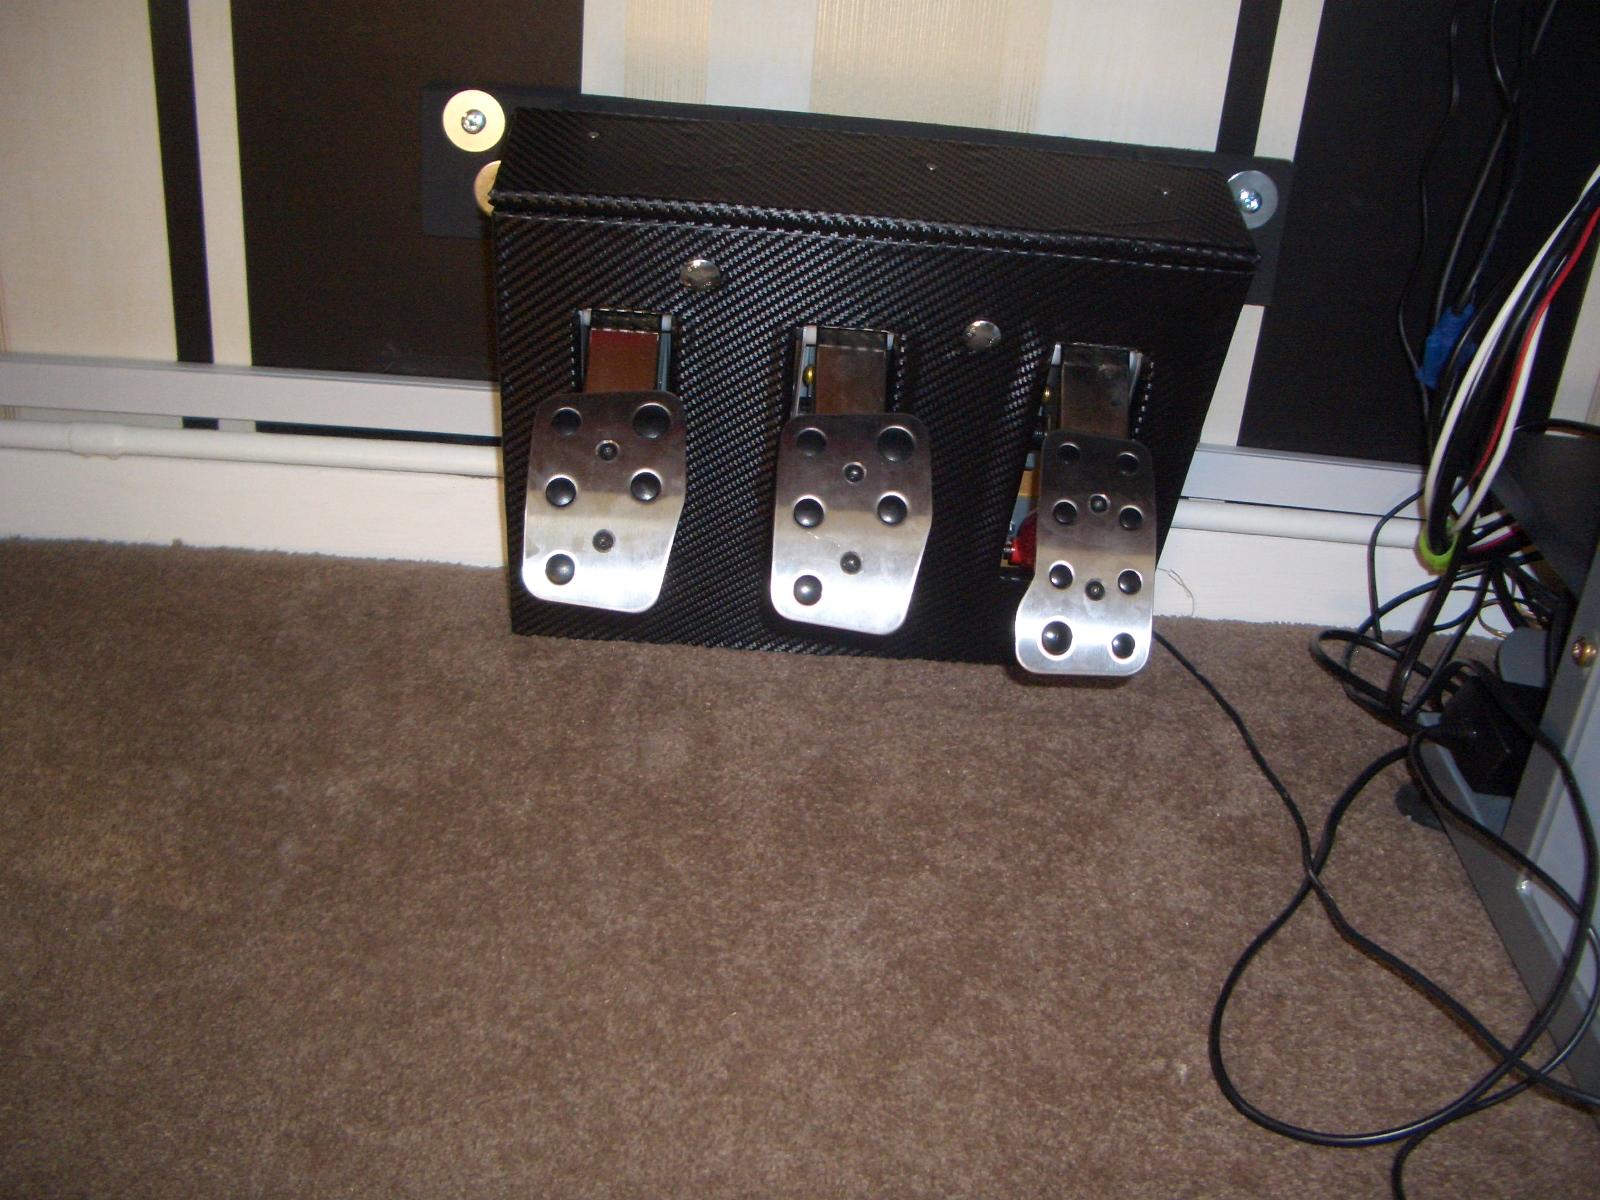
If it looks shabby, cover it up with carbon fibre stickers
(as per my Warthog centre mount)If it works and the missus doesn't complain too much then its a good job.
The basis of this mount is really that it's secured to the wall so if anyone has a wall or vertical surface where their racing pedals are currently sat on the floor this method could help.
A very simple diagram is below for how this is put together:

The black lines represent the floor/wall, the little box section is the skirting board
The red lines represent the MDF mount
The blue lines represent the G27 pedal section
The green lines represent a 'floating' board which covers up the pedal mechanism
The pedals are only secured at the top, the board is pushed right up to the skirting board at the bottom meaning minimal holes need drilling into the wall. It's solid as a rock.
-----------------
A good starting point is this
youtube video detailing the steps required to reverse mount.
It's important that you remember which pedals are which when you remove them from the base as the springs offer different resistance and they will be remounted upside down in order for the travel of the pedal to represent that of most cars. I had also previously purchased one of the
Nixim brake springs which makes a huge difference to the pedal and is much more realistic.
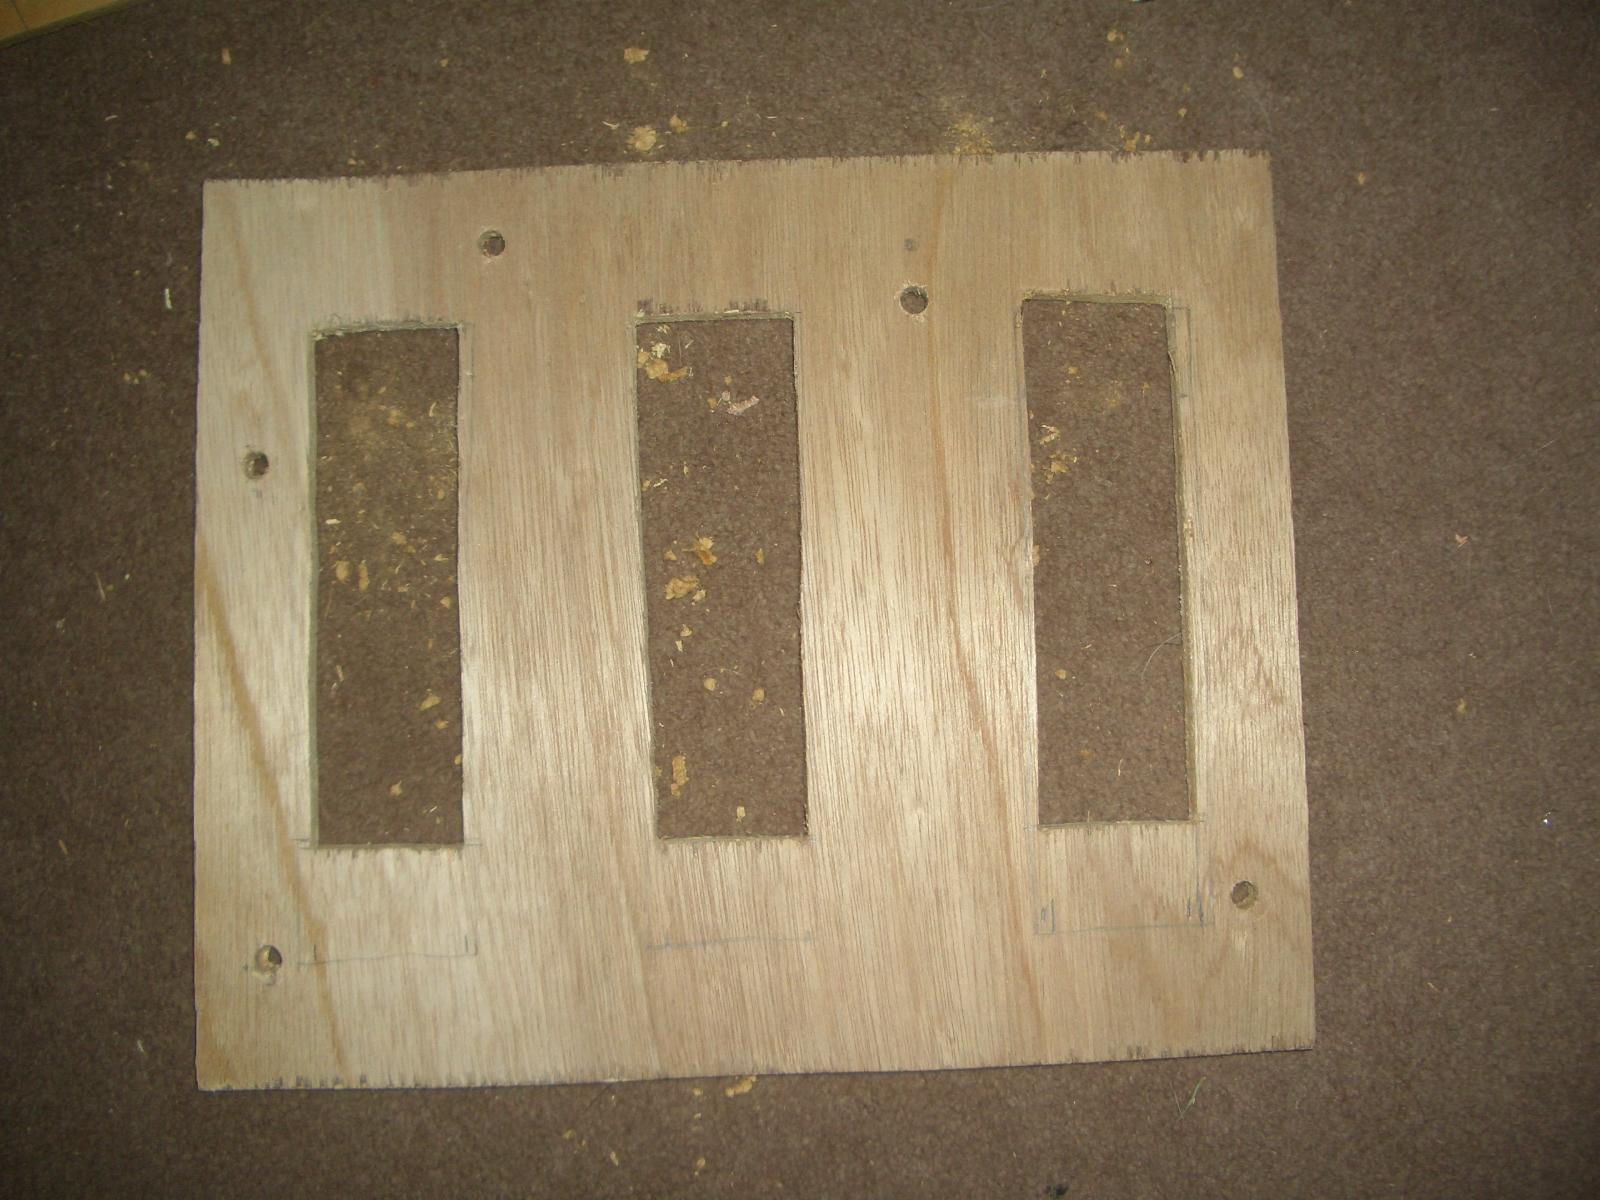
The pedals were then mounted on some MDF I had laying around....don't forget that the pedals are effectively mounted upside down so that they 'hang' in position rather than the default position.
The trick I needed to get right (and yet it took multiple attempts) was to get the angle of the supporting pieces of MDF correct, as this determines the angle of the pedal bases.

Not the best photo to show this but.....


I then secured the wiring on each pedal using picture hooks (what else would anyone use?)


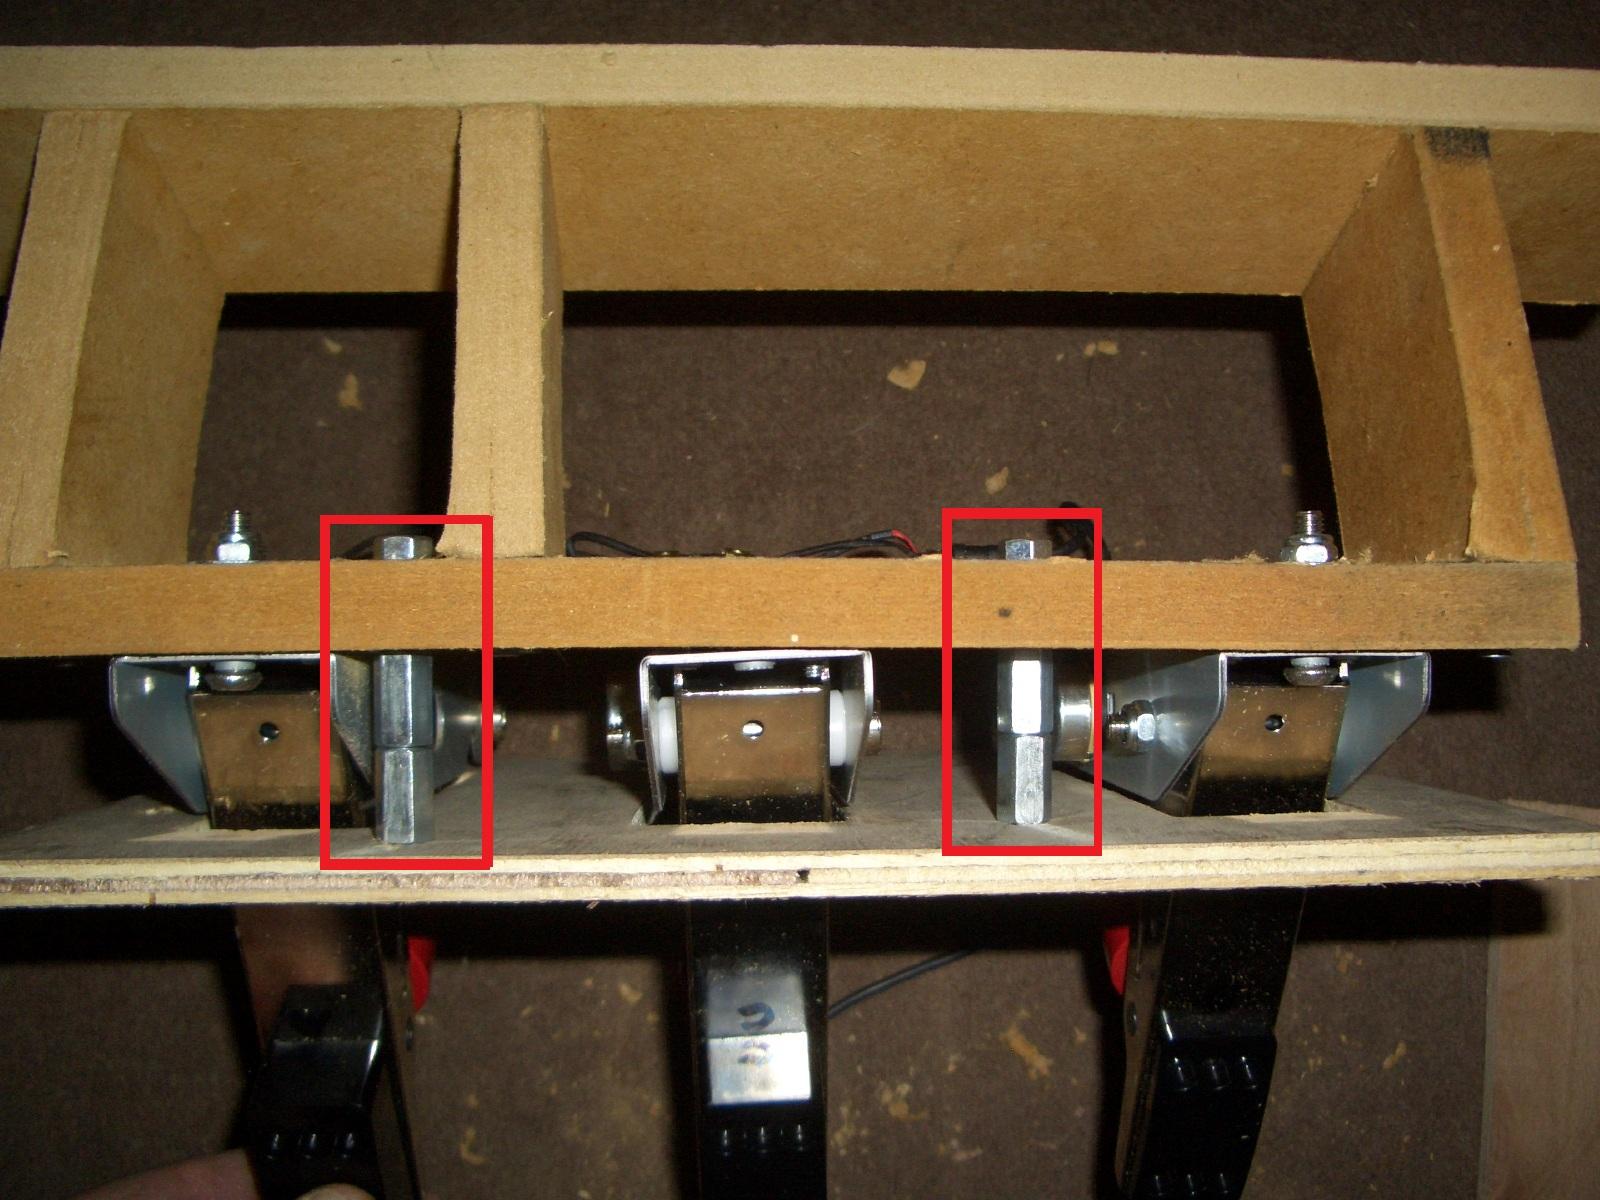
Next stop was the 'floating board'...as mentioned previously, this is just to cover up the pedal mechanism and also protect the wiring and pots on each pedal. Here I needed some stand-off bolts to raise the floating board just above the base of each pedal....I cut this out very rough knowing that my carbon fibre wrap would come in handy

To lift the floating board just above the height of the pedal bases I ended up using some
M6 rod couplers with a long M6 bolt running from the top of the floating board through to the bottom of the MDF base.
I then drilled a couple of holes on each side of the pedals, dropped in a wall plug and secured it in place.
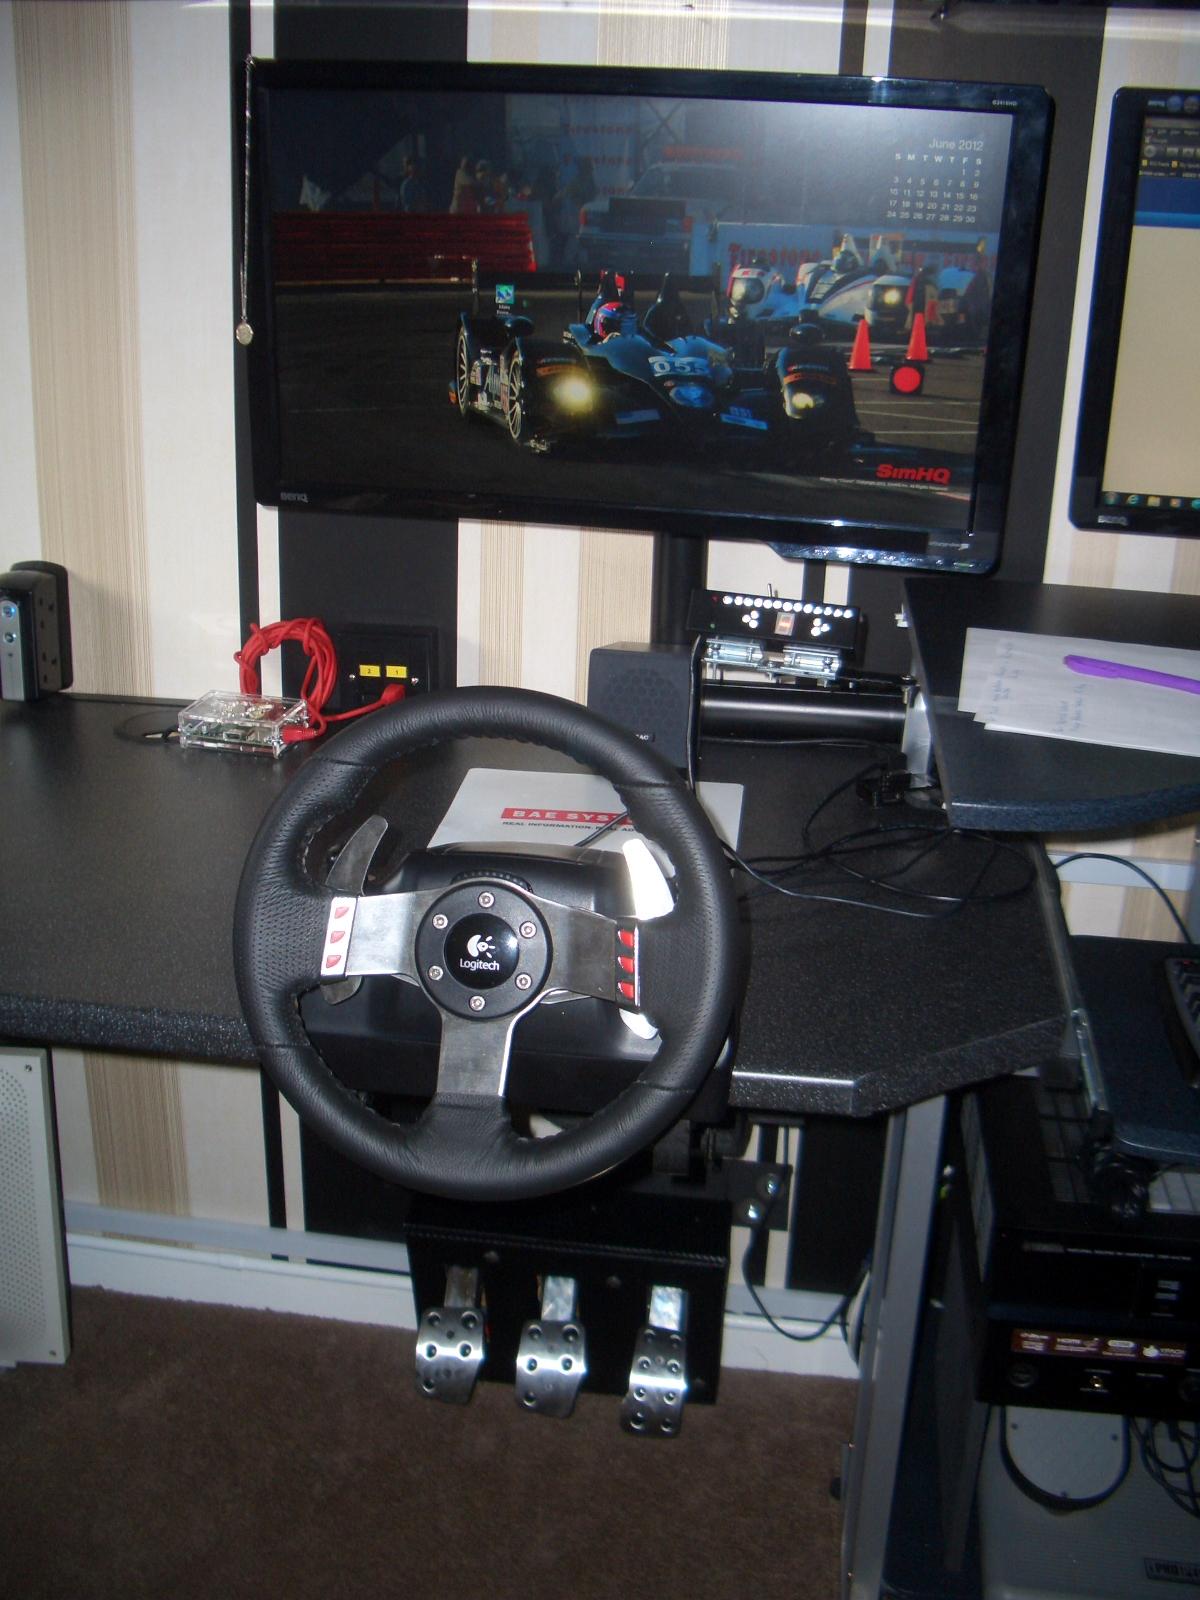
I was thinking about making a nice tidy version some time in the future, but in all honesty you don't see the imperfections when its mounted under the desk. It works a treat, feels much better, more natural and doesn't make my feet/ankles ache.....I don't know if its psychological but I'm knocking a second off my laptimes in pretty much every racing sim I own.


