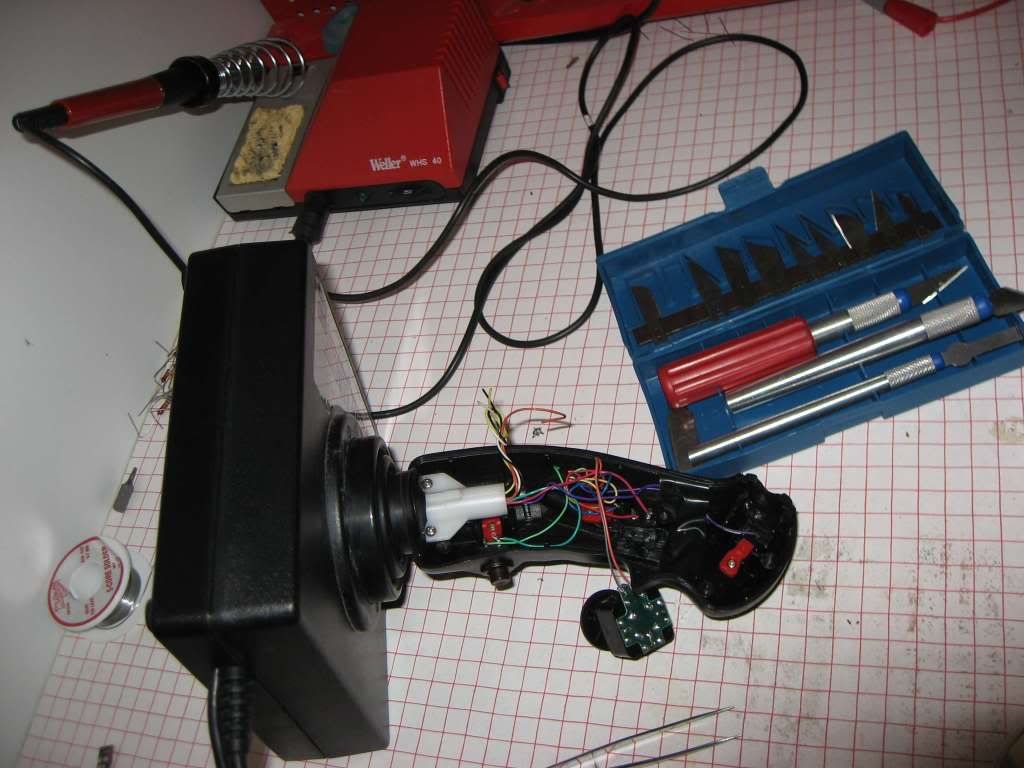
Since it is so difficult for us X360 pilots to find a decent HOTAS or even a Flightstick I thought I could share with you my little project. I have rewired functions from the X360 wireless to buttons an potentiometers on my old nineties Thrustmaster HOTAS.
Here are some pics in progress of HOTAS V1, and the V2 with the analog viewing stick and Attack-command wired up, and finally pics of the finished gearEssential tools needed: Thin tip soldering iron, Scalpels, Pincers, Superglue with accelerator-spray, Multimeter
Rememner to remove the battery before modding the X360 controller, and be careful when soldering wires to narrow PCB track, the tracks rip easily.Here is the V1 Stick opened, ready to take out the hatswitch beacause it will not work with X360 viewing input. You can se the aditional wires added beacuse the stick had common ground for all switches, and X360 has not(as you have seen in the PCB trace doc pictures, a real intermingling mess) The potentiometers are in the base and are connected as described 3 pics down, and in the first post of the thread:
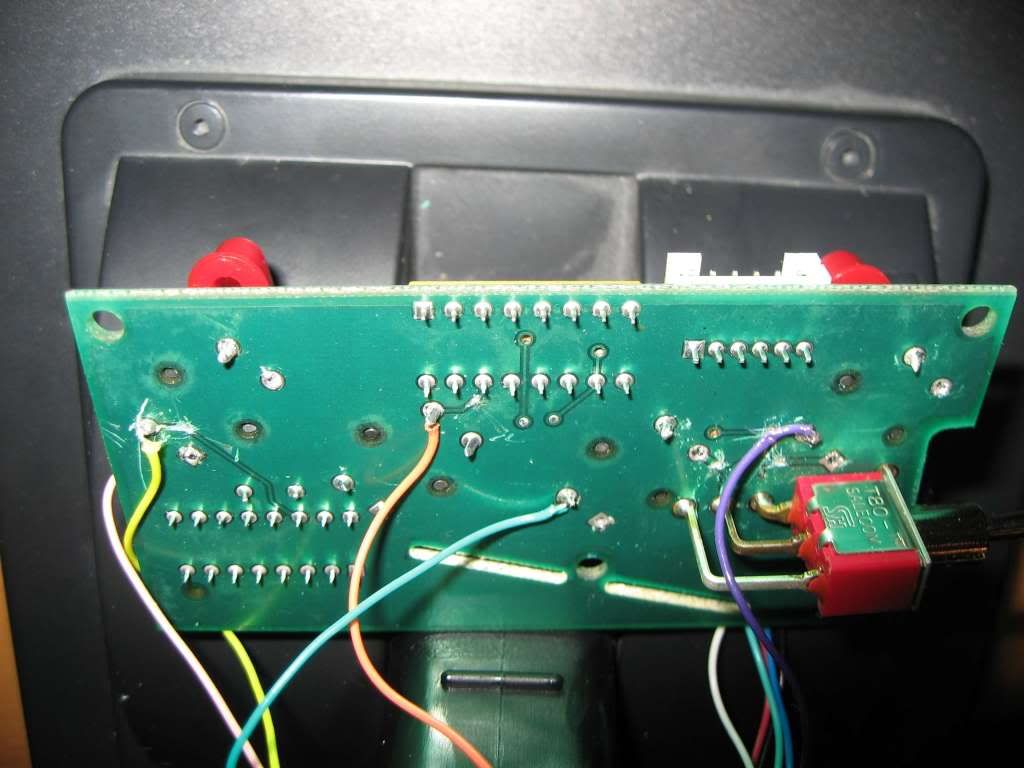
Here is a closeup of the PCB inside the V1 Throttle, with some cuts, mods, and connected wires. It is now ready to fit a Mode-switch to toggle between analog stick free viewing, and rudder/throttle input:
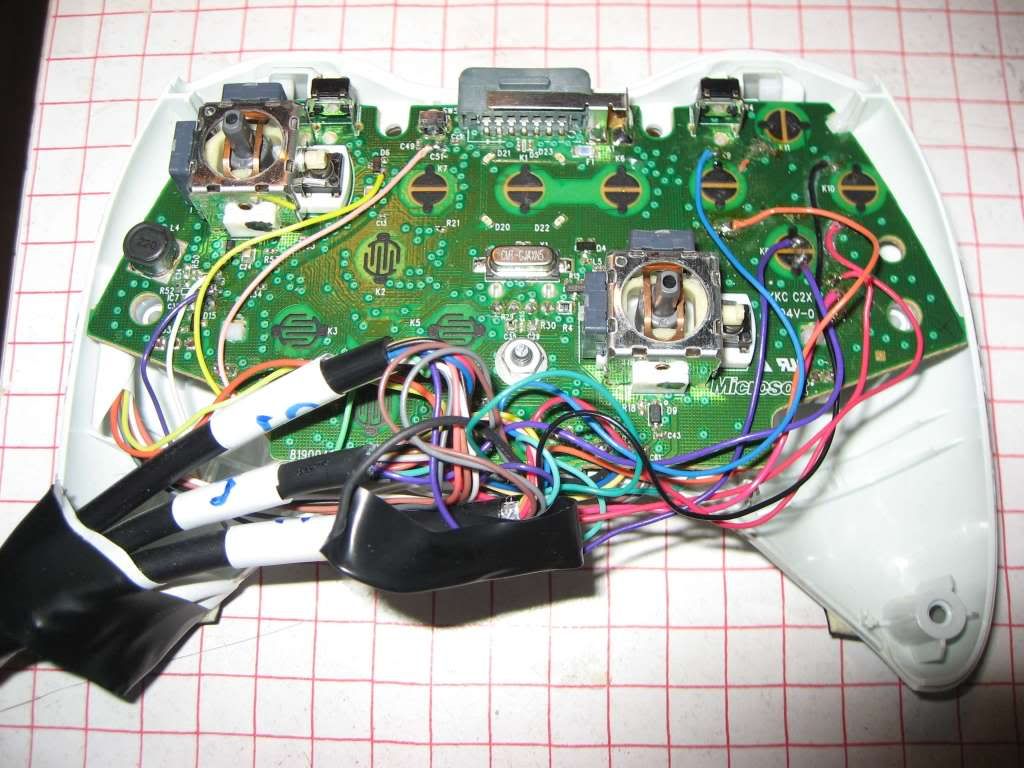
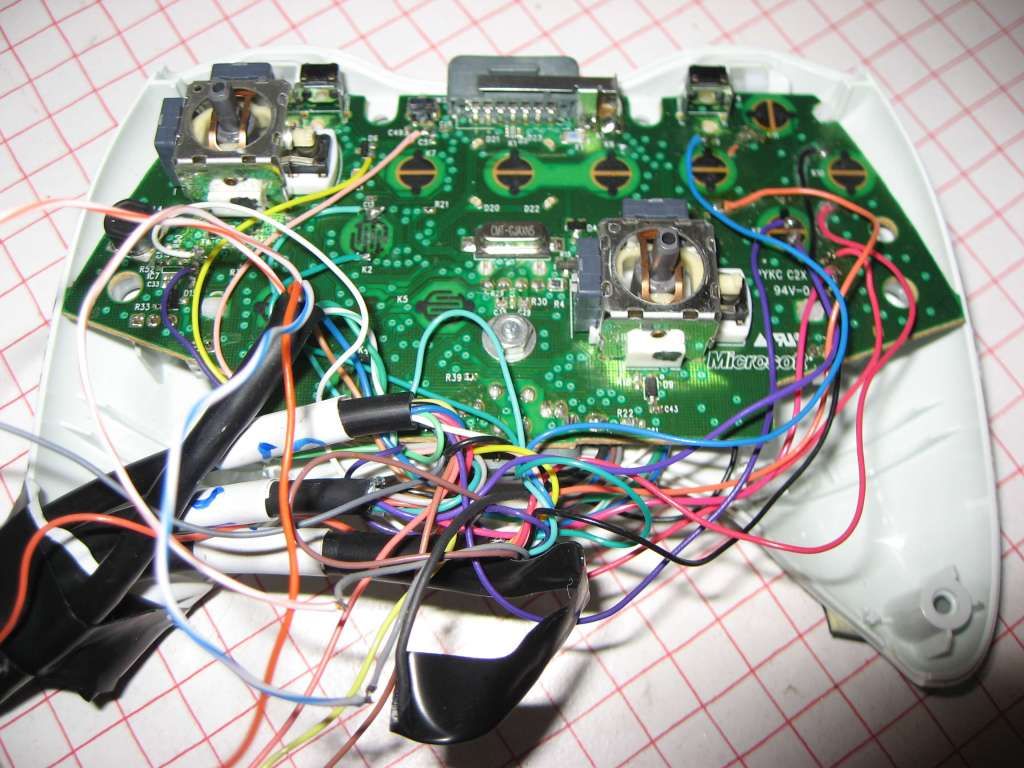
Here is the top of the X360 controller PCB in V1 version. Check photos here for reference to the different signals and traces on the PCB:
http://forums.xbox-scene.com/index.php?showtopic=512342 Here you can see how all the buttons are wired out. Its more straight forward if you go stright for the button pads, and not think about saving them as i first did. Scrape off down to bare copper with a scalpel and attach the wire. Keep short wire ends, and tin both the wire and the pad prior to soldering the joint:
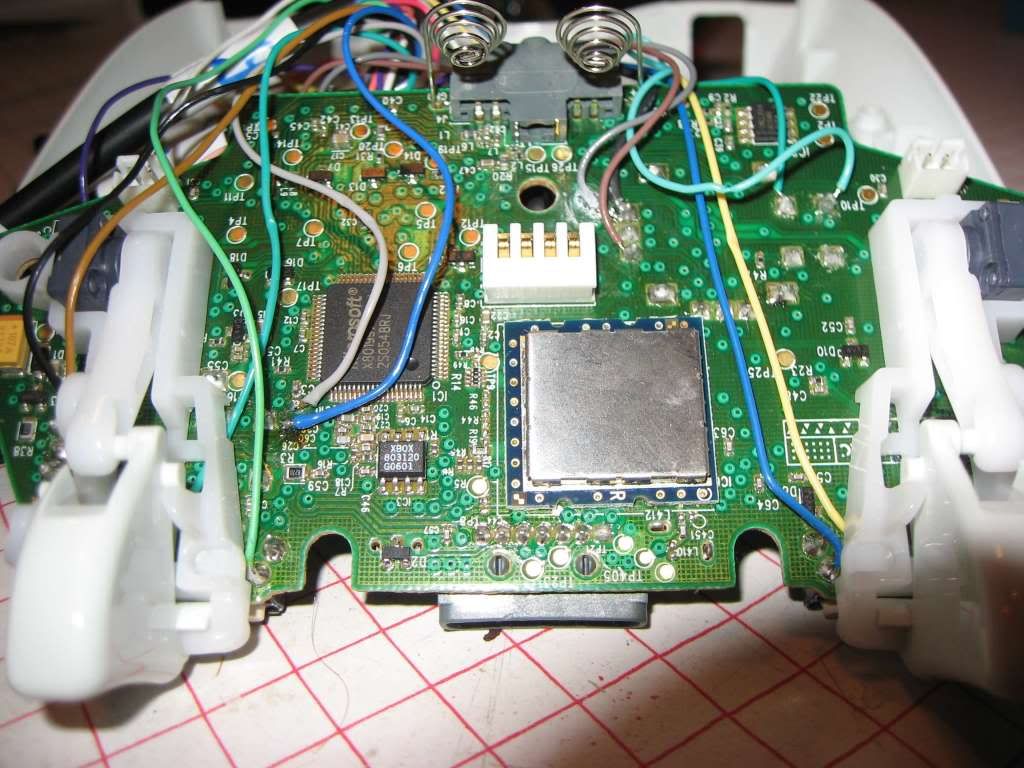
Here is the bottom of the X360 controller PCB in V1 version. Here you can see how the potentiometers (herafter "pots") for Ailerons, Throttle, and Triggers are wired out.
The triggers with pots must be removed to come by some of the connection points. Be shure to reattach them, as the device will detect that they are gone and behave badly. Measure and take notes of the voltages at the centre tap of the potentiometers at the extremes and centre stick positions. 0V/Ground and 2V rails for pots are shared, and hence you need only one set of these wires to each flightgear.
The centre pot terminal PCB tracks must be cut, because they can not be connected in parallel with the ones on the pots in the flightgear. The wires are connected to the PCB track after the enamel is scraped off. Be careful (!) after the wire is soldered on beacause PCB tracks rips easily. I usually add a drop of superglue to the joint, and the part of the wire touching the PCB, immediately after soldering, and use accelerator spray for instant hardening. Connecting to the Triggers are easier since we need just a simple on/off trigger. No cutting is needed, just attach the trigger switch wires to centre and ground terminal of the trigger pots.
Measure the voltages on the centre tap of the Flightgears potentiometers in the same way as above and check that voltages are similar after wiring. If needed tune one end of potentiometer with high k resistors in parallel (I had to do this for one of the ailerons.) No fine-calibration is needed due to the dead-band which is implicit in the X360 controllers reading of potentiometer input.
 Here, some pics in progress of HOTAS V2. (with the analog viewing stick and Attack command wired)
Here is a closeup of V1 Stick opened, with the hatswitch taken out, beacause it will not work with X360 viewing input. You can also see the Analog stick from an old obsolete PS2 controller, which will replace the hat-swich:
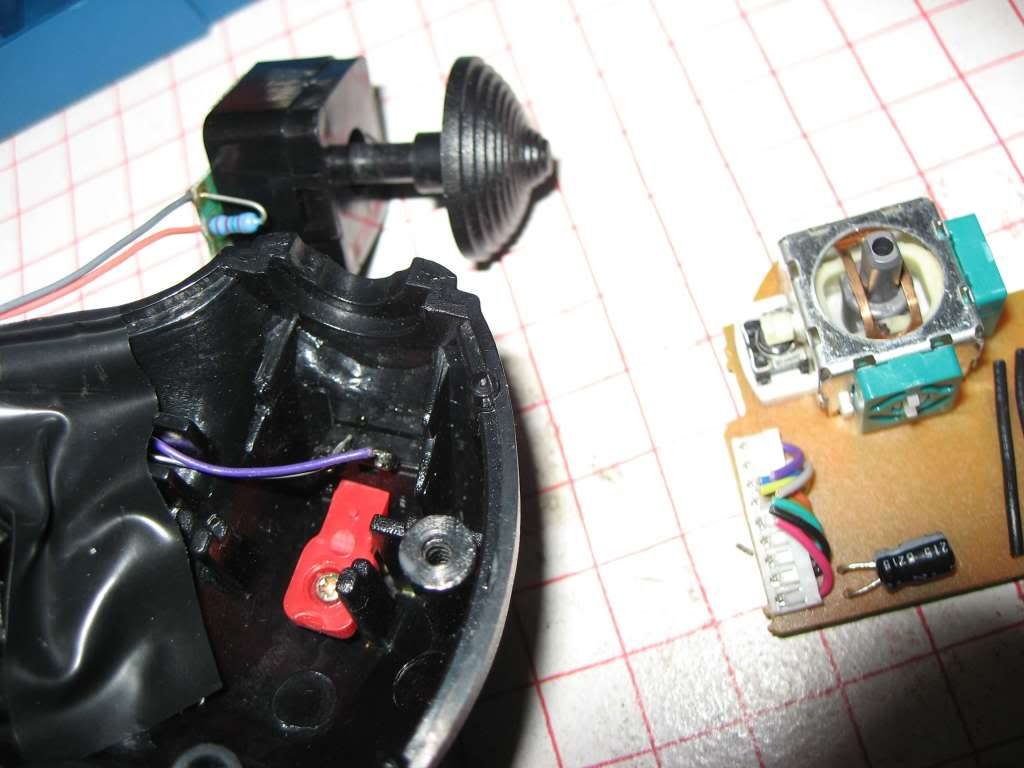
Here is the analog stick fitted and connected. A couple of superglue drops keeps it in place. Only 4 wires are needed, since the Ground and 2V rails are common for all pots:
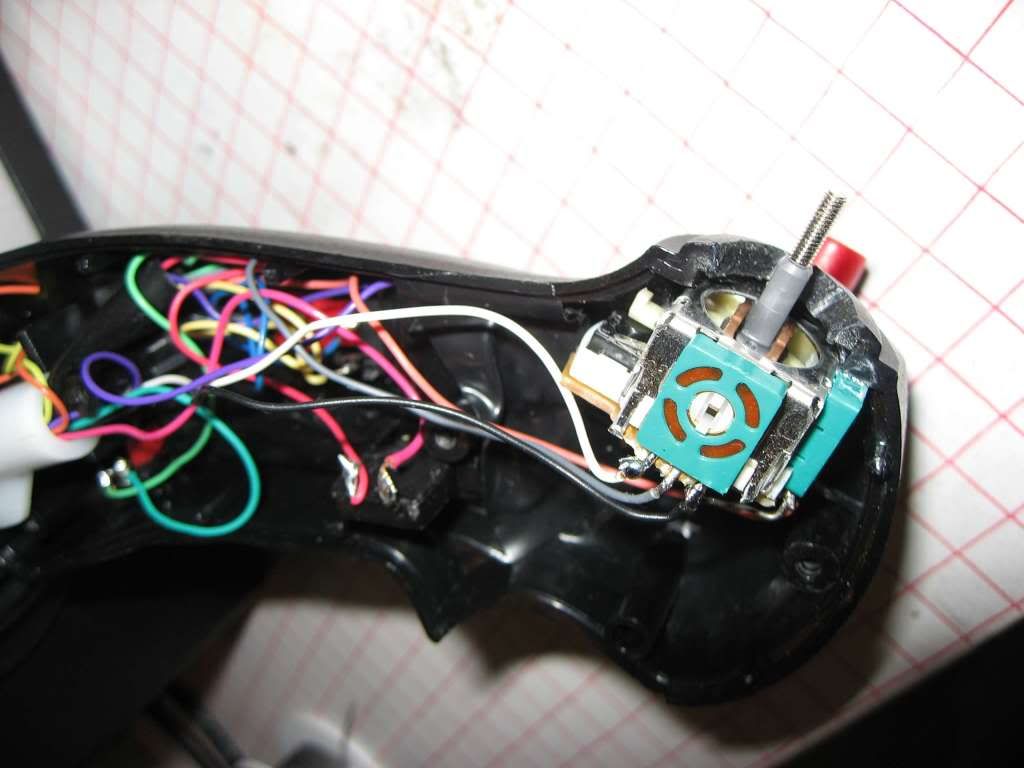
Since none of the pot centre terminals can be paralleled, we need a 2-position, 3 way switch that can connect the X360 controller input to either the throttle/rudder pots or the viewing stick pots centre terminals. Luckily i found one on an old casette deck PCB that I nearly throwed away a couple of weeks ago. At the same time the switch must control the view switch on the X360 (right stick pressed down). I decided to put the switch in my Throttle quadrant, as it has more space inside. The switch has 6 independent inputs that connect to 2 outputs each, but we will use only use 3 of them:
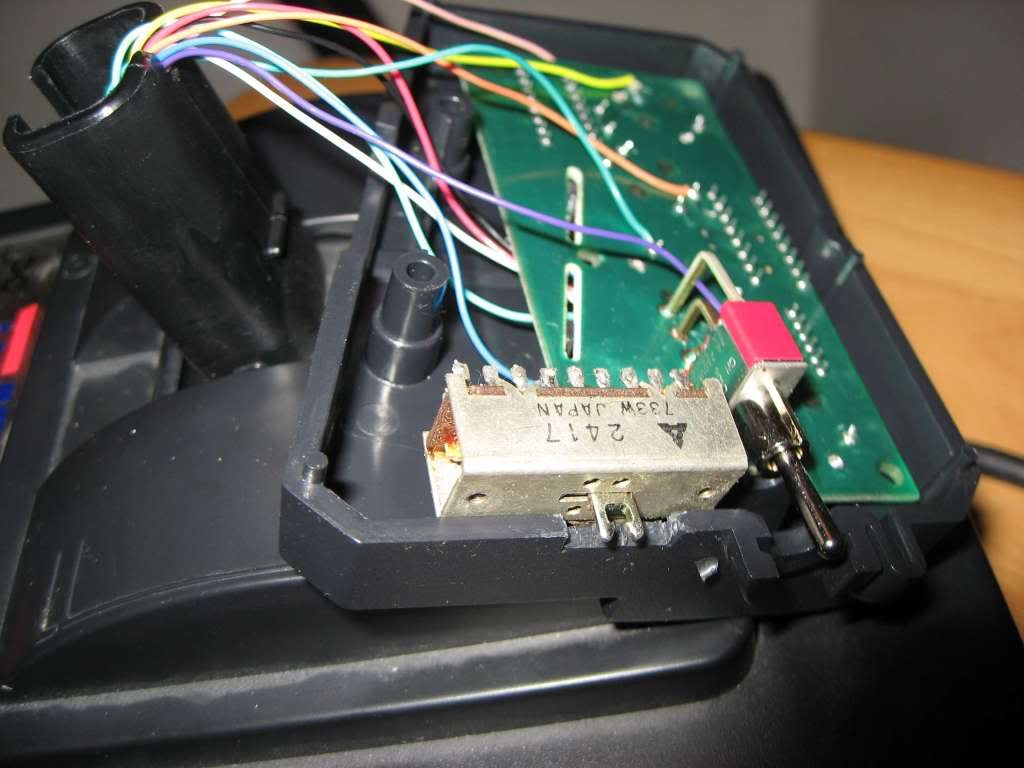
Here is the switch fitted and connected to 8 extra wires that I added. (used an old CAT5 cable, not optimal to solder onto PCB due to stiff wires):

Here you can se how the new wires from the Flightgear are connected to the top of the X360 PCB. Some of them are acually connected outside the PCB (lower part of pic) beacause their signals are just connected between the the two Flightcontrollers. 5 of the wires are connected on the underside of the PCB to the vertical pot and the view switch.
You can also see the attack command wired up to the D-pad top, from one of the switches on the Throttlequadrant:
 Here are pics of the finished Flight controls
Here is the Fightstick with the custom analog viewing stick on top:
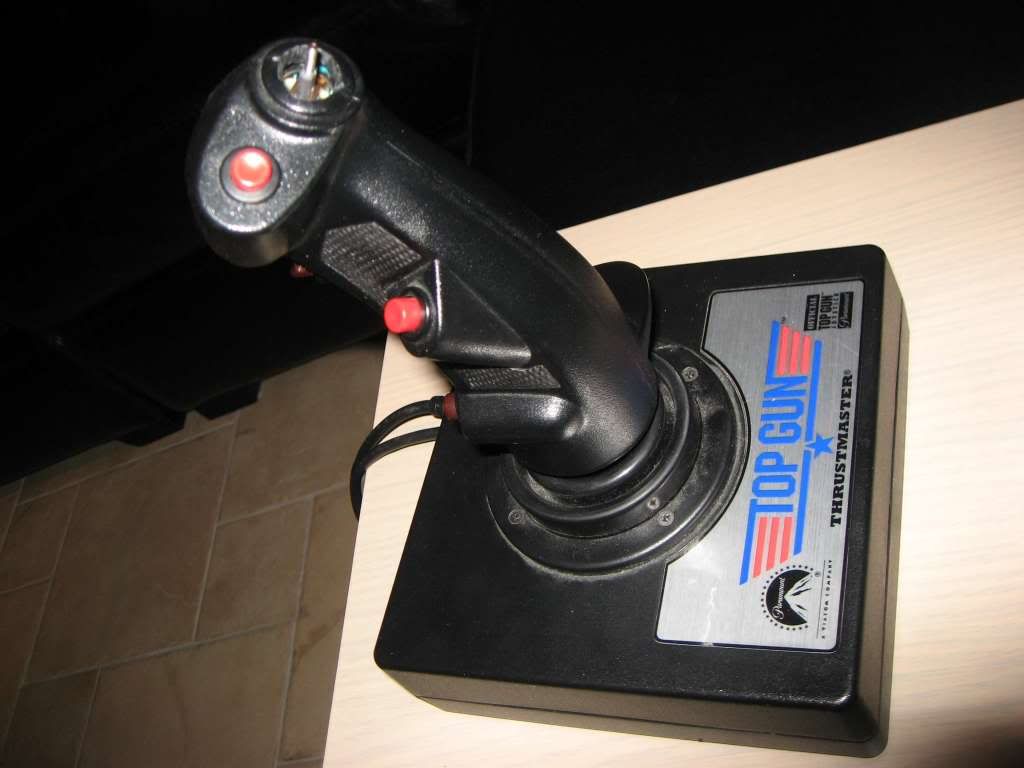
Functions on the Flightstick:
-Fire
-Next target
-Rockets
-Bombs
-Analog view
-Ailerons
Here is the Throttle quadrant with the new Mode-switch (bet you recognise the button from the old PS2 controller). Strangely this new function worked perfectly at first go

. Such things never do...;):
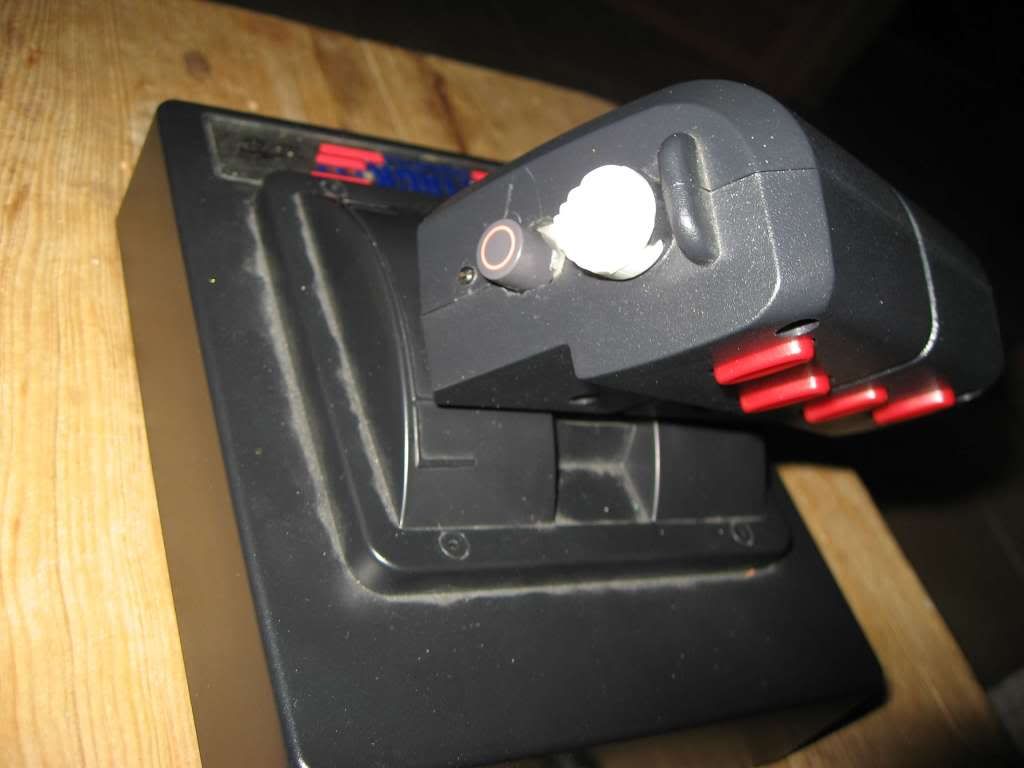
Fuctions on the throttle:
-Target cam
-Attack command
-Change view
-Toggle landig gear
-Zoom
-Map
-Mode switch: Throttle/rudder input OR free view input
-Throttle
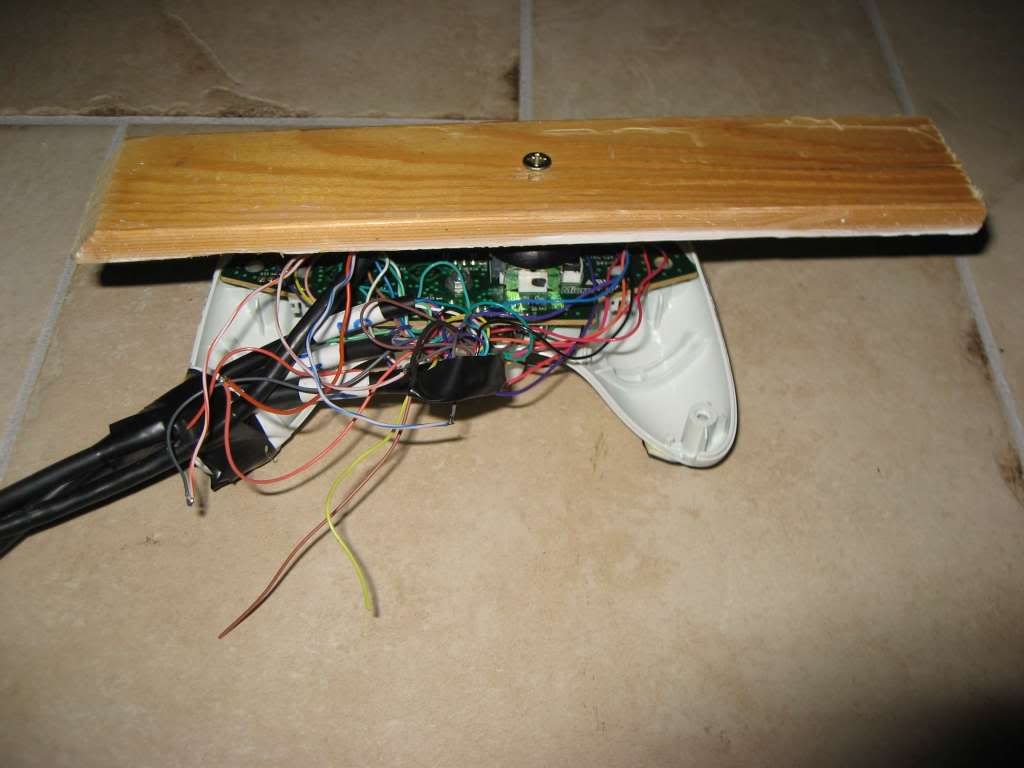
Here is the X360 Controller with the toe operated rudder mounted. There is more work to be done to package the unit, and improve the rudder rudder control mechanically. But it works, believe it or not

:
Couldnt resist adding a pic of my screen and sound system. The contrast and colors are quite acceptable when the room is not lighted as on the pic. I use an Epson TW600 projecting on a 100 inch screen. With 2 subs, bomb impacts are quite satisfying

:
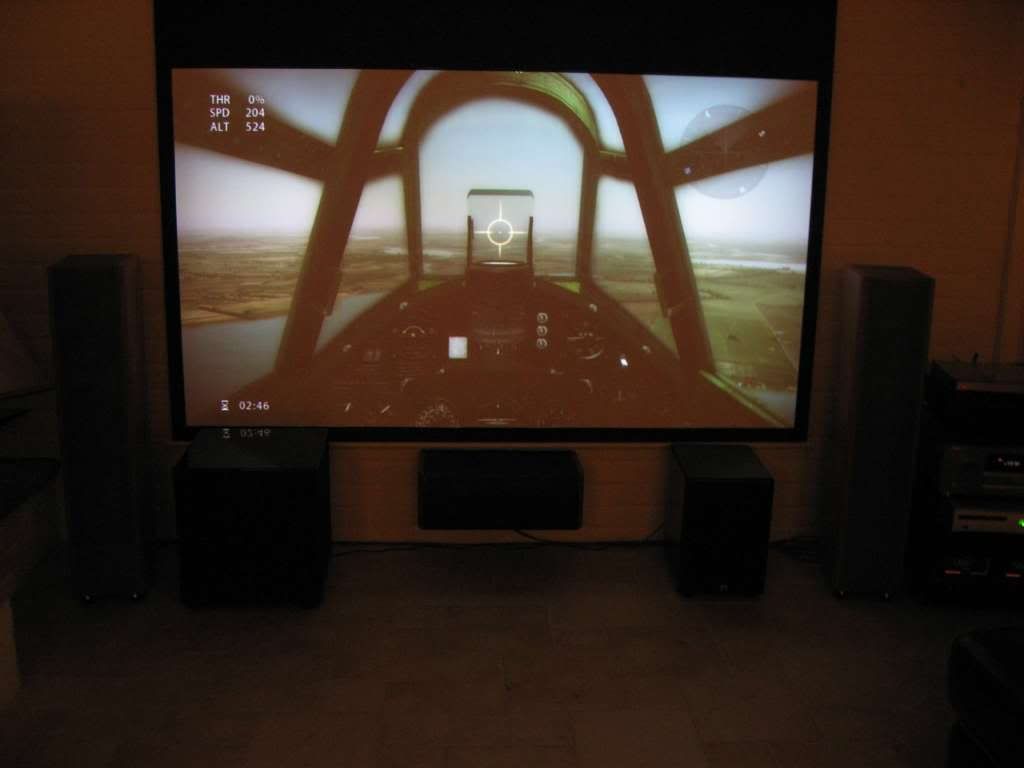
I hope this inspires som of you to make the most out of this excellent game. More functional controls does a lot to the immersion when flying


